
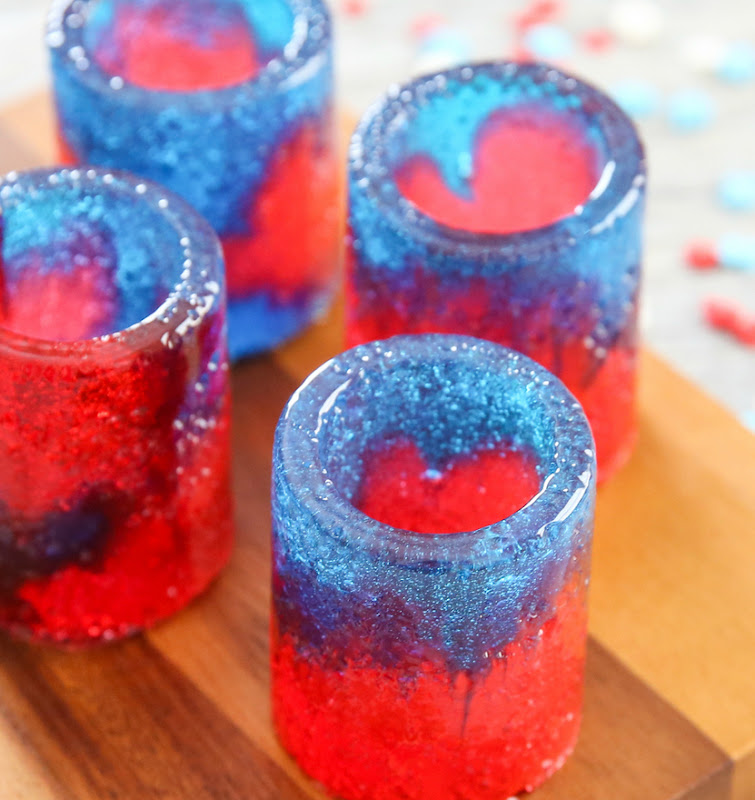
These melted hard candy shot glasses are the perfect fun party treat for July 4th.

This short week has me completed distracted. The long weekend can’t come soon enough. I’m pretty excited to share these candy shot glasses with you today though. I really love how they turned out. Not only are they cool to look at, but they hold liquid really well.
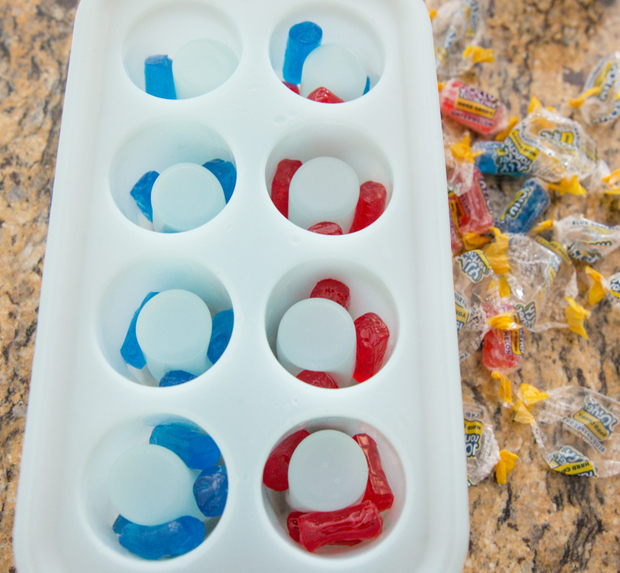
I bought silicone shot glass molds* from Amazon. These are super easy to use and they are oven safe. I was worried that it would be hard to remove the candy shot glasses since they are a little sticky, but they popped out pretty easily.
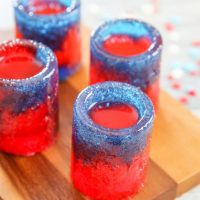
I experimented with a few different patterns, but my favorite is definitely this lava effect which reminds me of fireworks. For the candies, I used jolly ranchers because the individual ones fit inside the molds and I was looking for blue and red candies to match my July 4th theme.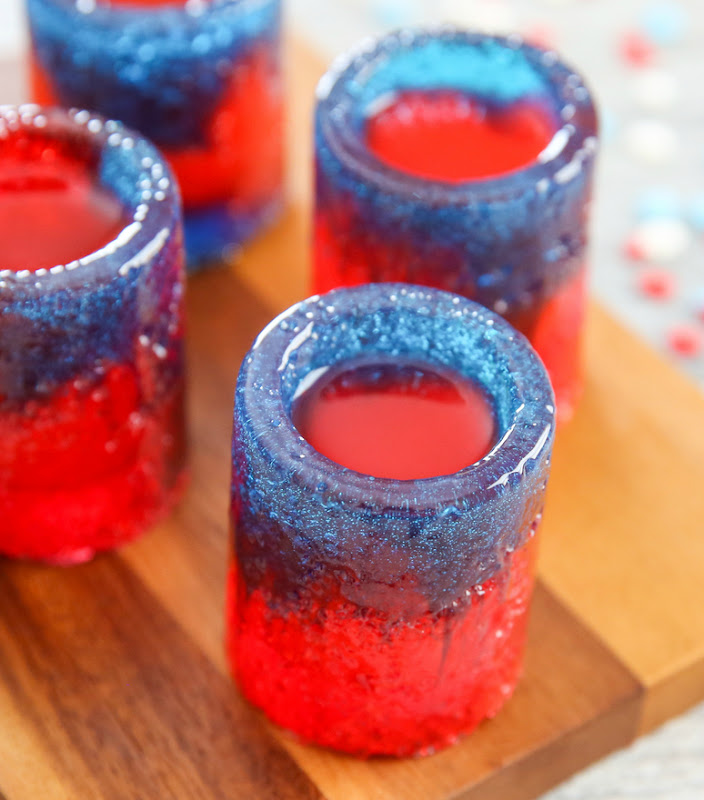
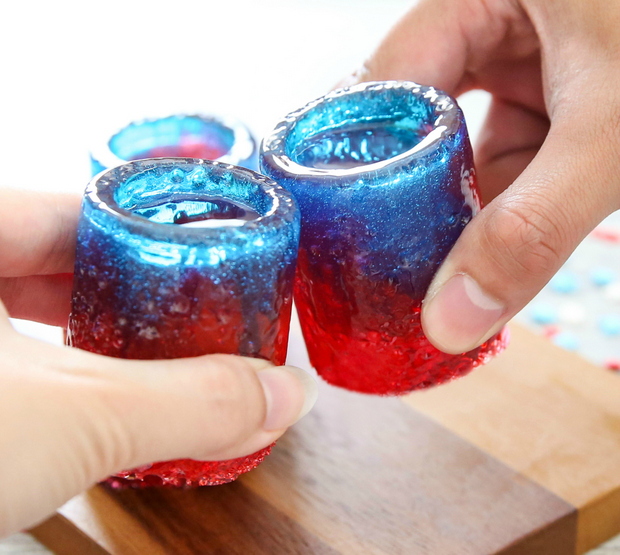
The glasses do get a little sticky to hold and will melt slightly, just like holding onto any unwrapped hard candy, so it’s best to keep them chilled until you’re ready to use them. I filled them with some cocktail mixes, making some really fun party drinks. Cheers!
Candy Shot Glasses
Ingredients
- 2 (14-oz) bags individually wrapped jolly ranchers
- oven-safe silicone shot glass mold
Instructions
- Preheat oven to 350°F. Insert candies into mold. Depending on which molds you buy, how many candies you need may vary. You want to stuff all the way covering across the top of the molds (the top part is going to be the base of your glass). I used 12 per glass (you can use about 14-15 if you want the glass to go all the way to the top of the mold). To get the lava two color effect, use the same color for the bottom half and a different color for the top half.
- Place silicone mold onto a baking sheet. Place into oven and heat for about 10-15 minutes or until candies are completely melted.
- Remove and let cool a few minutes at room temperature. Carefully place into fridge or freezer for a few hours to harden (I did the fridge). Make sure you place the silicone molds on an even surface, otherwise the cups will come out uneven. Remove cups from molds after they have hardened. Leave cups chilling in fridge or freezer (I did fridge) until ready to use,otherwise they will turn slightly melted and very sticky if they sit out too long. I wrapped mine in parchment paper. Pour your favorite beverage into molds and serve.
The nutrition information provided are only estimates based on an online nutritional calculator. I am not a certified nutritionist. Please consult a professional nutritionist or doctor for accurate information and any dietary restrictions and concerns you may have.


I think you should have done it well
Do you think the silicone mold work better for cookie shots or the mini popover pan?
I found the silicone ones to be better
So cool!!
thank you!
I love the way those look!
I’m super happy with how they turned out! thank you!
Kirbie!! I love this idea!! I cannot wait to try this. I can’t believe how simple it is to make these things – I’d totally tell my guests that it was super labor intensive and took days.
haha, sneaky! Yeah they are super easy and they look so cool! I’m def going to be trying to create more diff kinds soon =)