These bread rolls are easy to make. They only need 2 ingredients and don’t require any yeast or kneading. The bread rolls are crusty on the outside and soft and chewy on the inside.
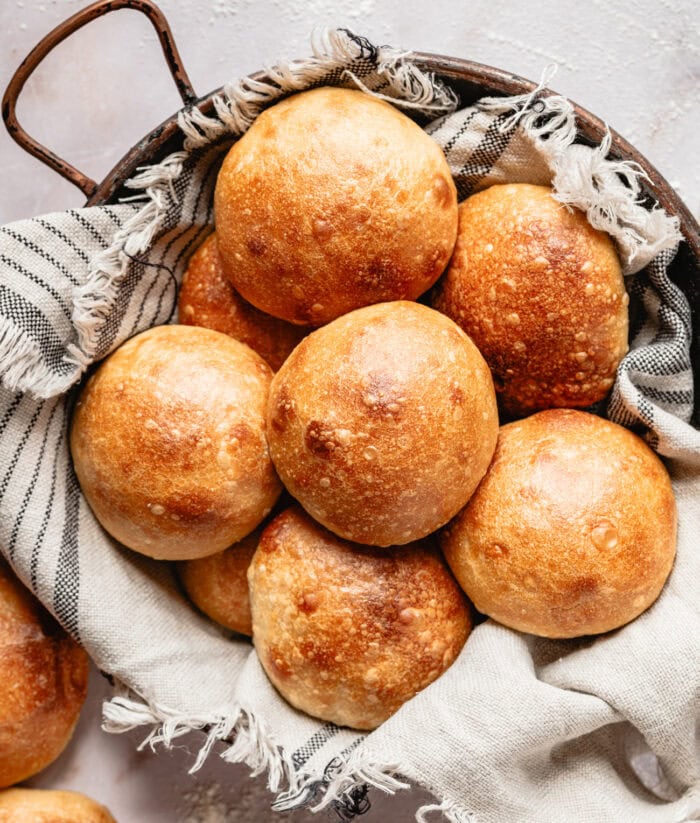
These stress-free bread rolls have been one of my favorite bread recipes to make these last few months. They are so easy to make and I love eating the rolls right after they are done baking while they are still warm and crusty.
Ingredients
- Self-rising flour
- Seltzer water
Self-rising flour: Self-rising flour is all purpose flour that is already premixed with baking powder and salt. Since we are not using yeast in this recipe, the bread uses the baking powder in the flour along with the carbonation from the water to rise.
Seltzer water: You can use seltzer water or sparkling water. You just need to make sure it is water where the carbonation has been added and you want to choose a brand that is very bubbly/has a lot of carbonation. Avoid using natural sparkling waters as they may not have enough carbonation to help the bread rise fully.
How to Make Easy Bread Rolls
- The flour and water are mixed together in a large mixing bowl until a dough forms.
- Cover the surface of the bowl with plastic wrap and then let the dough ferment for a few hours. This helps the bread develop flavor and will allow air pockets to form in the dough which helps with the bread’s texture.
- When dough is ready, divide into 12 equal pieces and roll each into a taut ball. If desired, brush the surface with egg white wash to give the bread a shiny exterior. The bread rolls are then ready to be baked.
Why I Love These Bread Rolls
- It’s an easy, stress-free prep. Mix water and flour. Set aside and then return a few hours later to bake.
- The bread rolls have a texture like bread rolls made with yeast but don’t require as much work.
- The rolls are baked with steaming water underneath which helps them rise better.
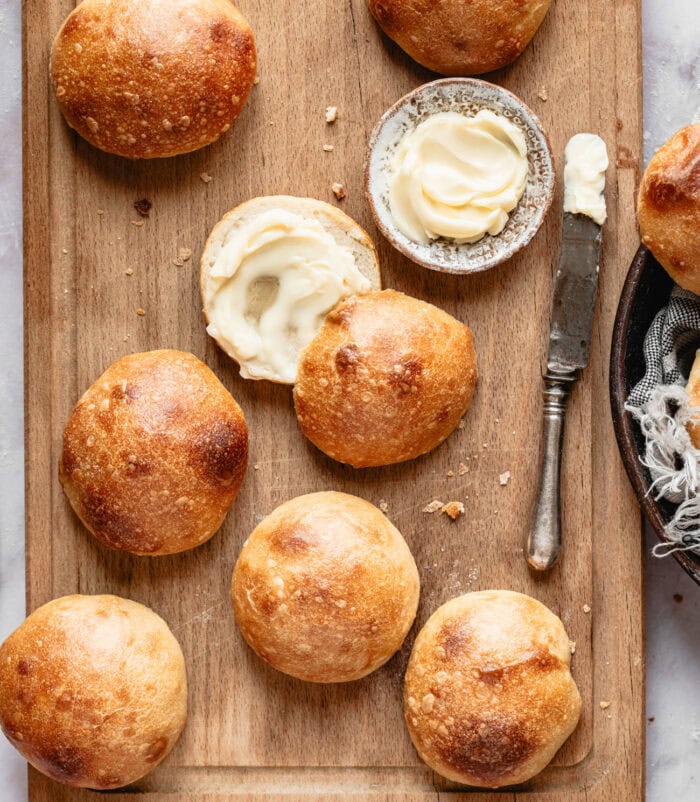
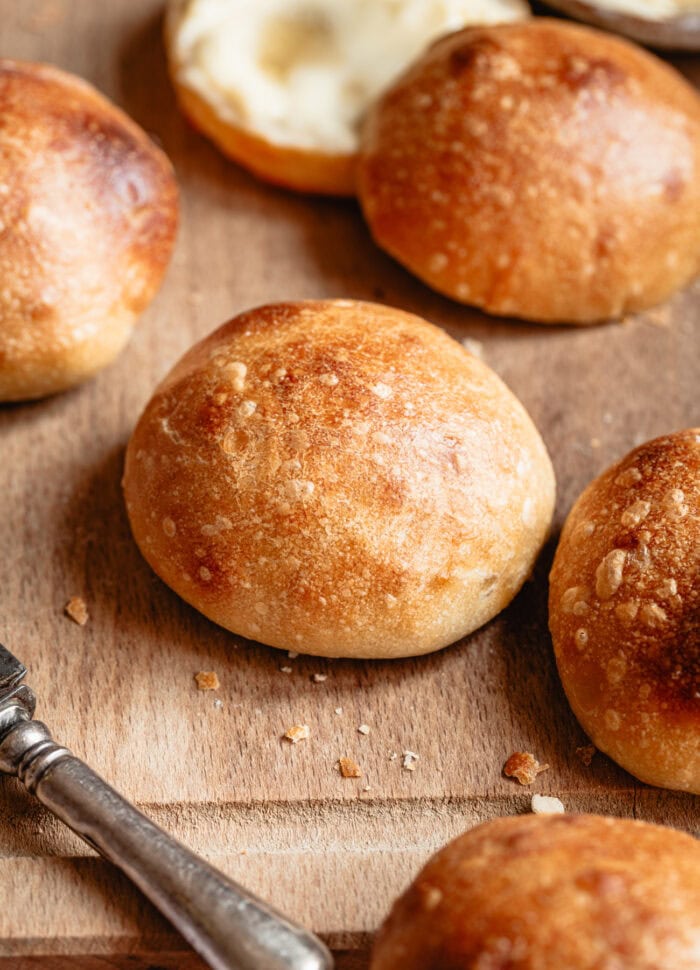
- The rolls are very crusty on the outside and soft and chewy on the inside.
More Easy Bread Rolls
2 Ingredient Bread Rolls
Ingredients
- 4 cups (519 g) self-rising flour see note before starting
- 12 fl oz (355 ml) seltzer water
Instructions
- In a large glass mixing bowl, combine the flour and sparkling water. Mix well with a spatula until a shaggy dough forms. The dough will be sticky and wet. I recommend using a glass mixing bowl so that you can check the progress of the dough later by looking at the bottom of the bowl.
- Tightly cover the bowl with plastic wrap and let rest at room temperature for 3-6 hours. Your dough is ready when it has risen, is wetter than before and if you look at the bottom of the glass bowl there should be large bubbles in the dough.
- About 30 minutes before baking, preheat your oven to 450°F (232°C). Add a large cast iron skillet or a large baking dish that is oven-safe at 450°F to the bottom rack of the oven while it preheats. Position your other oven rack to be just above the cast iron skillet (so it is still in the lower half of your oven). Baking the rolls on a lower position in the oven will prevent them from getting too dark. Bring a large tea kettle or large pot of water to a boil.
- After the dough has rested, wet your hands with some water. Grab one side of the dough, stretch it upward, and then fold it over the center of the dough. Repeat this process from all eight sides of the dough.
- Lightly flour a work surface with self-rising flour. Carefully turn the dough out onto the floured surface, seam side down.
- Use a bench scraper or sharp knife to divide the dough into 12 equal portions.
- Shape each piece into a ball by pulling the edges to the center and pinching to seal. Place seam side down on your work surface and roll under your hand to create tension and form a round, taut ball.
- Place the rolls on a parchment paper-lined baking sheet, spacing them about 1½ to 2 inches apart. Brush tops of bread with egg white wash if desired (see notes for more details).
- Carefully pour boiling water into the cast iron skillet/baking dish when your oven is done preheating.
- Then quickly add the tray of rolls into the oven and bake for 20 to 25 minutes or until rolls are golden brown and crusty on the outside and completely cooked. To check if a roll is done, you can tap the bottom side and it should sound hollow. Let the rolls cool on a wire rack.
Video
Notes
- Self-rising flour amount. There are 2 main kinds of self-rising flour sold in the US. One that is a lower protein (2 grams per 1/4 cup (30g)) flour and one that has a regular amount of protein (3 grams per 1/4 cup (30 g)). Brands like King Arthur Flour and White Lily make the low protein flour. Brands like Gold Medal and most store/generic brands contain a regular protein amount. The amount of protein affects how much liquid is absorbed. For this recipe, you want a flour with a regular amount of protein. Please use a self-rising flour with 3 grams of protein per 1/4 cup (30 g). Or make your own self-rising flour with the recipe below.
- I made these with Gold Medal self-rising flour (Amazon | Walmart)*
- *These product links are affiliate links. This means I earn a commission from qualifying purchases.
- Homemade self-rising flour: Combine 4 cups of all purpose flour, 2 tbsp baking powder and 1 tsp salt. Whisk to evenly combine. Make sure your all purpose flour has a regular amount of protein (3 grams per 1/4 cup). Most brands in the US contain this amount but there are some brands with higher protein (4 grams per 1/4 cup) such as King Arthur Flour and Bob's Red Mill. You do not want a high protein flour for this bread. It will be dense and dry.
- Optional egg wash finish: Brushing egg wash on top of the bread before baking will give the surface a smoother, slightly shiny and darker appearance. The bread rolls still turn out well without egg wash but they will split more on the surface and will have a more rustic appearance. If you want the bread rolls to have an egg wash finish, add the egg white of a large egg into a small bowl and whisk it lightly. Then brush rolls with the egg white right before baking.
Nutrition
The nutrition information provided are only estimates based on an online nutritional calculator. I am not a certified nutritionist. Please consult a professional nutritionist or doctor for accurate information and any dietary restrictions and concerns you may have.


These look great but can they be made with gluten free self-rising flour?
We have not tested that but you could try making your own gluten free self-rising flour!
I don’t see a baking temp.??
These are baked at 450°F (232°C)!
Are these rolls good if I bake them about an hour ahead of time?
They should be just fine! The rolls need to cool on a wire rack so you would be able to make them ahead of time and let them cool.
Will this work with with half wheat flour?
We have not tested this recipe with that flour so we are unsure what the final result would be!
Could &-Up or Sprite be used in place of seltzer water?
We have not tried that! You can use seltzer water or sparkling water. You just need to make sure it is water where the carbonation has been added and you want to choose a brand that is very bubbly/has a lot of carbonation. Avoid using natural sparkling waters as they may not have enough carbonation to help the bread rise fully. If you give it a try let us know how it turns out!