
This Basque-style cheesecake is smooth and creamy. It is also easier to make than the traditional version. It needs just 3 ingredients and doesn’t require any flour or heavy cream. This cheesecake is done in less than 30 minutes including baking time. It’s an easy dessert to serve at any upcoming gatherings or events.
I’m currently working on dessert recipes to serve for the holidays and this shortcut Basque burnt cheesecake is definitely on the menu. A while back I shared a simplified version of Basque cheesecake. And while I loved how easy it was, I kept wondering if I could make it even simpler. Most Basque cheesecake recipes require heavy cream, which means I need to make sure I have some heavy cream in the fridge when I’m in the mood for Basque cheesecake. This version eliminates the need for heavy cream and instead uses an ingredient with a much longer shelf life.
Ingredients
- Cream Cheese
- Condensed milk
- Eggs
Cream cheese: This cheesecake is made with full-fat cream cheese. You will need two blocks for the recipe. The cream cheese needs to be softened to room temperature so you will need to take it out an hour before baking or you can also briefly heat it up in the microwave to soften it.
Condensed milk: Condensed milk replaces the sugar and heavy cream usually added to Basque cheesecake. It helps create a very creamy, smooth cheesecake. If you prefer to use heavy cream instead, I have a version that uses heavy cream.
Eggs: Eggs are used to give this cake structure and help it rise.
What is Basque Cheesecake?
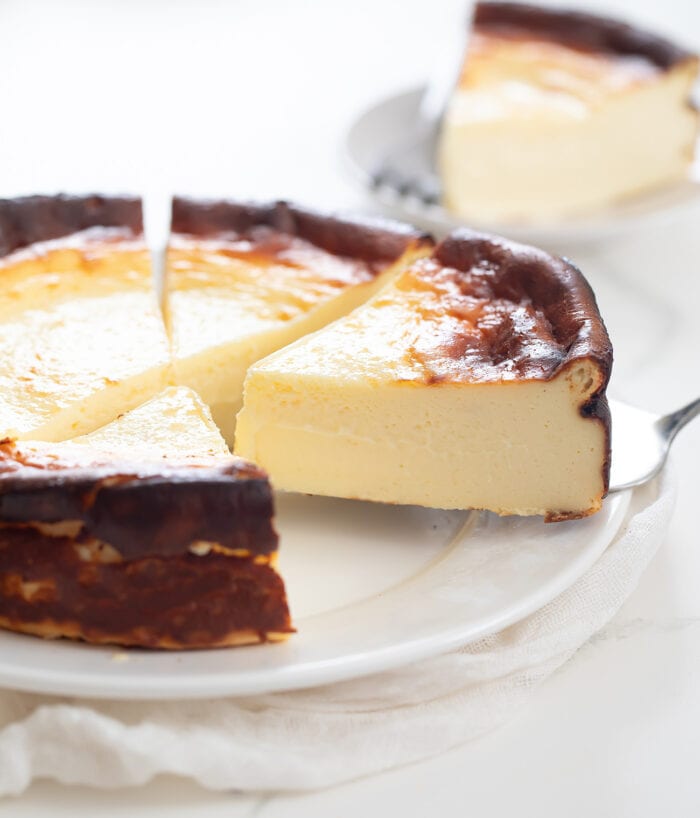
Basque burnt cheesecake originated from La Viña, a cafe in San Sebastian, located in the Basque region of Spain. The cheesecake is baked at a very high temperature to create a caramelized surface (making it appear burned) and a very creamy center that isn’t quite set. It is also made without a crust.
How to Make Easy Basque Cheesecake
Add all ingredients into a food processor. Mix until you have a smooth batter. You may need to scrape the sides of the food processor a few times to make sure all the ingredients are fully incorporated. The batter is then ready to be poured into a cake pan lined with parchment paper. The cake is baked at a very high temperature so it will only need about 15-18 minutes in the oven. Let the cake cool fully before serving. I also like to refrigerate it for several hours beforehand because it helps develop the flavors and makes it easier to cut.
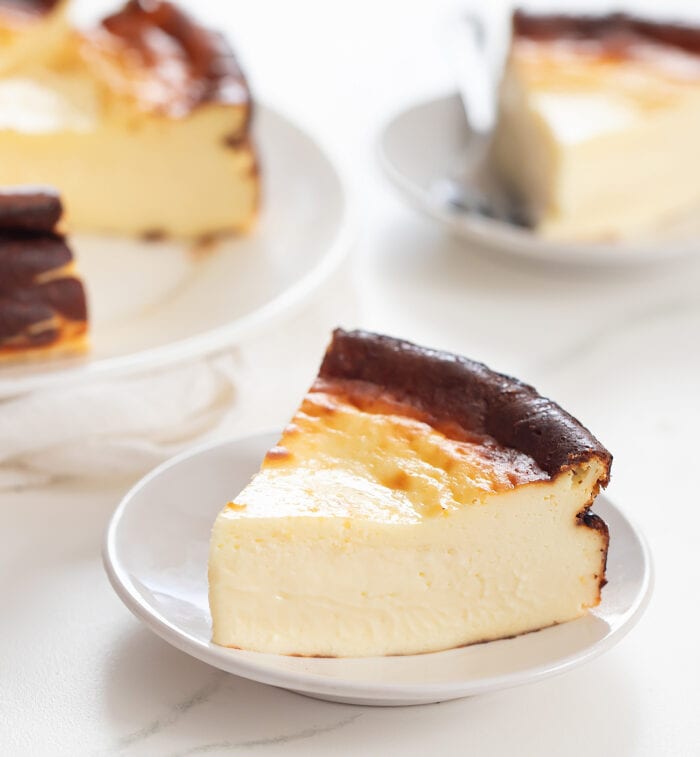
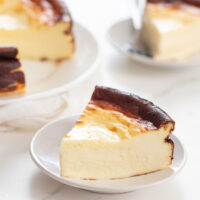
Texture and Appearance
This cake has a very silky, creamy texture, with the center not quite set, which is how Basque burnt cheesecake is meant to be. You may notice that the surface is not fully caramelized like with traditional Basque cheesecake. That is because this version is in the oven for less time. By using condensed milk instead of heavy cream, the cake actually cooks faster and so it needs to come out of the oven sooner. As a result, only the edges are fully caramelized and the center will be a little paler. I don’t mind the lack of color in the middle. I think it adds to the rustic, unique look of Basque burnt cheesecake.
More Cheesecake Recipes
- 3 Ingredient Yogurt Cheesecake
- 2 Ingredient No Bake Cheesecake
- 3 Ingredient Fluffy Chocolate Cheesecake
3 Ingredient Basque Cheesecake
Ingredients
- 2 (8 oz/227 g) blocks full fat cream cheese total weight of 16 oz, softened to room temperature
- 3 large eggs
- 3/4 cup (6 oz/177 ml) full fat sweetened condensed milk
Instructions
- Preheat oven to 500°F (260°C). Spray the interior of a 7-inch round spring form cake pan or a solid one-piece 7 inch round cake pan with cooking spray and then line it with a large enough sheet of parchment paper so that it completely covers the interior of the cake pan. Press the parchment paper as much as possible into the sides of the pan so that it sticks to the sides of the pan and doesn’t cause too many indents in the final cake. You must line your cake pan with a single sheet of parchment paper if using a springform pan because otherwise, the batter will leak through. The cake is supposed to look rustic.
- Add all ingredients to a food processor. Blend on high speed until you have a smooth batter. Pause a few times to scrape the sides of the food processor with a spatula to make sure all the ingredients are incorporated.
- Pour the batter into the prepared cake pan. Place the cake into the oven and bake for about 15-18 minutes or until the edges turn a dark brown and puff up. Watch the cake carefully during the last few minutes of baking so that it doesn't burn. The center will still be quite jiggly, more pale in color and slightly sunken in. Do not wait for the center to be fully cooked. The cake is not supposed to be set in the center. Also, the edges of your cake will burn if you cook it too long.
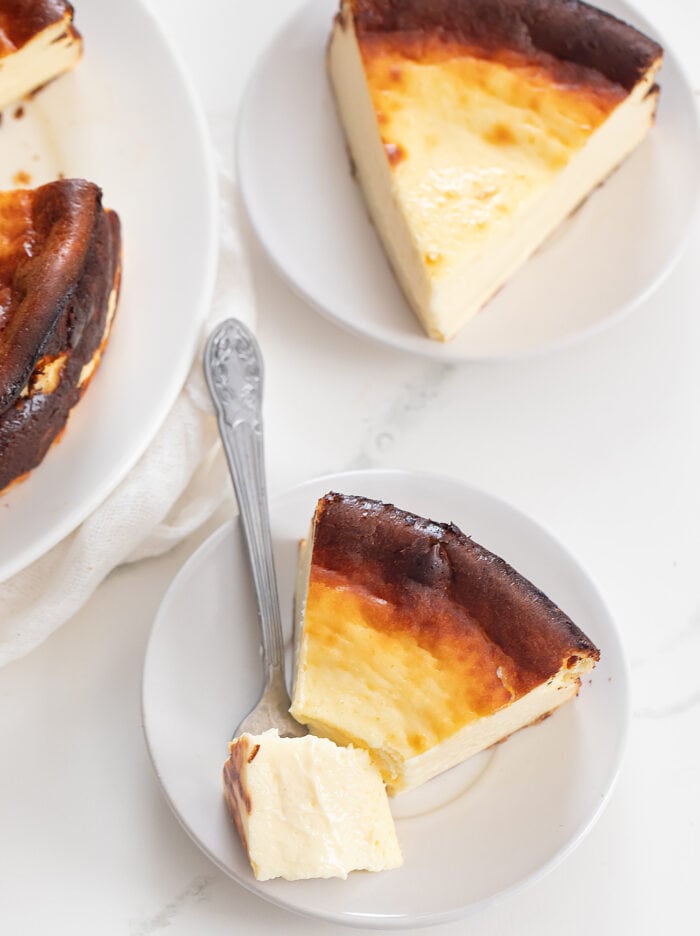
- Let the cheesecake cool and set before eating. As it cools, the sides will deflate a little so that the cake surface becomes even. The cake can be enjoyed soon after it is fully cooled but for the best flavor I recommend refrigerating the cake for a few hours. This helps the flavors develop better and it also will help the cake set firmer so that it is easier to cut and serve. Store any uneaten cake in the fridge.
Notes
- The cheesecake can be baked in a solid one-piece 7-inch cake pan or a springform pan. Make sure to line with parchment paper for both. For the springform pan it is important because the batter is very thin and will leak. For a solid one-piece pan, it is still needed to help prevent the cake from burning on the sides and bottom. You can line the bottom and sides separately if you are using a one-piece pan.
- If your oven runs hot or if it seems like your cake is going to burn around the edges before it is ready, then you can reduce the temperature slightly (between 450F and 475F).
- Make sure the parchment paper that lines the cake isn't too high above the cake pan. I cut mine so that it was just a little less than an inch above the cake pan. If it is too tall, it may get too close to the top of the oven. If it is too tall it can also prevent the heat from reaching the cake properly.
- Make sure your cream cheese is fully softened before using. This will ensure that you can easily mix it into the batter. If your kitchen is cold or you did not have enough time to let it soften on the counter, you can put the blocks of cream cheese in the microwave for a few seconds to soften it (make sure to remove the packaging first).
- I recommend using Philadelphia brand cream cheese. I've tried many other brands and found that other brands often leave little lumps in the batter that are hard to remove. I've not had that issue with Philadelphia cream cheese.
- Be careful not to overbake the cake. I usually bake mine for 16-17 minutes. I find that any longer than 18 minutes and it will turn from caramelized to burned. If you prefer a firmer interior, you can bake it longer but you should reduce the baking temperature to 450F and then bake until the middle is set.
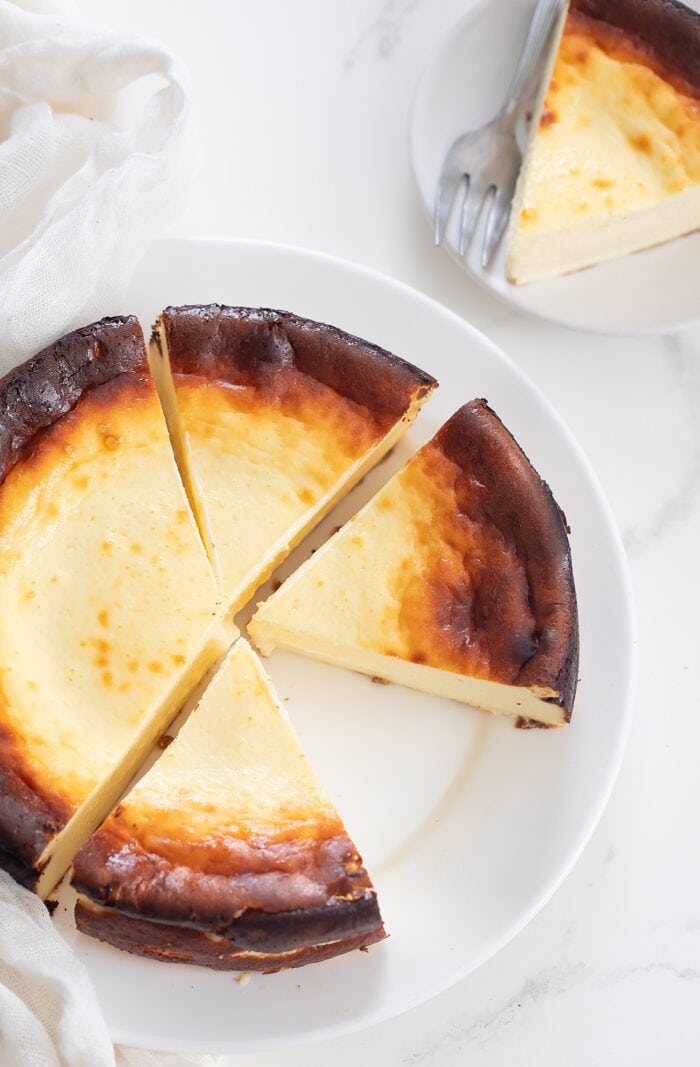
- For the cake in the photos, I cut 7 generous slices, but it can serve 9, which is how I usually cut and serve it. The nutrition information assumes the cake is divided into 9 slices.
Nutrition
The nutrition information provided are only estimates based on an online nutritional calculator. I am not a certified nutritionist. Please consult a professional nutritionist or doctor for accurate information and any dietary restrictions and concerns you may have.


I add strawberry inside. It was amazing!
YUM! So glad you enjoyed this recipe!
Hi, this was just time making the cheese cake. Tastes fabulous however did not rise well?
Comments please.
Cheers
Jilli
It may be that the cake needed a little longer in the oven if it deflated too much but the cake is supposed to deflate and the final cake should be about 2 inches, just like in the pictures!
Not sure what I did, but it rose really high, and when I took it out the oven after 18 mins, it sank to maybe 1/2-2 inches high. I’m unsure what I did wrong.
It may be that the cake needed a little longer in the oven if it deflated too much but the cake is supposed to deflate and the final cake should be about 2 inches, just like in the pictures!
My local Basque restaurant serves a Basque Cheesecake and when I saw this recipe I just had to try it. It was incredibly easy and so good. I will be making this again and again.
We’re so happy you loved it!
Amazing, and great texture. I did leave it in too long, so I gave it another try, and it was simply amazing.
We’re so glad you love the recipe!
Looks fabulous, not a fan of the sweetened condensed milk but heavy cream version would work me.
You should try our classic Basque cheesecake!
One of the easiest recipes to follow and so impressive to see the end result!!!
I loved it and will be sharing with the family later today.
I wanted to see though for the future if this recipe could be increased or if going for a larger volume in a 8in, 9in, or 10in Springform tray would mess up the cook for this one?
Either way the recipe is wonderful and looking forward to share it with others!!!
We’re so glad you like the recipe! We haven’t tried doubling it – it would need a bigger pan and the bake time might need to be adjusted, but we can’t say for sure what you would need to do.
Hi… can i make cupcakes with this recipe
.. or will they burn easily
You can probably make mini versions in a cupcake tin.
Awesome stuff
Thanks!
Cheesecake Recipe – easy!
We’re glad you liked it!
My cake was more grainy and not creamy. What did i do wrong? Thx
It should not be grainy at all. Perhaps it was the cream cheese you used? Or if you didn’t completely blend the ingredients together?
Hi, I meant to ask what Condensed Milk did you use for the 3-Ingredient Basque Cheesecake. Thanks.
Eagle brand sweetened condensed milk is the most common one, but there are other brands, too.
Do you cool the cake in the oven or on the counter? I have a cheesecake recipe where you turn off the oven but leave the cake in there to finish cooking and set
on the counter
Hi. I want to make this cheesecake 4 the holidays. I do not have a food processor. Can I use anything else? A blender or mixer perhaps??
You could use an electric mixer, but we recommend mixing the softened butter first until it’s creamy. Don’t cream it for very long – just enough to break down the block and then add in the rest of the ingredients. If you try and mix them all at the same time, the liquid may splash and make a mess.
made it, a real delight and treat.
My daughter cannot do gluten or flour, now
I can have a special treat for her.
I’m glad it worked out for you!