

Doughnut Ice Cream Cones
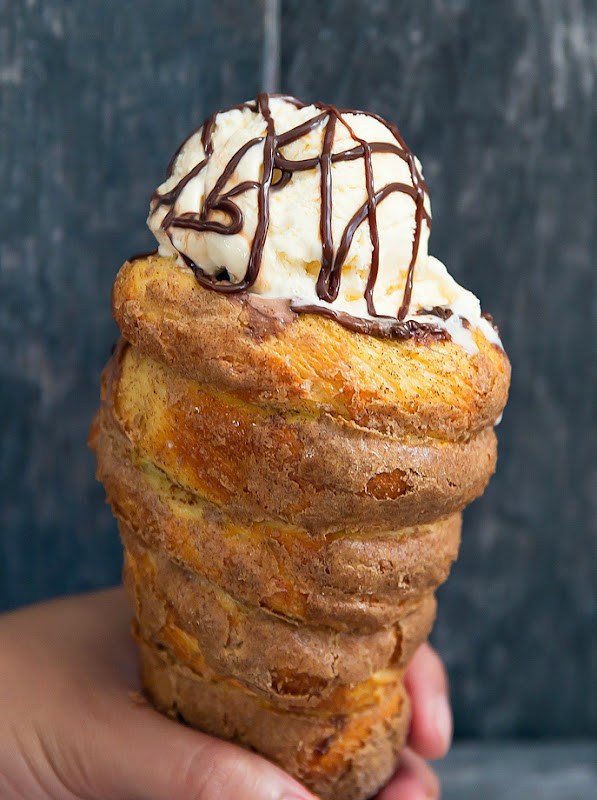
This is a homemade version of the doughnut ice cream cones (a twist on the Slovak pastry trdelník) that have been all over the internet.
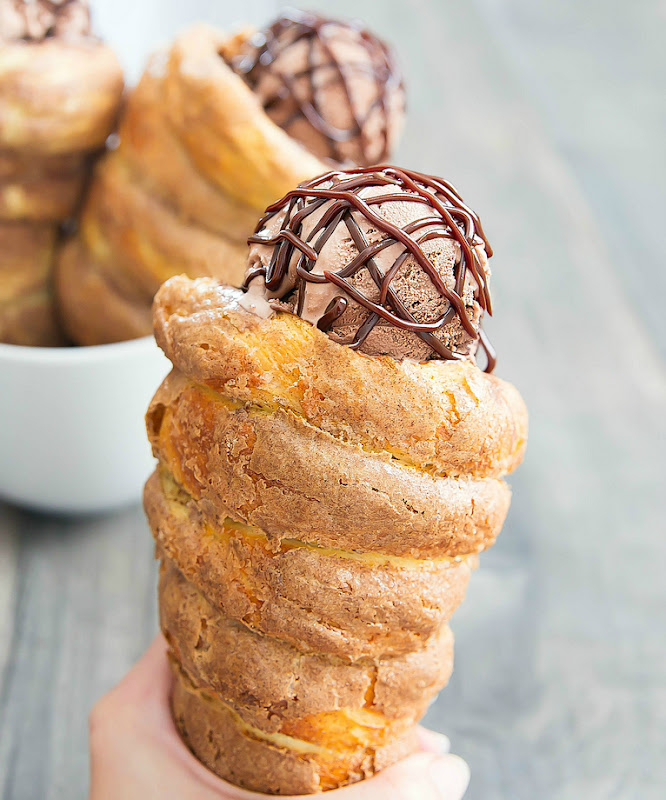
The famed cones are from a cafe in Prague, Good Food Coffee and Bakery. Though they have been dubbed “doughnut ice cream cones” they aren’t actually doughnuts. Instead, it’s a take on trdelník, a traditional Slovak pastry which is usually wrapped around rods and roasted above an open fire, and then topped with sugar and walnuts. The ones at the cafe are called Chimney cakes, and filled with chocolate, ice cream and other toppings.
I’ve never had a trdelník (though now I really want to), nor do I see any opportunities to visit Prague anytime soon. So I was determined to try to make my own. While I found dozens of articles documenting this current trend, I couldn’t find any recipes. Then I searched for trdelník recipes. This also was a problem, since they usually require you to use a special device to cook it. The dough is wrapped around rods and constantly rotated over an open flame for several hours. I do have a lot of kitchen appliances, but a trdelník cooker is not one of them.
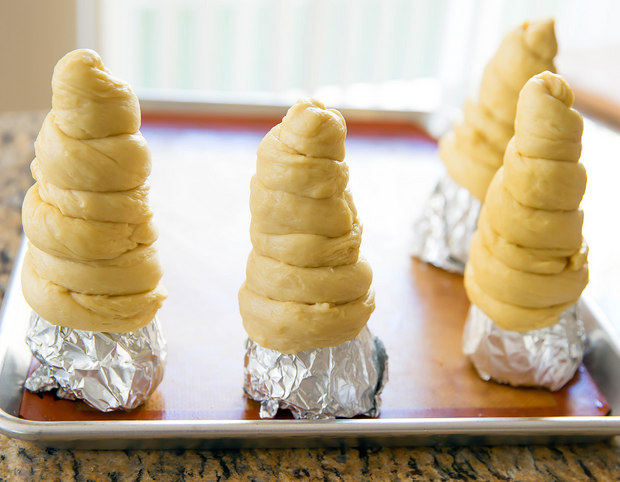
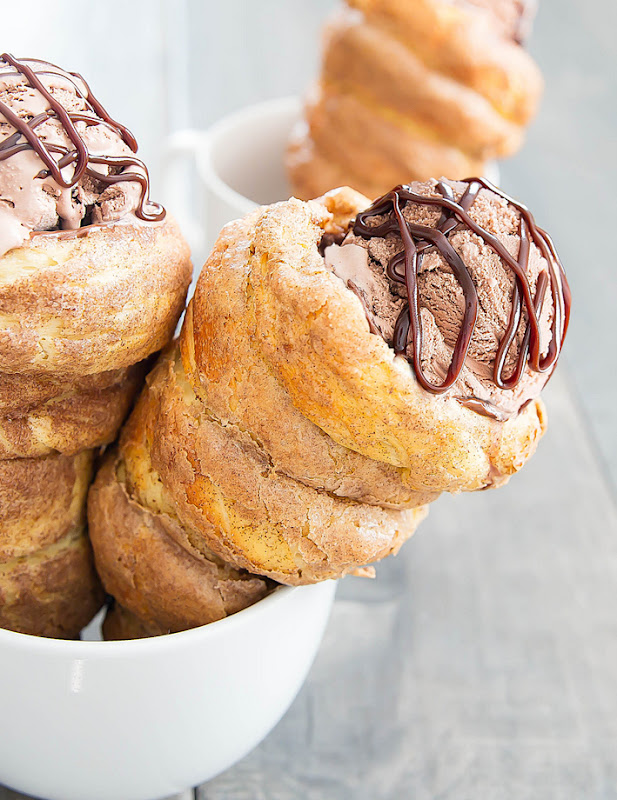
I finally was able to find one recipe that used an oven to bake them. And using that, I was able to tweak it to make the cones. I have no idea if these taste like the original, but they sure do taste delicious! I was so excited when I saw the dough start to puff up in the oven. I do wish I had done another dusting of cinnamon sugar, as it’s hard to see it, since I put it on before baking them. However, the baked egg wash + cinnamon sugar, did develop a delicious thin, delicate, meringue-like crust around the cones.
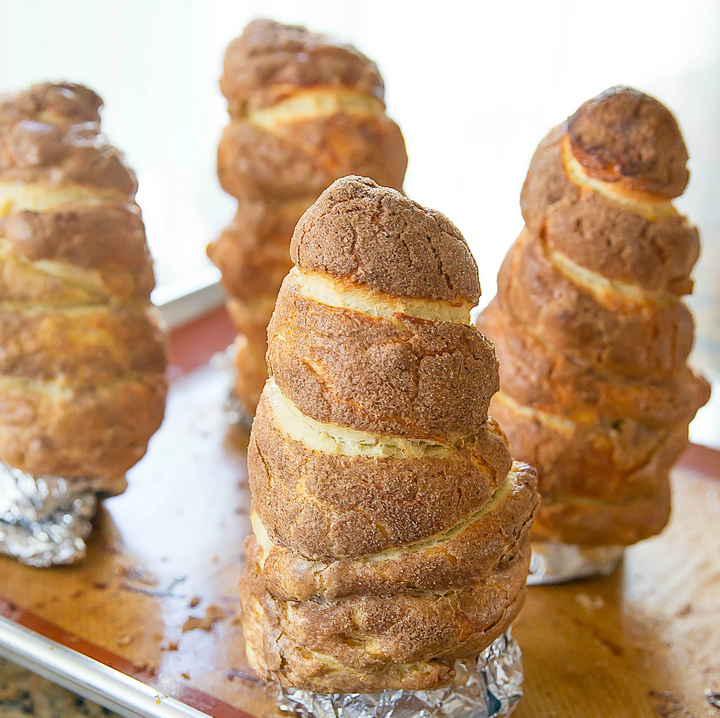
I filled mine with Nutella, and then ice cream and chocolate syrup. The ones in Prague are filled with soft serve, but unfortunately I don’t have my own soft serve machine (sad face). The Nutella, in addition to be delicious, acted as an inner lining, keeping melted ice cream from getting the cone soggy. These were so fun to eat!

If you like this recipe, you might like my Mexican fried ice cream, too.

Doughnut Ice Cream Cones (Trdelník)
Ingredients
for the cone molds
- 4 waffle cones
- foil
for the cones
- 2 1/2 cups all purpose flour
- 3 tbsp + 1 tsp sugar, divided
- 1/2 cup warm milk, divided
- 1/4 cup unsalted butter, room temperature
- 2 large eggs
- 1 packet, 2 1/4 tsp active dry yeast
for the cinnamon sugar coating
- 1 large egg
- 1 tsp water
- 2 tsp cinnamon
- 1/2 cup granulated white sugar
for the filling
- 1 cup Nutella, divided
- ice cream of your choice
- chocolate syrup
Instructions
- In a small bowl, add yeast, 1 tsp sugar, and 1/4 cup warm milk (it should feel warm to the touch but not hot; if it's hot, it might kill your yeast). I warmed mine up in the microwave for 15 seconds. Let mixture sit and bubble for about 10 minutes.
- In a stand mixer, add remaining cone ingredients (flour, sugar, butter, eggs, milk) as well as the yeast mixture. Attach the dough hook to your stand mixer. Mix on low until everything is combined. Then turn to medium-high speed and knead dough for about 5 minutes. The dough should have pulled apart from the edges of your bowl.
- Cover the bowl with a lightly damp towel and let rise for about 1 hour, or until almost doubled in size.
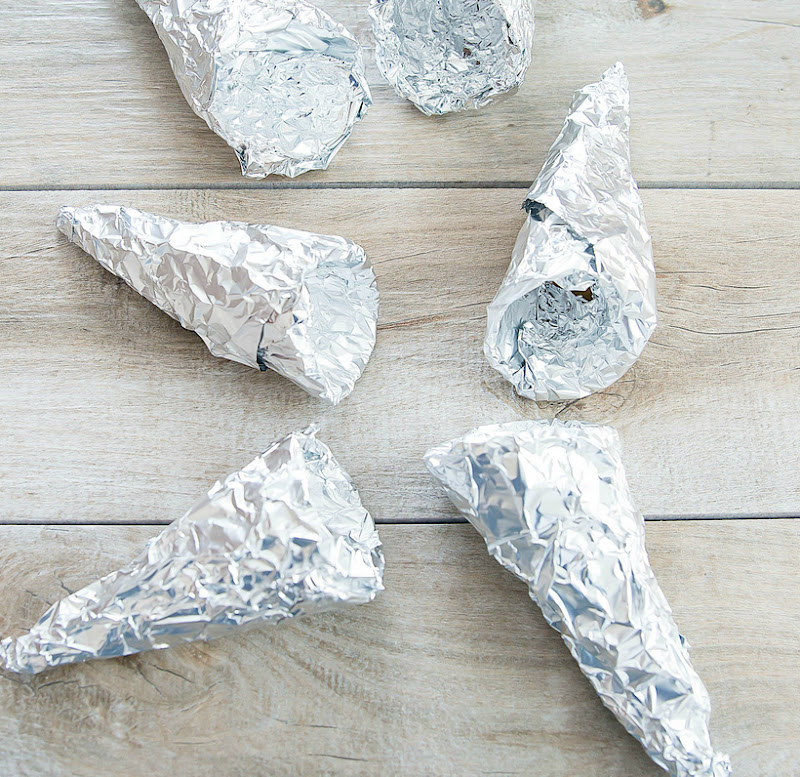
- While dough is rising, carefully wrap all your waffle cones entirely in foil. Line a large baking sheet with silicone baking mat or parchment paper.
- Preheat oven to 400°F. When the dough is ready, divide dough into four equal sections. Roll each section into 2 ropes, 1/2 inch thick and about 12 inches long. Grease your molds lightly with oil spray. Starting from the pointed end, wrap your dough around the cone a few times, tucking in the end piece into the dough above it. Take a second rope and start wrapping where you left off. When you reach the end, take a toothpick and push it into the end piece and secure it to the rest of the cone. Your dough should take up about 2/3 of the mold and will expand more when baking. Make sure when you are wrapping that you don't leave any gaps. Once finished, stand the cone up, so that the pointed edge faces up. Since the waffle cone will be a little unstable, use a little more foil to help stand it up. To provide more support, lean it up against one of the inside edges of the baking pan. Repeat with remaining cones.
- In a small bowl, whisk 1 egg and 1 tsp water to make the egg wash. Pour cinnamon and sugar into a separate bowl and whisk together briefly. Then pour cinnamon sugar into a pan wide enough so that you can roll your cones in. Brush each of your cones with the egg wash. Then, roll them in the cinnamon sugar mix a few times until the cones are evenly coated. Carefully place them back, standing up, on the baking sheet.
- Carefully place your baking sheet into the bottom third of your oven. Make sure you don't place them too close to the top of the oven. You want the tops of the cones to be a few inches away from the top of the oven so that the tips don't burn while baking. Bake for about 15-20 minutes until they are a puffy, look fully cooked and are a dark golden brown.
- Warm up your Nutella in the microwave for easy spreading. Carefully remove cones from molds and extract the toothpicks. Line each cone with about 1/4 cup of Nutella. Scoop in your favorite ice cream. Top with chocolate sauce. Cones are best enjoyed warm.
I made these earlier this year and I loved them! I want to make them for a Thanksgiving luncheon at work with different fillings. Do you know how the cones would keep if made ahead of time? How would you suggest they be stored? Thank you in advance! 🙂
The cones are actually a type of pastry, so they are going to be best when they are freshly baked. That said, you could bake them a day ahead and store them in an airtight container at room temperature. Just make sure you allow them to cool fully before storing them – if they are warm, steam will release in the container and soften the pastry.
This tasted just like at the state fair! I made 8 smaller cones instead of four. I also just ran the cones under the faucet and then sprinkled the cinnamon sugar on. Much easier than trying to paint an egg mixture on. Thanks, great recipe!
I’m glad these turned out well for you!
maybe this is weird but does this taste more like a doughnut or a cinna bun
It doesn’t really taste like a donut to me, so I do think the name is slightly misleading. It’s more like a cinnamon sugar coated pastry. It’s more bready than a doughnut but not quite to a cinnabun either.
These turned out amazing!! Yeah, they’ve definitely been the hype for the past couple of weeks or so all over Instagram!
thanks!
wow, you’re so on top of things! i think i heard about these only a couple days ago haha. visually, they remind me of the cone foods from car’s land at california adventure (but i’m betting that this is a lot tastier than their thin, dry cone!).
There’s a donut shop in my city that has been coming up with their own version. the last two weeks they kept sharing photos of their progress and teasing when they are going to release them. It was driving me nuts because I would see a photo every day on Instagram! I know the lines will be insane once they come out with it, and I really don’t want to wake up super early and wait in those lines, so I thought I’d try making my own!
What. The. Heck. This is absolutely brilliant! You just combined two of my favorite desserts into one. Have to try this!!
Definitely give it a try. these were so delicious!
Props to you for bringing these beauties to life- I was starting to think they only existed in my dreams!!
I am so surprised I couldn’t find a recipe anywhere! I was so sure with all the hype that one of the big food sites would have already cranked something out. So happy I made them though!
WOW – great job!
aw, thanks! It wasn’t actually too hard. I’m sure the real version cooked over open fire is much better, but I enjoyed these. Now I just need to go to Prague.
Very yummy! Maybe you’ll have to open a shop!
opening a shop would justify buying a soft serve machine and the device used to cook these over fire. haha!