

2 Ingredient Mochi Ice Cream
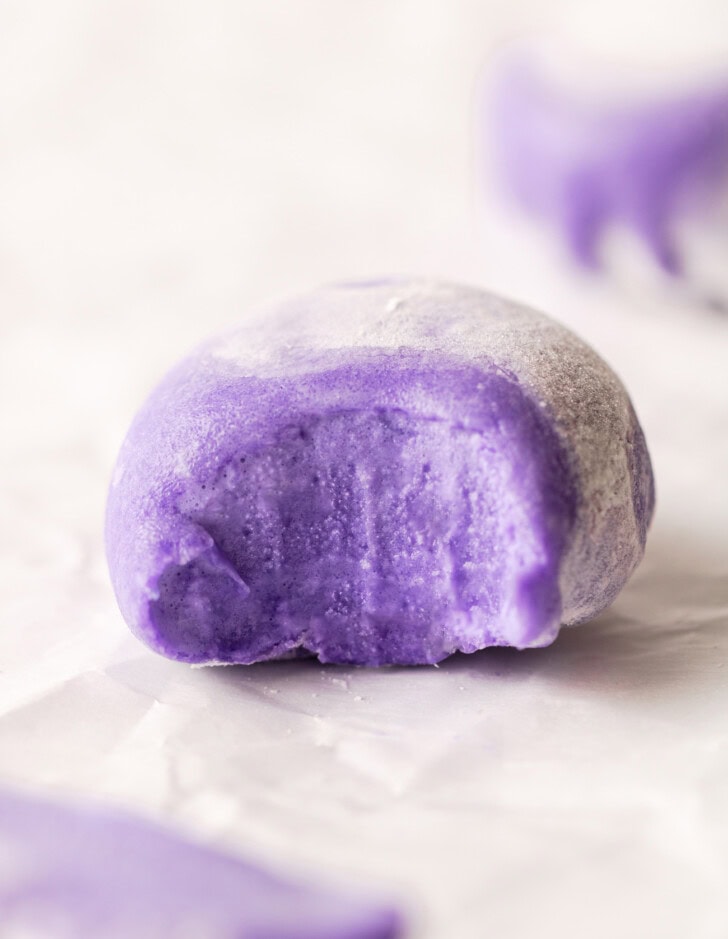
This shortcut version of mochi ice cream is an easy way to make this popular dessert at home. You only need 2 ingredients to make it and you don’t need any special tools. You can customize them with whatever flavor you prefer.
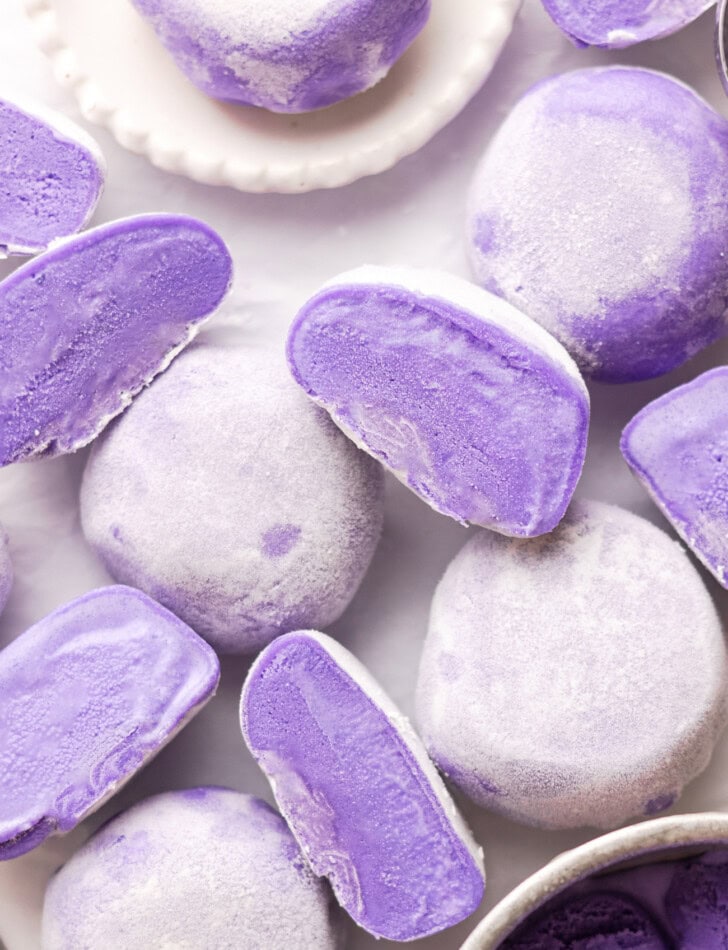
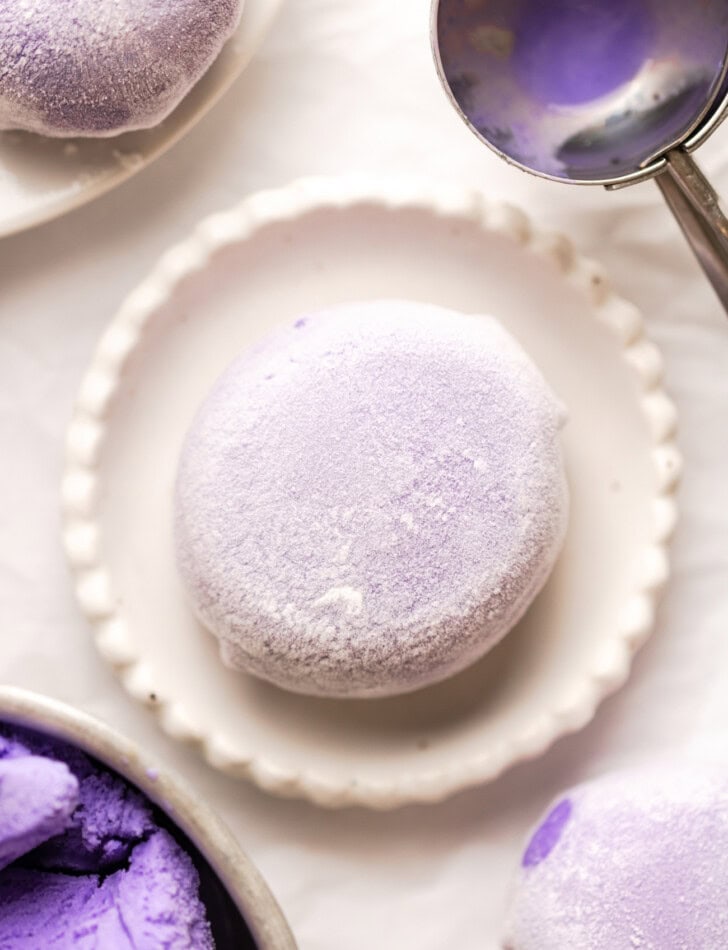
Mochi ice cream is one of my favorite summer desserts. I’ve made homemade versions in the past and it’s always been a lot of work but this version is so easy and only requires 2 ingredients.
Ingredients
- Ice cream
- Mochiko rice flour
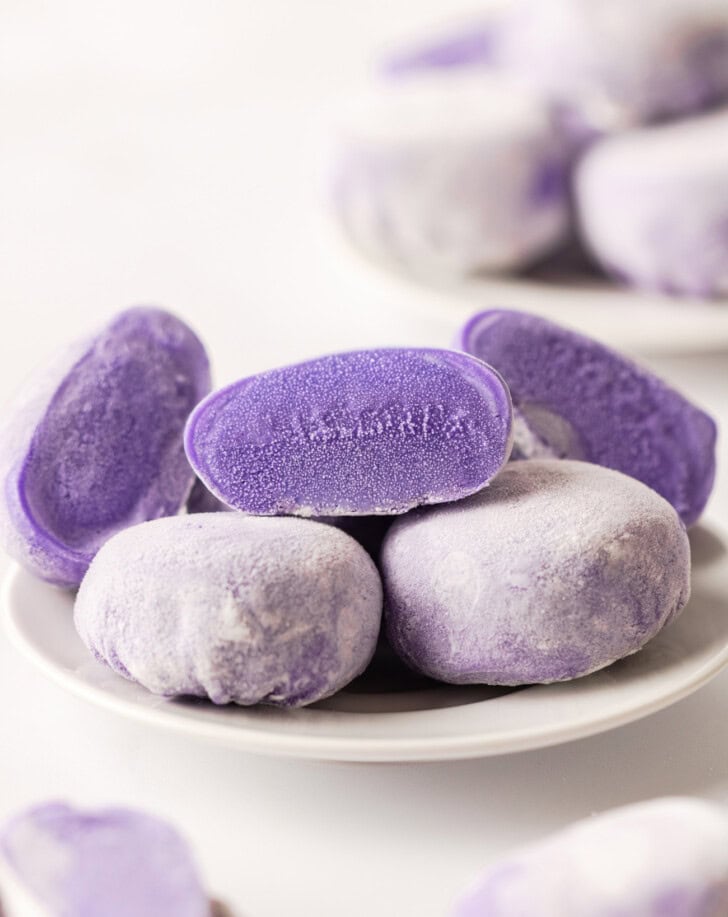
Ice cream: You can use any ice cream flavor. I used ube flavored because I love the purple color. Make sure to use regular ice cream and not sorbet. I also recommend choosing a strong flavored ice cream so that the dessert has more flavor. For example, vanilla will make the dough taste more plain since vanilla is a much lighter flavor.
Mochiko rice flour: Mochiko rice flour is a type of Japanese glutinous rice flour, also known as sweet rice flour, that is often used to make mochi. It is key to the dough having its chewy texture. I am able to find mochiko at most of my local grocery store chains and it is also available through online retailers.
How to Make Mochi Ice Cream
- The ice cream is first divided into individual portions and placed into the freezer to freeze solid.
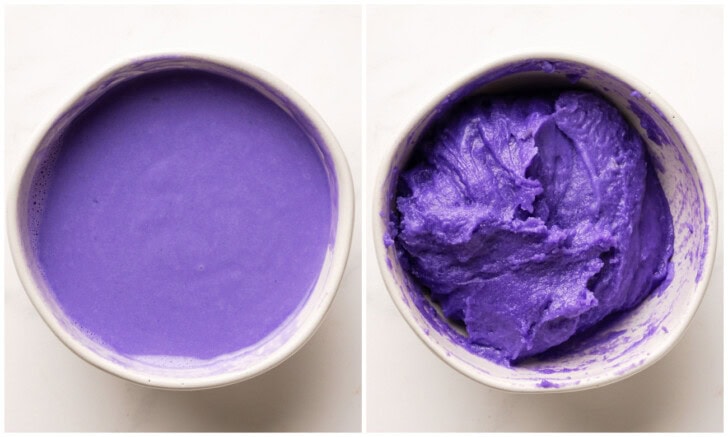
- Melt the remaining ice cream and stir into the flour until a dough forms.
- Cook the dough in the microwave in 30 second intervals until it is cooked.

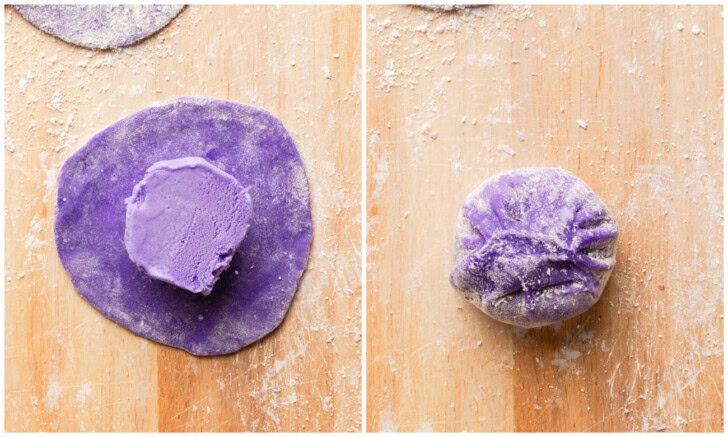
- Lightly dust your work surface with cornstarch. Roll the dough into 3.5 inch wide circles.
- Place an ice cream scoop at the center of each dough. Wrap the mochi dough over the ice cream and pinch the top seams to seal. Use kitchen scissors to cut off any excess seams bunched at the top. Place the mochi back into the freezer until the ice cream is frozen solid again.
Expert Tips
- The mochi dough is most malleable while it is warm. So you do want to work quickly once the mochi is finished cooking.
- I recommend wearing kitchen food prep gloves, such as food-safe nitrile gloves, if you have them. It makes it easier to handle the warm dough and also prevents sticking.
- You can use whatever ice cream flavor you prefer but I recommend using a strong flavored ice cream so that the mochi dough has more flavor.
More Ice Cream Recipes
2 Ingredient Mochi Ice Cream
Ingredients
- 2 (packed) cups (309g) ice cream, divided; I used ube flavored
- 1/2 cup (73g) mochiko glutinous rice flour, see note
Instructions
- Prepare the Ice Cream Filling: Scoop 2 tablespoons of ice cream and place onto a piece of plastic wrap. Gather the plastic wrap around the ice cream. Twist the plastic wrap tightly at the top to form the ice cream into a smooth, round ball. The plastic wrap helps maintain the shape and makes handling the ice cream easier. Do this 9 more times so you have a total of 10 ice cream balls. Place ice cream balls inside a muffin pan. Place the pan in the freezer to firm up while you prepare the mochi, at least 2 hours. You want the ice cream filling to be completely frozen solid otherwise it will be very difficult to work with.
- Make the Mochi Dough: Wait until the ice cream balls are fully solid before making the dough because the dough is most malleable and elastic right after it is done cooking and while still warm. Add remaining 3/4 (packed) cup of ice cream to a medium microwave-safe bowl. Cook for 30 to 60 seconds until melted. Then stir in the glutinous rice flour until evenly combined.
- Tightly cover the bowl with plastic wrap and microwave the mixture on high for 30 seconds, then stir. Continue microwaving in 30-second intervals, stirring in between, until the dough becomes thick, sticky, and changes in color. (See photo in post for reference). Mine changed from a very light pale purple to a darker shade of purple. Mine took about 1.5 minutes total but timing will vary depending on your microwave.
- Shape the Mochi: Lightly dust your work surface with some cornstarch. I like putting the cornstarch through a fine mesh strainer so that it is very light on the surface and not too clumpy. The mochi is most malleable while it is still warm so I recommend wearing food-safe kitchen prep gloves to work with the mochi while it is still warm. If you don't have such gloves, you can let the mochi dough cool until it is cool enough to work with but the mochi will be less elastic and your end product will have a thicker dough. Divide the dough into 10 equal portions (use a scale for more accuracy). Roll each portion into a 3 ½ inch circle. The dough round should be quite thin.
- Assemble the Mochi Ice Cream: Working quickly, place one ice cream scoop in the center of each mochi circle. First lift the two vertical ends of your wrapper up and over the mochi, meeting in the center, and pinching the center closed. Then lift the two horizontal ends and also pinch in the center. Then lift and pinch in the other remaining gaping sections. You should have a bunch of dough gathered and pinched together at the end. Using a pair of kitchen scissors, trim off the excess seam. When wrapping the mochi, you need to be very careful that the filling doesn’t touch the edge of the wrappers because if the edge of the wrappers get wet, then they won’t seal when you pinch. This is why you also need to work quickly because the ice cream will start to melt as soon as it comes in contact with the warm mochi skin.
- Place the mochi back into the freezer. Line your muffin pan with muffin liners. Place the mochi into the liners and back into the freezer. Allow the mochi to freeze solid before serving. Store uneaten mochi in the freezer in an airtight container.
Notes
- You want to start working with the mochi dough while it is still very warm so it's best to use kitchen prep food safe gloves. When the mochi skin cools down it loses some of its elasticity.
- Mochiko note: I used Koda Farms mochiko rice flour.* I am able to get this at my local grocery store (Vons/Safeway) and Japanese markets. It is also available online at retailers like Amazon. Another popular brand that you may be able to find is Bob's Red Mill.
- *These product links are affiliate links. This means I earn a commission from qualifying purchases.
Easy and delicious
Thank you! We’re glad you enjoyed this recipe!