

2 Ingredient No Bake Healthier Chocolate Cake
This no bake chocolate cake is rich and creamy. It only needs 2 ingredients and doesn’t require any flour, eggs, butter or oil. It is made with healthier ingredients but you won’t be able to tell. It also stores well and can be made ahead of time.
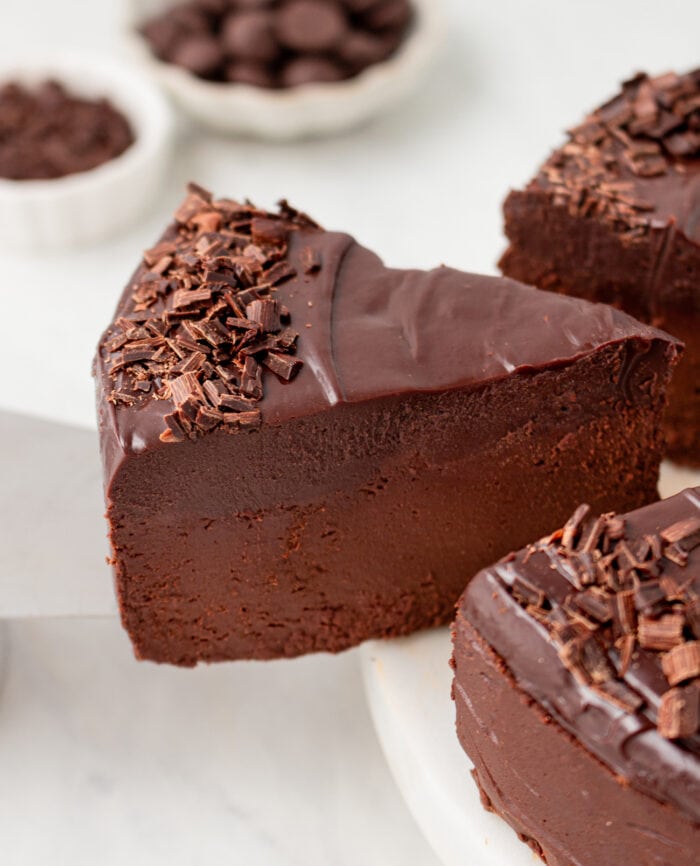
This no bake chocolate cake is so rich and will definitely satisfy chocolate cravings. I love that it is made with healthier ingredients.
Ingredients
- Dark chocolate chips
- Pumpkin puree
Dark chocolate chips: I recommend using 60% cocoa dark or bittersweet chocolate chips. If you use a higher percentage cocoa, the chocolate will be too firm and not as creamy.
Pumpkin puree: Pumpkin puree is the key to keeping the cake creamy and soft. I used canned pumpkin puree but you can also use homemade. I recommend using a thick puree that isn’t watery because watery puree will cause the chocolate to seize.
How to Make No Bake Chocolate Cake
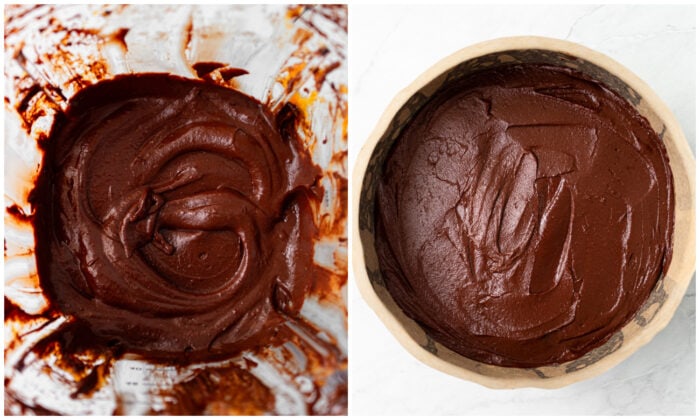
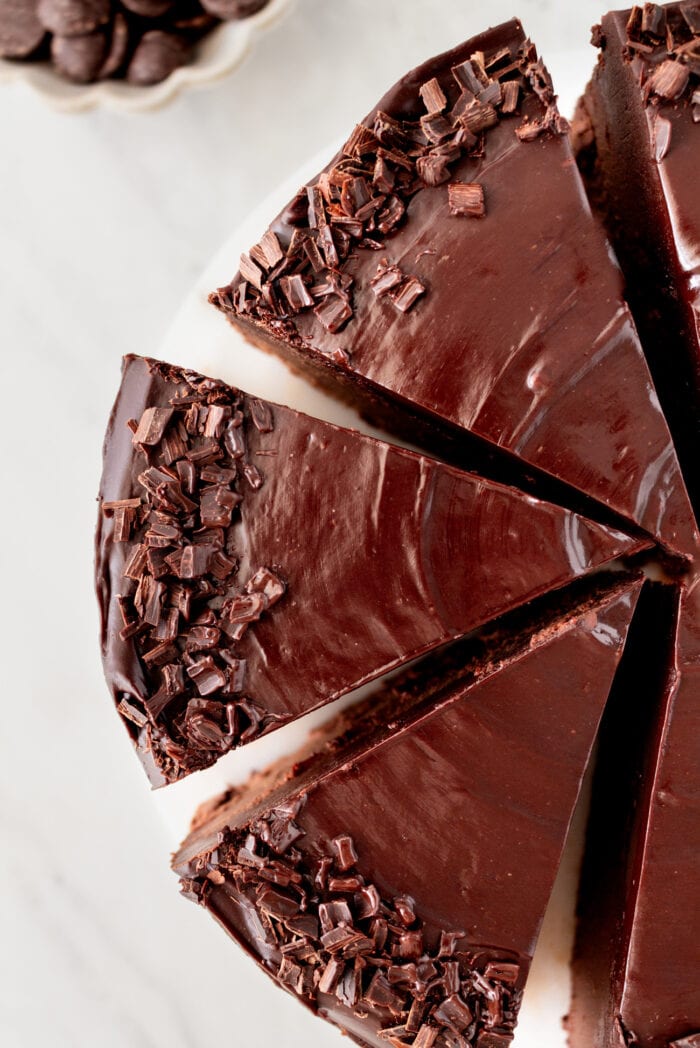
- The chocolate is melted until smooth. The melted chocolate and pumpkin are added to a blender and blended until smooth.
- The batter is then transferred into your prepared cake pan. The cake is placed into the fridge until set.

- If desired, you can decorate the cake with ganache or other frosting before serving.
Texture
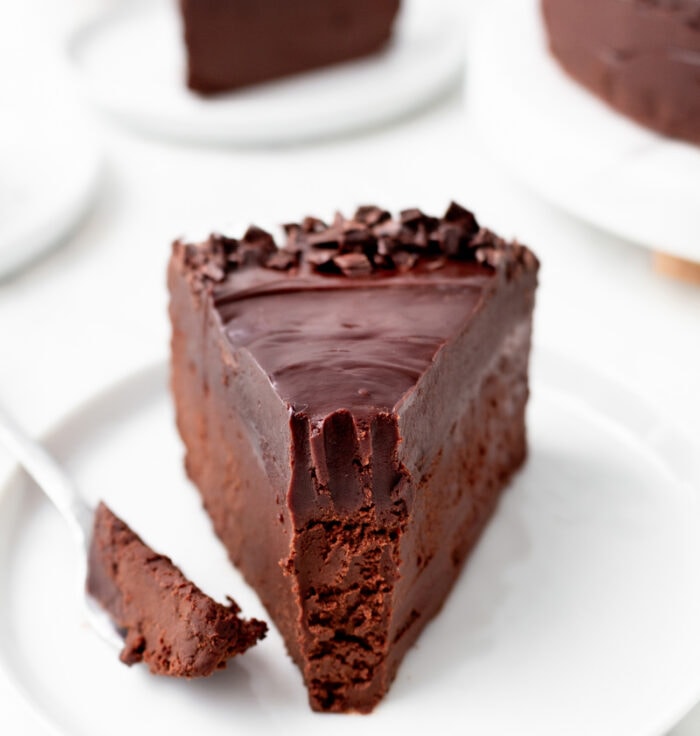
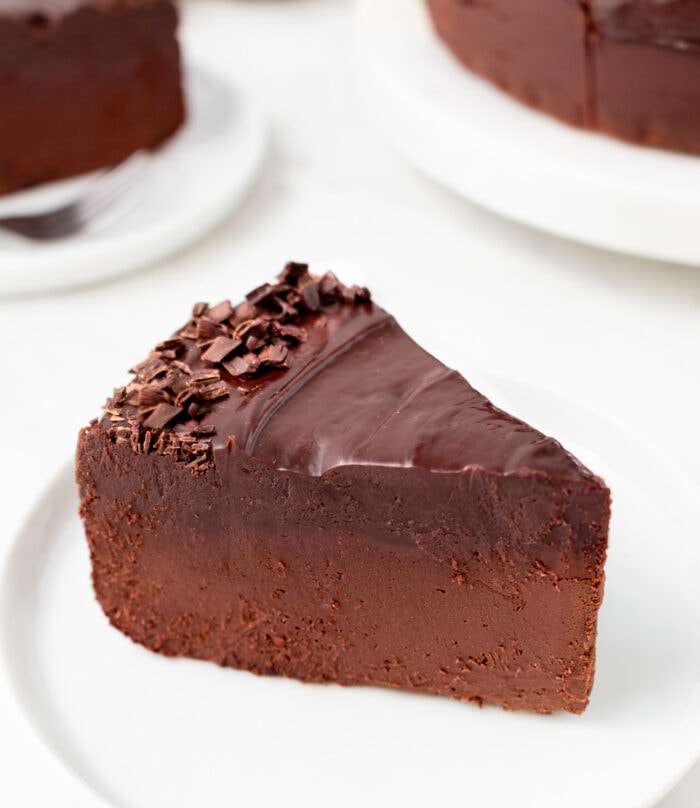
This cake does not have the texture of a classic baked cake. It is a no bake cake and instead has a creamy soft texture. The texture is similar to eating fudge. The cake is not super sweet and has a bittersweet level of sweetness.
Expert Tips
- I recommend using dark chocolate with 60% cocoa. If the cocoa amount is too high, the cake will be too firm.
- While you can just simply mix the dark chocolate and pumpkin with a whisk, blending them in a blender will create a much smoother texture.
- You do want to work quickly to transfer the batter to your prepared pan after the batter is blended because it thickens and sets very quickly.
More Healthier Cake Recipes
- 4 Ingredient Healthier Chocolate Cake
- 3 Ingredient Healthy Chocolate Cake
- 4 Ingredient Healthy Banana Yogurt Cake
2 Ingredient No Bake Healthier Chocolate Cake
Ingredients
- 3 cups (477 g) dark chocolate chips, 60% cocoa, see note before starting
- 1 3/4 cups (393 g) pumpkin puree, room temperature
Instructions
- Spray the interior of a 7-inch springform pan with cooking oil spray. Line the bottom with a parchment round. Also line the sides with long strips of cut parchment paper.
- Add chocolate chips to a microwave-safe bowl. Microwave in 15-30 second intervals, stirring in between with a silicone spatula, until the chocolate is completely melted and smooth. Alternatively, you could do this over low heat in a double boiler on the stove.
- Transfer the melted chocolate to a blender and also add in the pumpkin. Blend on high speed until uniform. You shouldn't need to blend too long (less than 30 seconds) so that you don’t overwork the chocolate. The goal is to mix the two until uniform and also break down the pumpkin further for a smoother cake.
- Working quickly, pour the mixture into the prepared cake pan and smooth the top with an offset spatula. You do want to work quickly because the batter begins to thicken and set soon after the ingredients are combined.
- Put in the fridge to set, around 2-3 hours or overnight. Once cake is set, carefully release it from the cake pan and peel off the parchment paper. If desired, frost cake before serving.
- When cutting cake into slices, use a large sharp knife and wipe the blade after each cut. This cake is very rich, so I do recommend thin slices. The cake was cut into more generous slices for the photos. Store any uneaten cake in an airtight container in the fridge or freezer.
Notes
- Dark chocolate note: Make sure to use dark chocolate chips (sometimes labeled bittersweet chocolate chips) that contain 60% cocoa. Also make sure your dark chocolate chips contain lecithin. Avoid brands like Enjoy Life that don't contain any lecithin because that ingredient is needed to help keep the chocolate smooth. I also recommend using a dark chocolate that contains dairy or a dairy substitute (if you need the cake to be dairy-free), as this also helps the chocolate be creamy.
- I used Ghiradelli 60% cacao bittersweet chocolate chips (not dairy-free) (Amazon | Target)*
- Try to avoid using a pumpkin puree that is watery, which can cause the chocolate to seize. You want to use a very thick puree. My favorite brand to use is Whole Foods 365.* Libby's is also fairly thick.
- *These product links are affiliate links. This means I earn a commission from qualifying purchases.
- This cake has a bittersweet level of sweetness. It is not meant to be super sweet.
- Optional chocolate frosting:
- ½ cup dark chocolate chips
- ¼ cup (2 ounces) canned coconut milk (can substitute with heavy cream)
- Add chocolate chips to a medium bowl and set aside. Heat coconut milk in a small pot or pan over medium low heat. Heat until simmering. Pour hot coconut milk over chocolate chips. Let sit for 60 seconds then gently mix until chocolate is completely melted.
- Estimated nutrition does not include optional frosting.
Taste great
I’m so glad you like it!
Since I probably can’t (or shouldn’t) use expletives in the comments section of this recipe page, please use your imagination to pepper in the colourful language of your choice at appropriate intervals throughout this review.
This recipe could absolutely be described as, “an absolute banger,” but as stated in the recipe description, it’s less of a cake and more of a fudge. A shockingly baller fudge, at that.
Full disclosure, I altered the amounts a bit to make it easier on myself. I’ve made this recipe at least four times now, and use one full 15oz can of Great Value canned pumpkin and one full 20oz bag of Ghirardelli 60% (minus a small handful for testing purposes, of course). Since it seems more at home in fudge form, I pour the mixture into an 8×8 pan lined with parchment paper (I lightly oil the pan itself so the paper sticks, but don’t put any oil between the paper and actual fudge, not sure if this matters). After it sits in the fridge for a few hours or overnight, I mix up the ganache (using maybe 2/3 of a Giant Hershey Dark bar and coconut milk) and top the fudge with it.
BUT WAIT, THIS IS WHERE IT GETS REAL MAGICAL.
After the ganache sets, cut the fudge up into small squares and let it sit in the fridge for a couple of days. Seriously, leave it alone, just try to forget that this beautiful thing exists, it still needs to incubate. You simply cannot rush perfection.
Letting it sit in the fridge allows it to truly blossom into the most rad fudge that by no means should have evolved from mere pumpkin and chocolate chips. The first time I made this recipe, I didn’t let it sit for a few days, maybe about 12 hours. But the first bite I took, I felt like Uma Thurman snorting coke in the bathroom of Jack Rabbit Slim’s. And it’s EVEN BETTER WHEN YOU WAIT TWO OR THREE DAYS.
Want a little extra magic? Before actually serving, sprinkle a little sea salt on top.
Didn’t think I’d be writing a love note to one of my recent favourite recipes today, but I’ve got a batch sitting in the fridge right now that I’m about to make the ganache for, so figured I may as well express my gratitude.
Thank you for taking the time to write this review. I really enjoyed reading it!
After choosing to definitely follow her recipe, reading your comment DOUBLED my speed for running to the store to get everything extra to put your own spin on it as well. Who couldn’t after that hilariously delicious comment, especially where Uma came in because this is how I feel when I eat perfectly made sweets hahaha. Thanks!
Looke good..
Thank you!
Recipe does not say how much of each ingredient to add????
All of the ingredients and the full recipe is always listed at the bottom of every post! You can also click the “Jump to Recipe” button at the top and it will take you right there.
Thanks for the recipes
You’re welcome!