
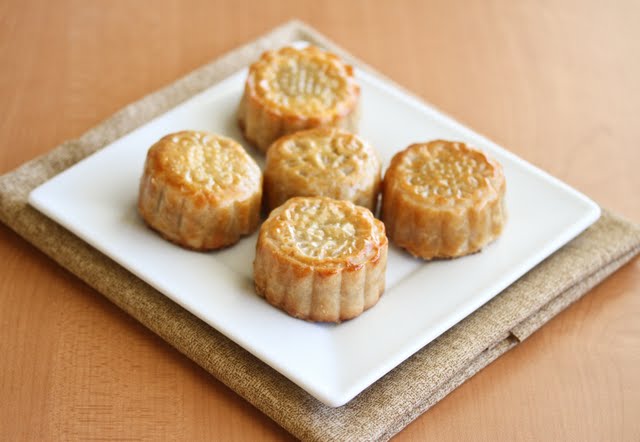
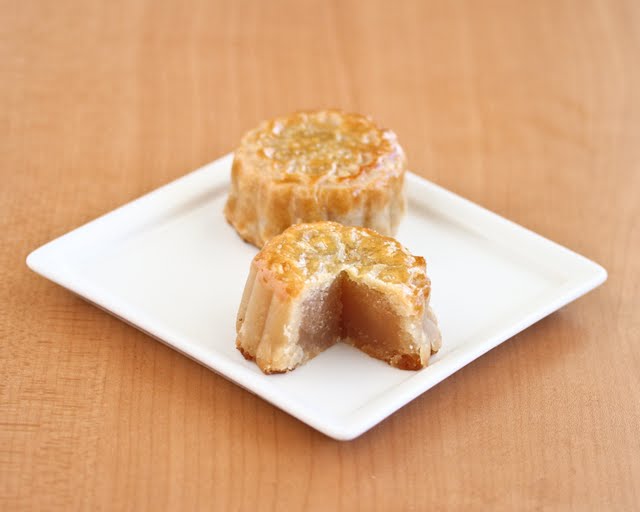
Moon Festival and mooncake eating ended about two weeks ago, but I didn’t get these mooncakes made in time. I still wanted to share my first attempt at traditional mooncakes though, along with step by step instructions and hopefully, some of you may find it helpful for next year.
Traditional mooncakes are much easier to make than I thought. Unlike the snowskin mooncakes, it was actually easier to find the ingredients too. The dough is ready in a matter of minutes, you don’t even need a mixer. Then you put then together and they are ready to bake. I’m definitely going to make these again next year and give them out as gifts along with the snowskin mooncakes.
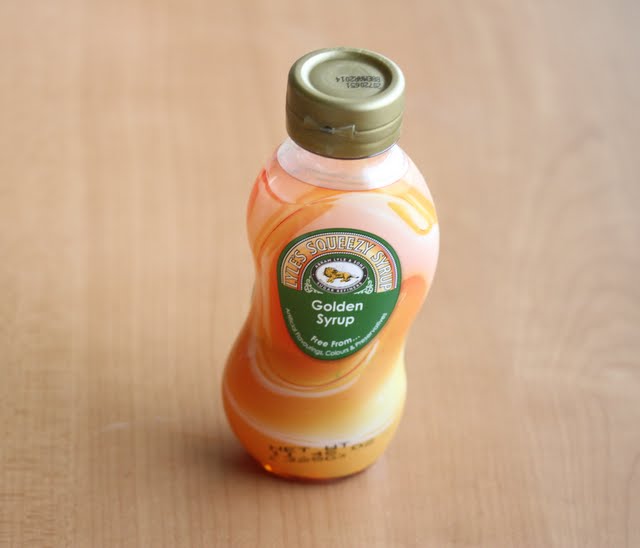
There are two key ingredients in this recipe that I wasn’t previously familiar with: alkaline water and golden syrup. Alkaline water is available at places like Whole Foods. It helps neutralize the golden syrup and keep the dough soft. The golden syrup I was able to find at World Market and it can be found at British shops and Amazon*. The golden syrup is what gives the pastry the golden color.
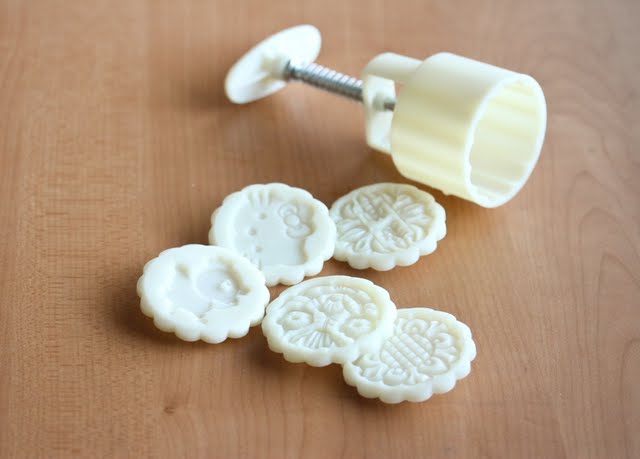
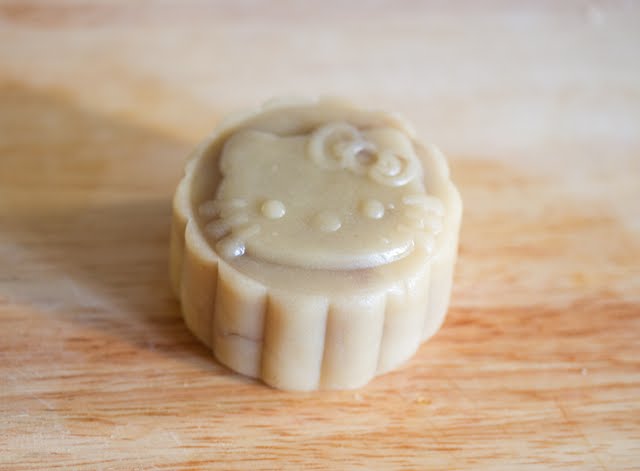
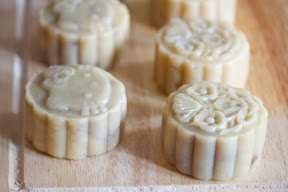
For the mooncake molds, I bought them on Ebay, using the same ones I did for the snowskin ones. (Update: they are now available on Amazon*!) As I previously explained, traditional mooncake molds are wooden and you press the mooncakes in them and then knock them out of the molds. These more modern plastic ones are much easier to use and to find. They come in different sizes. I purchased 100 gram ones and the recipe follows using 100 gram ones. I was hoping the Hello Kitty molds would come out better. They looked great when the dough was raw, but once it finished cooking, you can barely see the face.
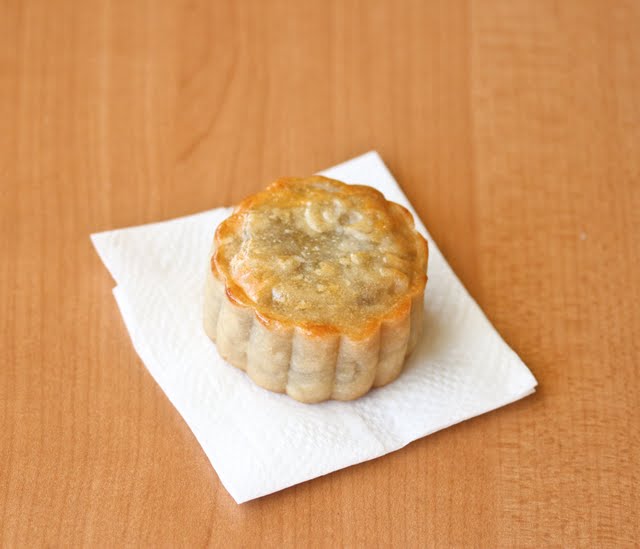
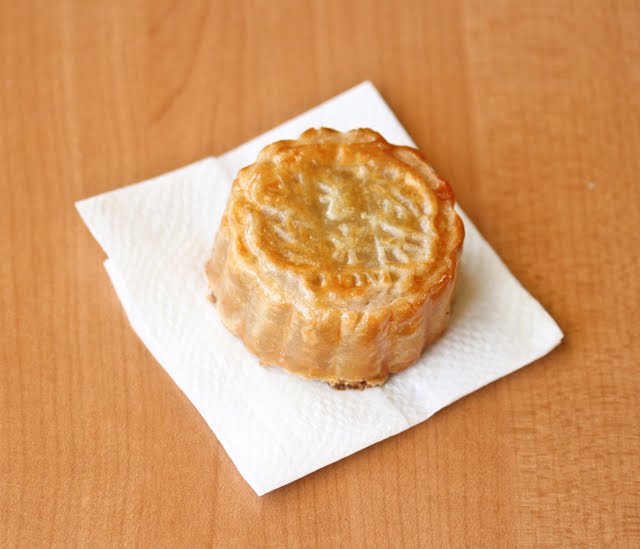
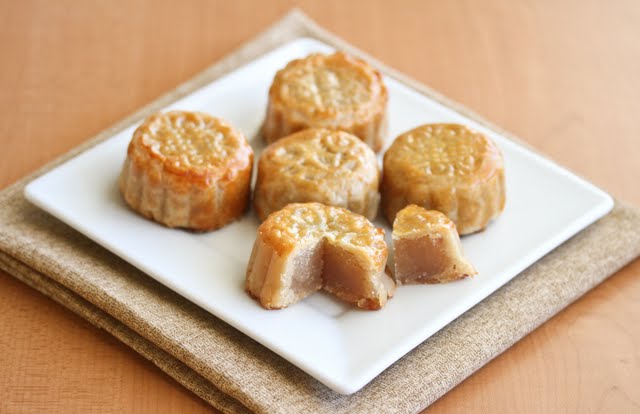
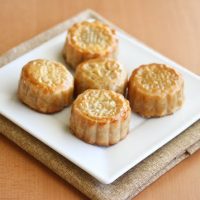
I’m still trying to get the color a little darker. These came out paler than I wanted. I think it may have something to do with the alkaline water so I’m going to experiment with some different ones next time. They still tasted good though and just like the ones I buy. For the filling, I used lotus paste and taro paste. I purchased both at Ranch 99, in the refrigerated prepared foods section.
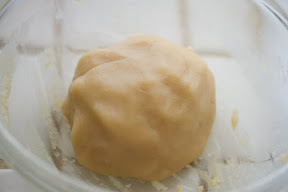
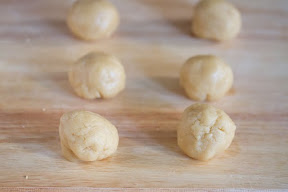
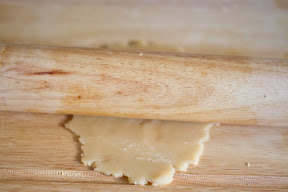
Here are some step by step photos, with the recipe below.
Special Tools:
Alkaline water (available at Whole Foods and other health food stores)
*Some of the links contained in this post are affiliate links. Much like referral codes, this means I earn a small commission if you purchase a product I referred (at no extra charge to you).
Traditional Mooncakes
Ingredients
- 100 grams plain flour
- 60 grams golden syrup (I used Lyle's, a British brand, available at World Market and Amazon)
- 1 tsp alkaline water available at Whole Foods
- 28 grams vegetable oil
- 420 grams premade lotus paste or taro paste or whatever paste you choose for filling
- 1 egg yolk for egg wash
Instructions
- In a large bowl, mix the golden syrup, alkaline water and oil. Sift in the flour and stir until all ingredients mixed. Knead into a dough with hands. Cover with plastic wrap and rest for 40 minutes.
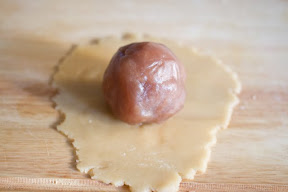
- Take dough and weigh out six sections, 30 grams each. Take filling, divide into six sections, 70 grams each. Take one dough section, roll into a ball, then flatten with a rolling pin. Roll until dough is very thin. Take filling, make into a ball and put in the center of the dough. Wrap dough around the filling until it is a thin layer covering the entire filling, and seal dough around filling.
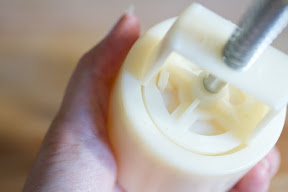
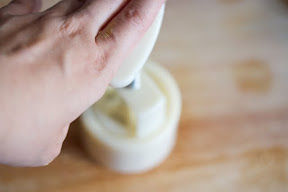
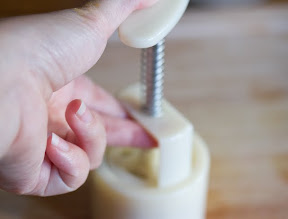
- Choose desired faceplate and connect to plastic mold. If using the plastic molds you will see a little piece which locks in and keeps the face plate on tight if you turn the knob. Place the dough ball into the mold, then put mold on flat surface and press down on the handle hard, shaping mooncake. To remove, press on the lever and slowly the mooncake will pop out. Repeat with remaining mooncakes.
- Preheat oven to 350°F. Place mooncakes on a baking sheet lined with parchment paper or silpat mat, spacing about 2 inches apart. Bake for about 10 minutes. Remove and quickly brush the mooncake tops with egg wash. Place back in oven and bake until golden brown, about 5-10 minutes.
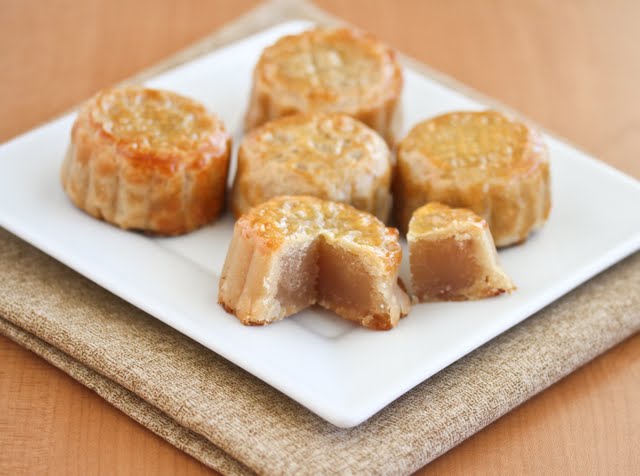
- Let mooncakes cool. After they are cooled, place in container and let sit for two days. Mooncakes will become darker, develop a shiny oil sheen and the face patterns will become a little more defined.
Notes
The nutrition information provided are only estimates based on an online nutritional calculator. I am not a certified nutritionist. Please consult a professional nutritionist or doctor for accurate information and any dietary restrictions and concerns you may have.


They look great! Lotus paste filling ones are my favorite, especially with egg yolks. Great job, Kirbie!
Me too! But I did not want to make the effort in putting in the egg yolks. Also for some reason in my family I’m the only one who eats the ones with the egg yolks. I figured just lotus paste might be more universally friendly.