
3 Ingredient Dubai Chocolate Bars
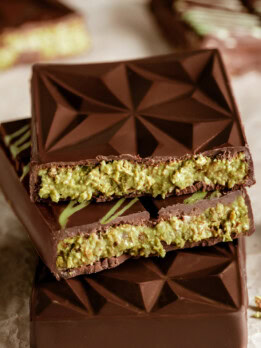
These Dubai chocolate bars have a creamy and crunchy filling that is so fun to eat. The bars need just 3 ingredients and are easy to make. They are also great for gifting and can be customized with different decorations and sizes.
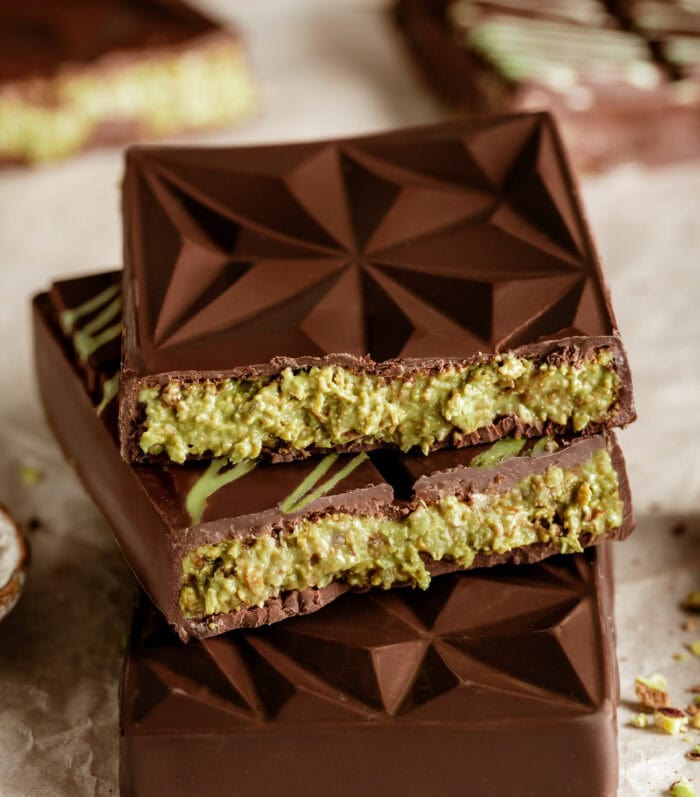
Dubai chocolate bars continue to be so popular and hard to find at stores but you can easily make your own at home. This simplified version I’m sharing does reduce some of the ingredients usually found in the chocolate bars, but I think it still captures the flavors and textures that I love most about the chocolate. I love making these for family and friends.
Ingredients
- Dark chocolate
- Pistachio cream (or pistachio butter)
- Kataifi (can substitute with shredded coconut and maple syrup)
Dark chocolate: I like coating my Dubai chocolate bars in dark chocolate. They are usually coated in milk chocolate but I find milk chocolate to be a little too sweet for me. However, you can coat the chocolate bars in whatever chocolate you prefer: dark, semisweet, milk or white chocolate.
Pistachio cream: Pistachio cream is pistachio butter that is already sweetened. You can use store bought pistachio cream which will save you a lot of time or you can make homemade pistachio cream. I do make my own pistachio cream because it has a more vibrant green color and I can control the sweetness level. I share my pistachio cream recipe in the recipe notes at the end of the post. You can also use pistachio butter instead of pistachio cream but your filling won’t be very sweet.
Kataifi: Kataifi, also known as Kadayif, is a finely shredded phyllo dough used to make many Middle Eastern desserts like knafeh. It is what gives the chocolate bars their crispy crunchy texture. Kataifi can be purchased online but if you can’t find kataifi, I’ve also made these with finely shredded coconut or coconut threads coated in maple syrup and baked until crispy, which mimics the texture and appearance of kataifi quite well. I share this substitution in the notes section of the recipe card at the end of the post.
Dubai chocolate bars often also contain tahini, a paste made from sesame seeds, which adds a richer flavor and balances some of the sweetness of the pistachio cream. Since my chocolate bars are already not as sweet as the original, I leave out the tahini.
How to Make Dubai Chocolate Bars
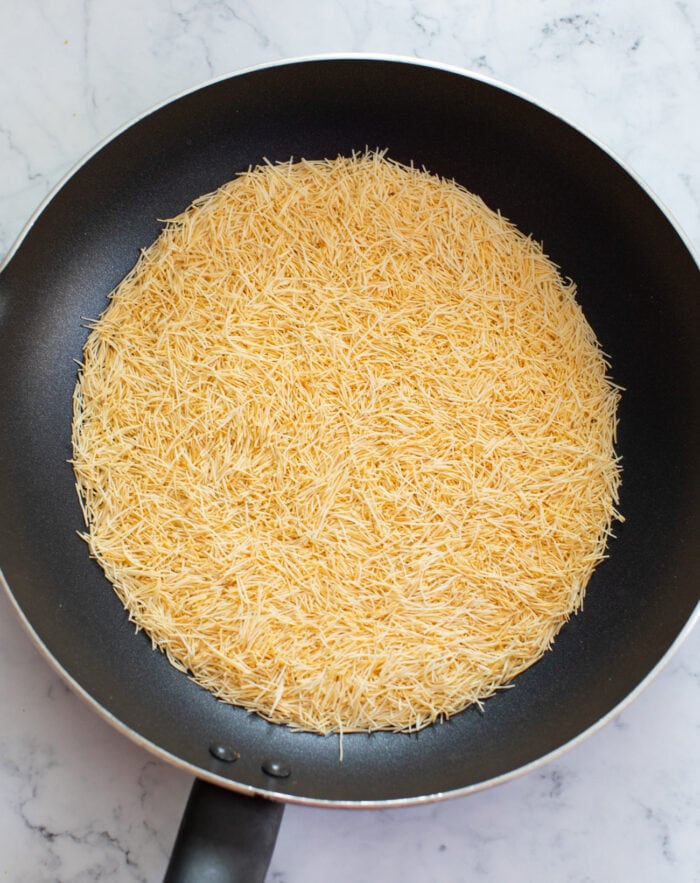
- Toast the kataifi in a nonstick skillet over medium low heat until it is golden brown. Let it cool.

- Mix the kataifi into the pistachio cream.
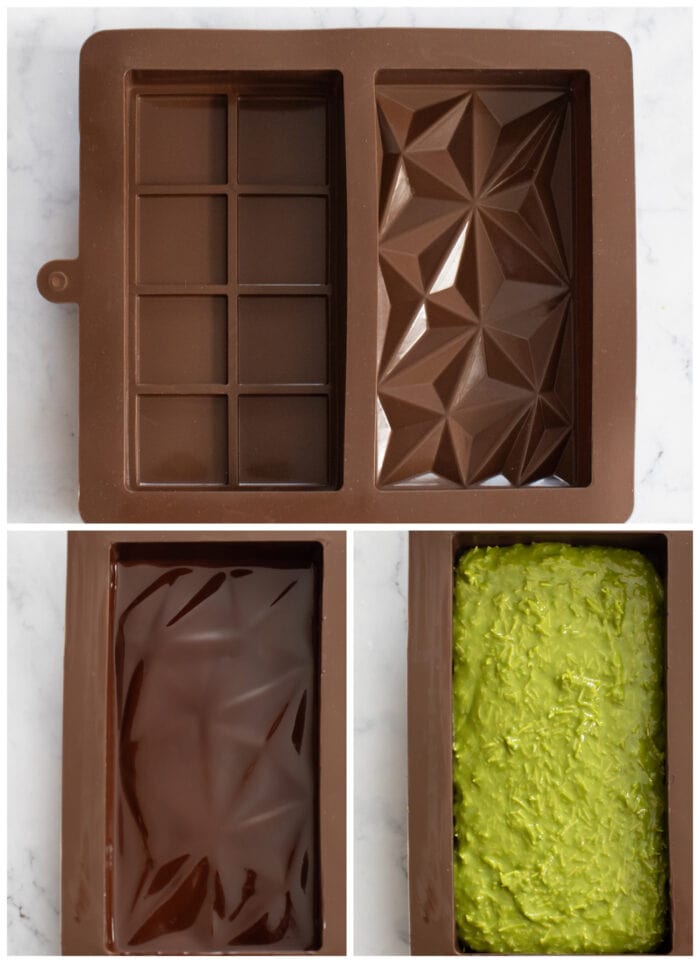
- Melt the dark chocolate chips until completely smooth. Pour and spread some of the chocolate into your chocolate molds.
- Put the chocolate into the fridge until set.
- Spread the kaitafi mixture into your chocolate molds. Then add the remaining melted chocolate on top, covering the chocolate molds. Place into the fridge until the chocolate is set and then enjoy!

What are Dubai Chocolate Bars
Dubai chocolate bars are a popular chocolate candy bar that went viral on TikTok. It was originally created by Fix Dessert Chocolatier in Dubai and was called “Can’t Get Knafeh of It.” When it became popular on TikTok, it was widely referred to as Dubai Chocolate Bars.
Expert Tips
- You can make a mini version without any chocolate molds. I do that with my healthier Dubai chocolate bars.
- The recipe I’m sharing makes very large bars. I wanted to make them like the ones I have seen and tasted in stores. They are great for special occasions or for gifting, but for casual eating, I prefer making them smaller with smaller chocolate molds.
- I recommend storing the bars in the fridge or freezer. Because they have so much filling, the chocolate will soften if left out at room temperature too long.
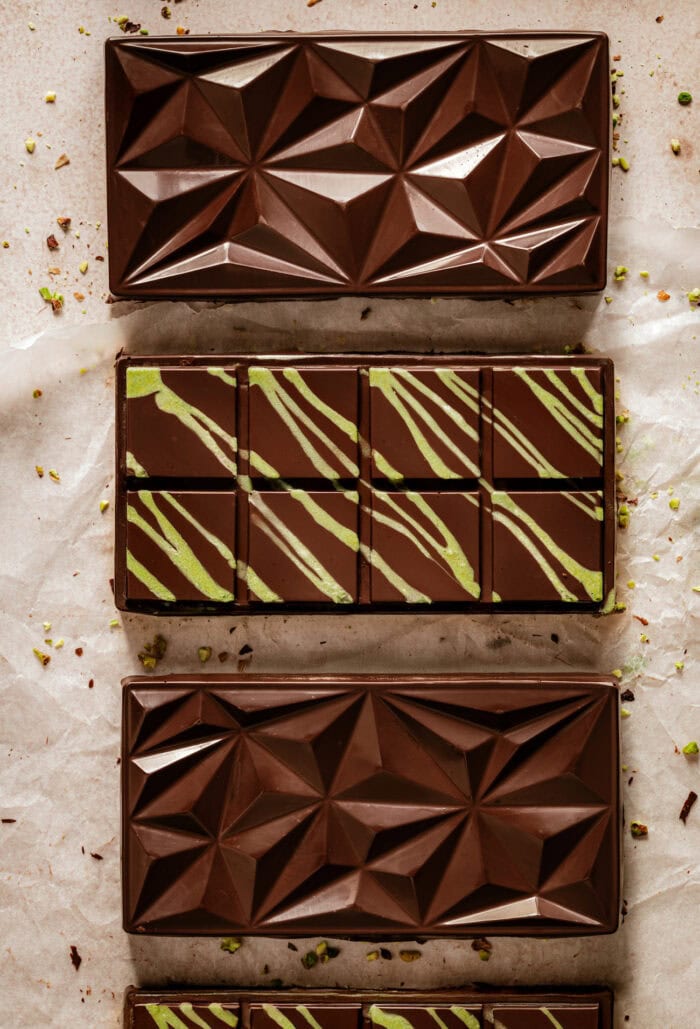
- You can decorate these bars with drizzles of melted white chocolate or other colored chocolate.
More Chocolate Candy Bar Recipes
- 2 Ingredient Chocolate Candy Bars
- 3 Ingredient Healthier Coconut Candy Bars
- 2 Ingredient Healthier Candy Bars
3 Ingredient Dubai Chocolate Bars
Ingredients
- 2 cups (112 g) shredded toasted kataifi, see note before starting
- 2 1/2 cups (381 g) dark chocolate chips
- 2 cups (488 g) pistachio butter
Instructions
- Add kataifi to a large nonstick skillet. Bring to medium low heat, stirring constantly until all of the kataifi becomes toasted and golden brown in color. Set aside to allow to cool.
- Add the chocolate to a large microwave-safe bowl. Heat in 30 second intervals, stirring in between with a silicone spatula, until melted and smooth.
- Pour some of the melted chocolate into the bottom of two large chocolate candy bar molds (6 inch x 3 inch and 7/8 inch deep). You will want to pour about 1/4 of your melted chocolate in each mold. Tap the bottom of the molds several times to help the chocolate spread out evenly across the molds. Use a pastry brush to brush the sides of the molds with chocolate so that the sides are also covered in a thin layer of chocolate.
- Place the chocolate molds into the fridge to harden, about 10-15 minutes.
- Meanwhile, make the filling. Add 1.5 cups of kataifi and pistachio cream to a large mixing bowl and stir until evenly combined. Your mixture should be like a thick creamy paste that isn't too runny. If it's too runny, add more kataifi until the mixture is thickened.
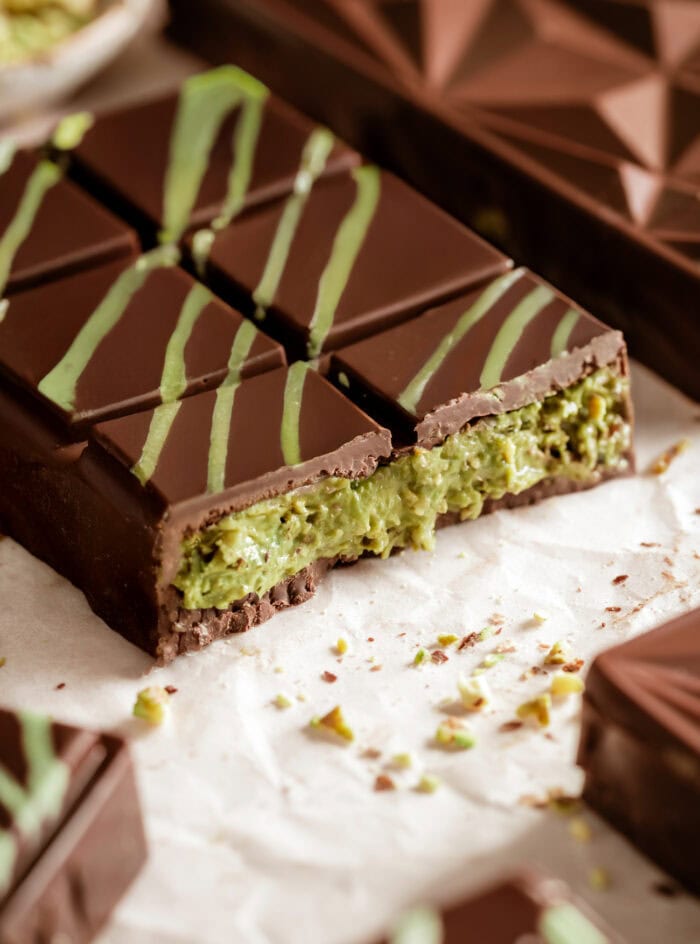
- Remove the chocolate molds from the fridge once they are set. Then spread and fill the molds with the pistachio mixture (about half in each mold but you should have some leftover unused). Use an offset spatula to spread the filling evenly across. You want to fill close to the top but leave a little space on top and around the sides for the chocolate coating. Then pour melted dark chocolate over the filling. Use an offset spatula to spread it evenly across. Place the molds into the fridge until chocolate is set. Once chocolate is set, you can unmold the chocolates and enjoy. Store chocolate in the fridge or freezer in an airtight container.
Notes
- I used these Dubai chocolate bar molds.*
- Kataifi note: I used UniqBite Kataifi* which is already chopped into two inch strands. Sometimes kataifi is sold still in long threads and then you will need to chop it into 2 inch pieces before adding to the skillet. The kataifi shreds will become even smaller as you toast them, and should end up being more like 1/2 inch pieces when you are done. Cup measurement is for the kataifi after it has been toasted as it is difficult to get an accurate cup measurement while the kataifi is still in longer shreds.
- *These product links are affiliate links. This means I earn a commission from qualifying purchases.
- Kataifi substitute. If you are unable to purchase Kataifi, I have also made these bars with shredded coconut and maple syrup which mimics the texture of Kataifi. To make the recipe with coconut and maple, you will need the following:
- 3 cups unsweetened finely shredded coconut or unsweetened fine coconut threads
- 6 tablespoons maple syrup
- Preheat oven to 350F (177C). Line an extra large baking sheet with parchment paper.
- In a large bowl add shredded coconut and drizzle maple syrup across. Use a spoon to stir vigorously for about 20-30 seconds until all the coconut is evenly coated in syrup.
- Transfer the coconut to your prepared baking pan, spreading it out in as thin as a layer as possible. It’s okay if the coconut is clumped together as long as it is still a very thin layer.
- Bake for about 8 minutes or until all of the coconut is a medium brown (you want it cooked more than golden brown but before it starts getting burned). Baking time can vary and it doesn’t take long for the coconut to turn from brown to burnt so I do recommend watching the oven carefully starting around 5 minutes. Let the coconut fully cool. Once cooled, the coconut should be very crispy.
- You do need to coat the coconut in maple syrup to achieve a very crispy coating that stays crispy even after being mixed with the pistachio cream. Just toasting coconut will not be enough. Also don't coat the coconut in honey. Honey will prevent the coconut from crisping up enough.
- I recommend reserving about 1 cup of crispy coconut initially. Add the rest to the pistachio cream and if needed add the remaining 1 cup. Different pistachio creams can have a different consistency so the amount of coconut needed to thicken the mixture can vary.
- Homemade Pistachio Cream
- My homemade pistachio cream is simpler than most pistachio creams that are made with dairy and sugar. Mine is also dairy-free. I start with my homemade pistachio butter and then add powdered sugar which melts better than regular sugar.
- 2 cups pistachio butter
- 1/4 cup powdered sugar
- Blend in a blender until the sugar is melted and fully incorporated. You can add a little more sugar to taste. I wanted mine to be lightly sweetened. If you add too much powdered sugar your pistachio butter will get very thick, but adding an extra 1-2 tbsp is fine.
- Avoid using liquid sweeteners like maple syrup which will change the texture of the pistachio butter and cause it to seize and thicken.
- My homemade pistachio cream is simpler than most pistachio creams that are made with dairy and sugar. Mine is also dairy-free. I start with my homemade pistachio butter and then add powdered sugar which melts better than regular sugar.
- If you prefer a different chocolate coating, you can make the chocolate coating with semisweet, milk or white chocolate. You can also add white chocolate drizzle before pouring the melted dark chocolate for decoration (you will need to let it firm up before adding the melted dark chocolate). I used green melting chocolate disks to make green chocolate drizzles.
- If you want your chocolate bars to be shiny you will need to take the extra step of tempering the chocolate and using couverture chocolate.
- The chocolate bars in the post are made with a store bought pistachio cream. The step by step photos use my homemade pistachio cream recipe.
- I also have a healthier version of Dubai chocolate bars.
- This recipe makes two very large chocolate bars. They are very rich, so I recommend small servings. The estimated nutrition is for 1/10 of one chocolate bar. It also assumes 1.5 cups of pistachio cream and 1.5 cups kataifi used across two bars because not all of the filling is used.