
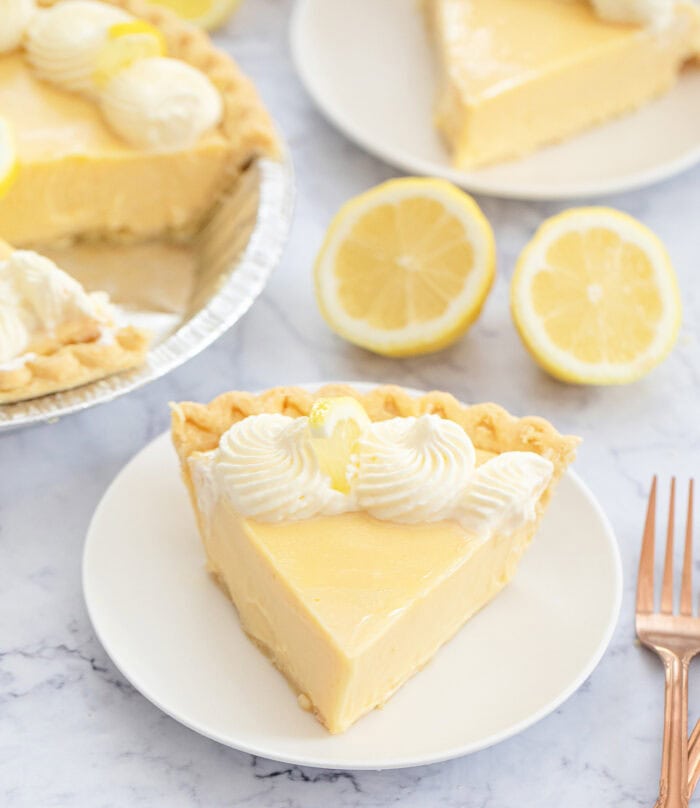
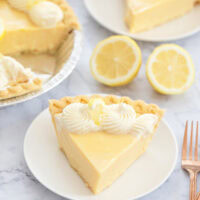
This magic lemon pie is creamy and full of lemon flavor. The pie is easy to make with just 4 ingredients. The creamy custard lemon filling magically comes together with only 3 ingredients. This version also doesn’t require any meringue topping.
I’ve been doing a lot of lemon pie research recently when I came across magic lemon pie, a recipe that has been around since the 1930s. This baked pie is easy to make and my version is even simpler because it doesn’t require you to make a meringue topping.
Ingredients
- Lemons
- Condensed milk
- Eggs
- Frozen pie crust
Lemons: This pie uses lemon juice to give it its tangy lemon flavor.
Condensed milk: You will need to use full fat sweetened condensed milk. When the condensed milk interacts with the acid from the lemons, it creates a creamy custard filling.
Eggs: Egg yolks help to stabilize the filling as it bakes and also adds more richness to the filling.
Frozen pie crust: I used frozen pie crust to make this recipe even easier. I recommend using the kind that comes shaped in a pie pan because there will be less shrinkage when the pie bakes.
The original version of this pie only makes half the amount of filling and then has a meringue topping. To make the recipe easier, I omitted the meringue topping and made double the filling instead. I also adjusted the egg yolk amount.
What is Magic Lemon Pie
Magic Lemon Pie or Magic Lemon Cream Pie was introduced in the 1930s. The original version was a no bake version which is now more often referred to as lemon icebox pie or 2 ingredient no bake lemon pie. It featured a filling made with just lemons and condensed milk and the magic was the way the two ingredients magically became a custard filling as a result of the milk protein from the condensed milk reacting with the acid from the lemon juice.
At some point, eggs were also added to versions of the recipe.
Then a baked version was introduced, which also added a meringue topping. This baked version became even more popular than the original and is what is now known as magic lemon pie.
If you’ve ever made key lime pie, this recipe may seem very familiar. Some believe that key lime pie came from magic lemon cream pie.
How to Make Magic Lemon Pie
- The crust is first prebaked.
- While the crust is baking, make the filling by mixing together the lemon juice, condensed milk and egg yolks.
- When the crust is ready, add the filling and bake the pie for an additional 25 minutes or until done.
Taste and Texture
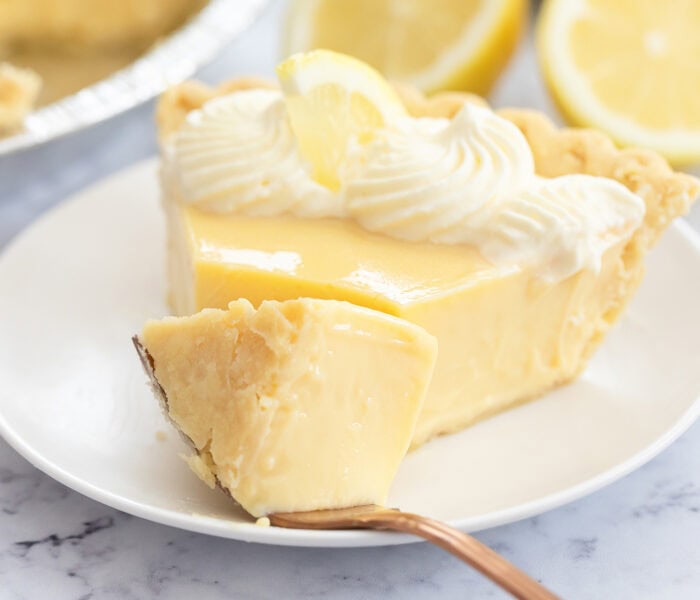
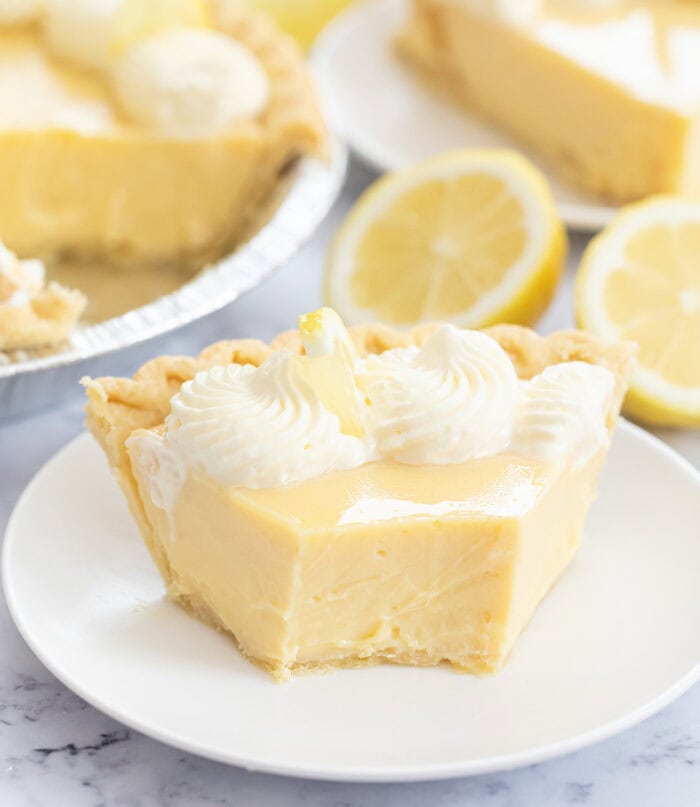
This pie has a very rich sweet lemon custard. The filling is similar to the no bake version I’ve shared except the filling is thicker and richer due to the egg yolks. It is similar to the texture of key lime pie but lemon flavored instead.
More Pie Recipes
4 Ingredient Magic Lemon Pie
Ingredients
- 1 frozen pie crust
- 1 cup (8 fl oz/237 ml) lemon juice
- 2 (14 oz) cans full fat sweetened condensed milk
- 4 large egg yolks
Instructions
- Preheat the oven to 375°F (191°C). Let pie crust soften to room temperature, about 10-15 minutes.
- Use a fork to prick the bottom of the pie crust several times (I did about a dozen times). You want there to be holes fairly evenly spread across the bottom. This will prevent the pie crust from puffing up during baking. Bake pie crust for about 15 minutes or until golden brown and cooked. Most pie crust brands recommend a higher baking temperature but I found that lowering the baking temperature slightly helps reduce shrinkage.
- While pie crust is baking, make the filling. Add lemon juice, condensed milk and egg yolks to a large mixing bowl. Whisk until all the ingredients are evenly combined and egg yolks are fully beaten and incorporated.
- Pour filling into the pie crust when it is done baking. Reduce oven temperature to 325°F (163°C). Place the pie back into the oven and bake for an additional 25 minutes or until filling looks done.
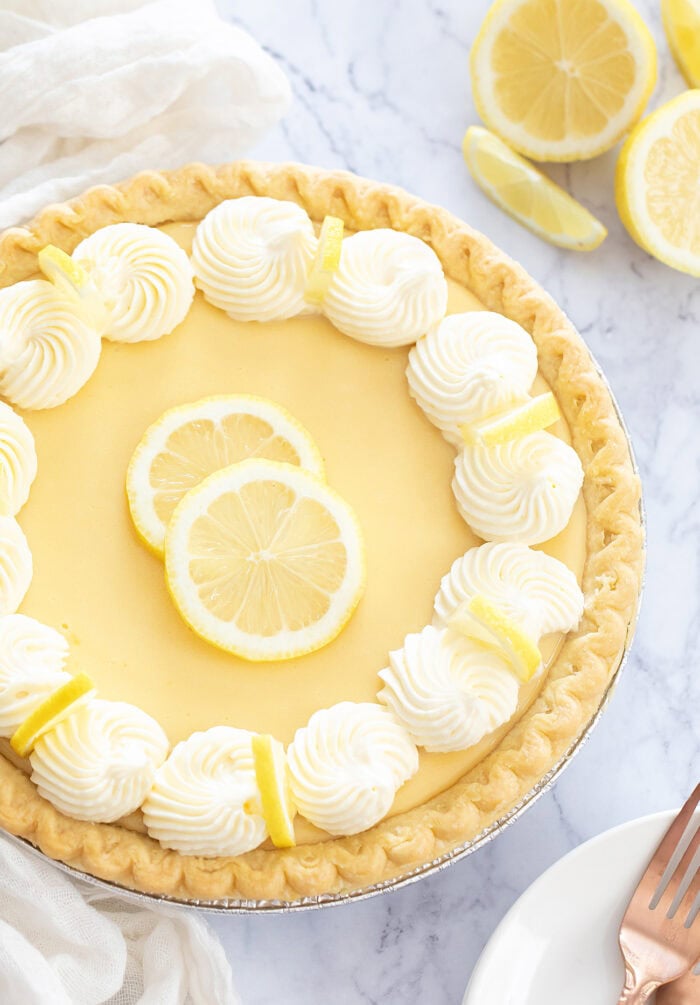
- Let pie cool fully before decorating. I garnished mine with fresh whipped cream. Keep pie in the fridge until ready to serve.
Notes
- Be careful not to overbake the filling. Baking too long will make the filling develop a gritty texture.
- This recipe needs to be made with condensed milk. Dairy-free condensed milk alternatives will not work. 14 oz refers to weight not volume. So you will need a total of 2 cans, 28 oz (weight) or 794 grams
- This recipe works best with frozen pie crust that is already preshaped in a pie pan. If you use the refrigerated pie crust that you have to roll out there will be a lot more shrinkage when the crust bakes. I like Wholly Wholesome* or Marie Callender's frozen pie crust*.
- *This product link is an affiliate link. This means I earn a commission from qualifying purchases.
- This pie is quite rich so I recommend serving smaller slices.
- You can use fresh squeezed lemon juice or store bought lemon juice. If using store bought, make sure that the only ingredient is lemon juice. Just because it is labeled "100% lemon juice" does not necessarily mean there aren't other ingredients in the bottle so make sure to check the nutrition label. I used Santa Cruz Organic 100% lemon juice and Whole Foods 365 Organic Lemon Juice. The RealLemon brand (sometimes in those little lemon shaped containers) will not work.
Nutrition
The nutrition information provided are only estimates based on an online nutritional calculator. I am not a certified nutritionist. Please consult a professional nutritionist or doctor for accurate information and any dietary restrictions and concerns you may have.


Love the lemon..so refreshing
Thanks Jeanne! We love lemon too!
I made this without the pie crust. Followed instructions to prepare the filling. Poured the filling into two oven-safe 24-oz soup bowls with handles, did not grease the bowls. Put the bowls in a 9×13 pan, added about 2 cups water to the pan, baked at 325 for 25 minutes. The texture was perfect. It is very rich so don’t need much even as a pudding/custard. Delicious! Will definitely make again.
We’re so glad you loved this recipe!!
Made as directed. You need a deep dish crust. I purchased a regular crust and the filling is pouring out and it is not cooking as directed
Sorry to hear that happened! This recipe works best with frozen pie crust that is already pre-shaped in a pie pan! If you use the refrigerated pie crust that you have to roll out there will be a lot more shrinkage when the crust bakes. I like Wholly Wholesome or Marie Callender’s frozen pie crust!
Just made it for my 4th of July get-together. Came out great; thanks for such an easy, delicious way to use my summer lemmons!
So glad you enjoyed this recipe!!
Have been making the Eagle Brand lemon meringue recipe for decades so was excited to try this recipe without meringue, which is very similar in ingredients and taste. Two comments: 1-I used a frozen Marie Calendar’s deep dish pie crust (9 or 10″) and I had way too much filling for even a deep dish crust so next time I’ll decrease the filling ingredients; and, 2-I added the zest of one lemon since, in my humble opinion, you can’t get too much lemon!
We’re glad the adjustments you made worked out well!! We’re a little surprised to hear you had too much filling. We did test with Marie Callendar crust and did not have that issue. Perhaps your pie crust shrank more than ours did
Have you tried adding the zest of the lemon, too (like key lime pie)? Or does it get too lemony?
We have not tested this recipe with lemon zest but it would depend on how much lemon flavor you like!
Love this pie. It’s from the 70’s and even better in a graham cracker crust! My favor As a kid!
A graham cracker crust sounds delicious too! Glad you love this recipe!
It was yummy!
Thank you!!
Thanks for your help information today!
Happy to help!!
Thanks for the recipe I lost my grandmother’s recipe!
So glad you enjoy this recipe!!
Morning all my family loves thanks
So happy to hear the whole family loves this recipe!
So simple & sweet. I love lemon pies. Thank you.?
You’re welcome! Glad you enjoyed this recipe!
I do so like the recipes you post !
Thank you Maureen!!