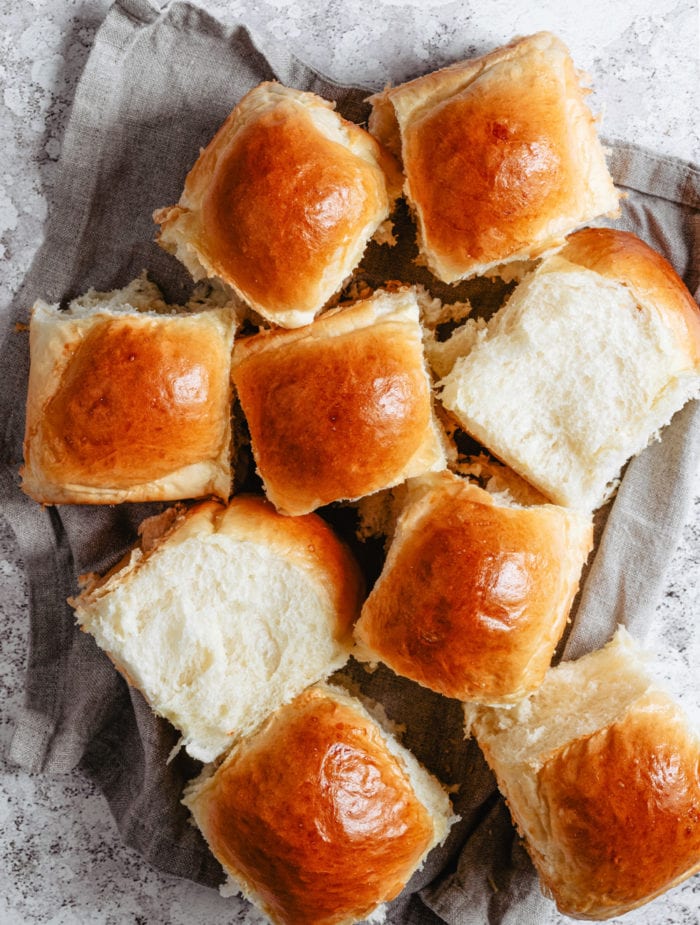
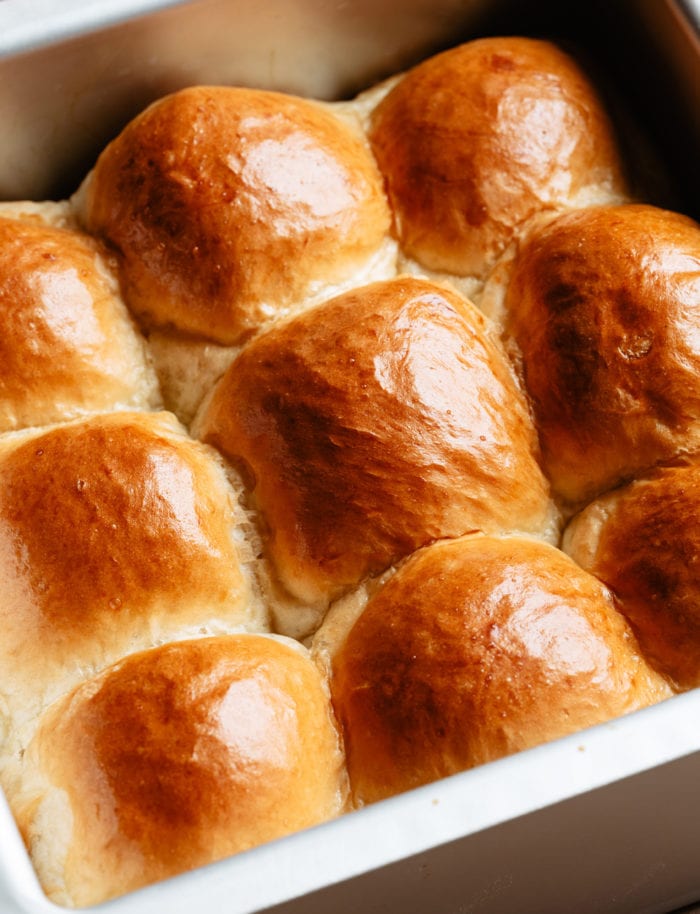
These Japanese milk bread rolls are pillowy soft and fluffy and stay that way for days without any preservatives by using a technique known as the tangzhong method. The bread rolls are one of my go-to recipes for the holidays since they can be made ahead of time and will still taste like they’ve been freshly baked.
Japanese Milk Bread
Japanese milk bread is also known as Hokkaido milk bread. Hokkaido is a prefecture in Japan famous for their rich and creamy milk.
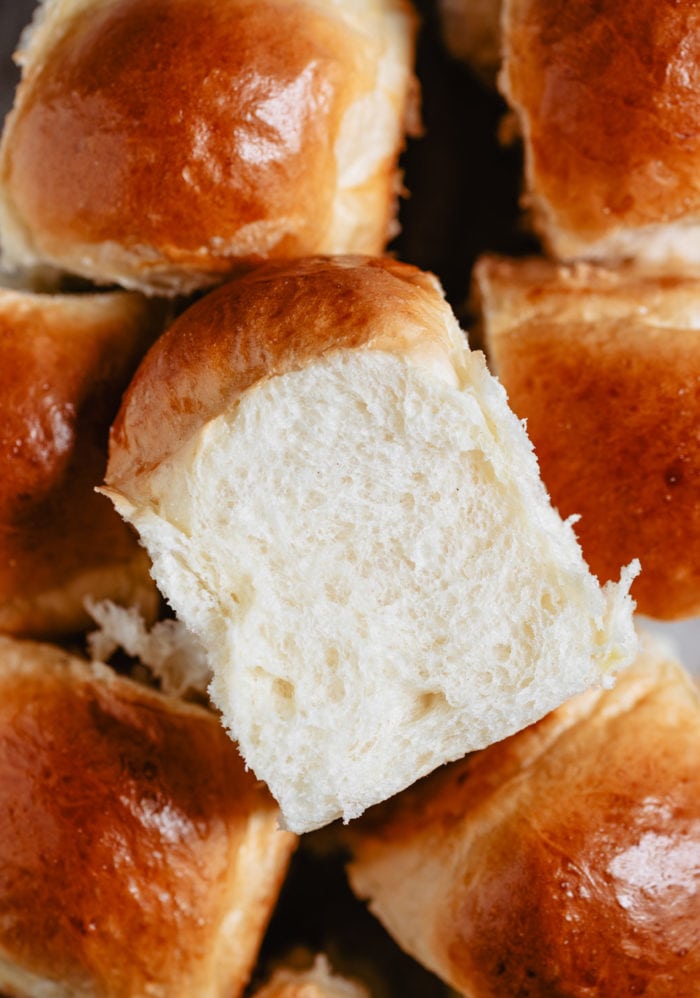
The bread is incredibly soft, tender and fluffy and stays so for days without the use of preservatives by using a tangzhong roux starter. Even if you don’t have access to Hokkaido milk, you can still make this bread.
Tangzhong method
The tangzhong method is originally a Japanese technique for making bread that was popularized in Asia by a Chinese woman, Yvonne Chen, who wrote a book entitled The 65° Bread Doctor filled with recipes using this method.
I have been using this method for years to make my Asian-style breads and you can read more about it here in my original tangzhong bread post.
Before you start making your bread, you create a simple roux with water and flour. I have also seen recipes that use milk in place of water. The mixture becomes a roux and is heated to 65 degrees. This roux is then added to the bread and it preserves the moisture in the bread, keeping it fresh longer.
How to Make Japanese Milk Bread Rolls
Much like traditional yeast bread recipes, these rolls do take a while to make. However, most of the time is spent waiting for the bread to rise.
- After making the tangzhong, you add the bread ingredients to a stand mixer. Use the dough hook attachment to knead your bread. You can do this by hand but it will take longer and require quite a bit of kneading.
- The dough needs to be kneaded until it can pass the windowpane test. The windowpane test is a way to check if the gluten has been developed by testing the dough’s elasticity. You should be able to stretch the dough out without it breaking until it becomes thin and sheer enough that light can pass through if held up to a light or window. If the dough tears immediately when you try to stretch it, then it is not ready.
- The dough then proofs until doubled in size.
- The dough is divided into the individual rolls and then proofs for a second time. This one is a very short proof, about 15 minutes.
- The dough balls are then rolled out, folded into thirds and rolled back up and shaped back into balls.
- The dough then proofs for a final time. Once finished, the rolls are brushed with egg wash and baked.
How to Store Milk Bread?
The bread can be stored at room temperature in a sealed container for about 3-4 days.
More of My Tangzhong Bread Recipes
Japanese Milk Bread Rolls
Ingredients
- 2½ cups bread flour
- 1/2 tsp salt
- 3 tbsp+2 tsp sugar
- 2 tsp instant yeast
- 1 large egg
- 1/2 cup fat free milk or low fat milk
- 120 g tangzhong (see note)
- 3 tbsp unsalted butter cut into small pieces, softened to room temperature
topping
- 1 large egg whisked, for shiny egg wash finish
Instructions
- Combine the flour, salt, sugar and instant yeast in a bowl of a stand mixer. Make a well in the center.
- In a separate bowl, whisk together all wet ingredients: egg, milk and tangzhong. Add into the well of the dry ingredients.
- Use the dough hook attachment and mix on low speed until your dough comes together. Add in the butter and continue mixing on medium to high speed. Mix/knead for about 18-20 minutes until the dough is no longer sticky and is elastic. To test the elasticity, use the windowpane test. Take a piece of dough and stretch it out. You should be able to stretch it until the dough becomes a very thin membrane that is almost sheer and lets in light. In addition, when you poke a hole in the thin membrane, it should form a close to perfect circle. If the dough breaks before you can stretch the dough this far, it is not ready.
- Gather the dough into a ball shape. Take a large bowl and grease with oil. Place dough into a greased bowl and cover with plastic wrap. Let it proof until it’s doubled in size, about 40 minutes.
- Deflate and divide the dough into nine equal portions. Knead into ball shapes. Cover with plastic wrap and it let rest for 15 minutes.
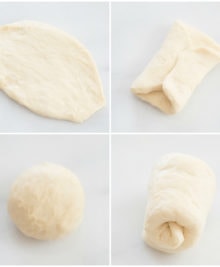
- Take one portion and roll with a rolling pin into an oval shape. Take one end of the dough and fold to meet the middle of the oval. Take the other end and fold to meet on top. Turn the dough over, so that the folds face down and roll and flatten dough with rolling pin. Flip dough again, so folded side faces up. Roll the dough up from top to bottom. Take both ends and fold down until they meet at the bottom. Stretch and move the top portion of the dough around until you end up with a ball shape at the top and the ends are tucked into the bottom. (See photos in post for reference). Repeat this step of rolling for the rest of your dough.
- With seals of the dough balls facing down, place the nine balls into an 8 x 8 baking pan that is lined with parchment paper. Then cover with plastic wrap. Leave it for the second round of proofing, about 45 to 60 minutes, until double in size.
- Brush egg wash on surface of buns (this will create the shiny finish). Bake in a pre-heated 330°F oven for 30-35 minutes, or until golden brown. Transfer onto a wire rack and let cool completely.
Video
Notes
- Make sure you have tangzhong already made from the night before or a few hours before you are going to make the bread as it needs to cool before use. Use this recipe here for the tangzhong, but make sure you weigh out 120g as this tangzhong recipe makes close to double the amount needed)
- Bread base adapted from Christine's Recipes
Nutrition
The nutrition information provided are only estimates based on an online nutritional calculator. I am not a certified nutritionist. Please consult a professional nutritionist or doctor for accurate information and any dietary restrictions and concerns you may have.




Second time making this for my family and friends everyone said they loved it it definitely takes a lot of time but it’s so worth it I love this recipe and I will be making it again and again
We’re so glad you love making this recipe!!
best rolls i’ve ever made
That makes our day! We’re so glad you love the recipe.
Thank you so much for sharing this recipe, I’ve made these twice now and my family and I LOVE them!! They’ve come out perfect both times – definitely the best milk bread recipe I’ve tried, and I’ve tried several by now. Just a question purely out of curiosity, though – is there a specific reason milk powder was omitted from this recipe? I’ve noticed that a lot of other milk bread recipes include it, even some of the previous milk bread recipes on this website, and I’m wondering if omitting it actually contributes to the better result I get when I make this one.
We’re so glad you love the recipe! We’ve definitely tested it with milk powder, but after trying it, we didn’t notice much of a difference. Milk powder is generally added to make the bread more fragrant but it doesn’t really do much for the texture since the bread already comes out so soft and fluffy. Since many people don’t have milk powder in their pantry, we opted to leave it out.
Has anyone tried making cinnamon rolls with this recipe? The rolls are amazing!!!
I made these for thanksgiving this year and just want to say OH MY GOODNESS they turned out amazing! Such beautiful rolls and I can’t wait to share with friends and family. Thank you for sharing this recipe!
We’re so glad they were a hit!
I hope you see this comment in time. Im foolishly making these for thanksgiving TODAY! I tripled the recipe because I have a big family. Currently kneading it in my mixer but it’s sticky sticky after 20 mins. Tips?
Sorry we didn’t get to this in time! If the dough is still sticky, you should knead it longer.
Can I Use the regular active dry yeast or does it need the quick acting one?
We use instant yeast for this recipe – we haven’t tried it with active dry yeast.
I used active dry yeast and it worked fine.
Thanks for sharing that!
Can you use whole milk or does it have to be fat free/ low fat?
You can use whole milk.
I want to make this recipe doubled but I’m not sure if that would increase cook time or not?
We haven’t tried doubling the recipe so we can’t say for sure.
Hi! Did you end making this? I was planning on doubling it
Hi do you have a recommendation for how much bread flour in grams? I want to double the recipe and I’m hesitant to just use cups!
Sorry, we don’t have that info.
How would I go about making these ahead? Do I have to bake them and then store or is there a way I could par bake/finish them in the oven on the day of?
You could make them a day ahead and keep them in an airtight container at room temperature. We haven’t tried par baking them, so we’re not sure how that would work.
I’m thinking of making these for thanksgiving, but can I use all purpose flour instead of bread flour?
We’ve only tested the recipe with bread flour.
I’m using all purpose. I’m still making it but so far it’s working out great
Thanks for sharing that!
Thank you, me as well 🙂
Was thinking of making these, they look so amazing! But I don’t have a stand mixer. Would I still be able to make these? What would be the best replacement for the stand mixer?
You can can mix the dough in a bowl and then knead it by hand, but it will take a lot more work and time.
I made this recipe a while ago for a dinner, absolutely amazing. Perfect texture, was very pretty, and looked exactly as it did in the photo. I’ve always had success making bread, but they’ve never looked exactly the same as the original photo, but these, looked about the same. Everyone has been asking when I’ll make them again too! Thank you so much for this.
Thanks so much for your nice review! We’re so glad you loved the recipe.
Mine came out same as pictured.
That’s great!
Had to leave a comment because these were absolutely amazing. I actually made them twice in one weekend and the second time I adjusted the salt to 1 tsp but otherwise I did everything as written. The texture was PERFECT and they tasted delicious. This recipe is a keeper!!
This makes our day! We’re so glad you love the recipe.
Would these come out well if i shaped them into long rolls, almost the shape of a mini hot dog bun? I am making mini lobster rolls for a party and was wondering if these would be a good recipe for the bun.
We haven’t tried that, but you should be able to shape them however you like. Just keep in mind the baking time will need to be adjusted.
What if my dough is so sticky?
Are you using a stand mixer with a dough hook to knead the dough? If so, it can take up to 20 minutes for the dough to turn elastic and not sticky. If you are kneading it long enough and it’s still sticky, you might have measured the flour wrong – if there’s not enough the dough will not turn out right.
I have made these twice, both times I left in the stand mixer almost 30 minutes and it never stretches out like a window pane. But I still roll them like your suppose to and they turn out delicious both times. I love this recipe, just don’t know what I’m doing wrong!
If you knead the dough as instructed (about 20 minutes) and it doesn’t pass the window pane test but is elastic, let it rest for 15 minutes or so and then continue kneading it. That might help! Otherwise, we’re glad it’s still turning out for you despite the fact that it doesn’t stretch thin.
Do I have to take them out of the pan to cool? I am making them now and hoping to let them cook in the pan and the warm them up in the pan tomorrow.
You can let them cool in the pan. It helps to place it on a wire cooling rack.
I want to make this but haven’t yet. What point do I stop at when making in advance? And should I store in the freezer?
You can make these a couple days in advance and store them tightly wrapped at room temperature. They will still be soft when you serve them. You can also freeze the baked rolls – allow them to cool fully, wrap them in plastic wrap and store them in a freezer container. Let them thaw at room temperature before serving.
Can I refrigerate the unbaked rolls in the pan all ready to go a few days in advance? If so, do I need to let me be room temperature before baking?
When we make these rolls ahead, we bake them and then store them at room temperature because they stay soft for several days. We haven’t tried refrigerating the dough. Even though the dough is chilled, it will still proof so if you leave the unbaked rolls in the fridge for several days, they might over proof during that time. Our best advice is to only refrigerate them overnight but keep in mind we have not tested this and can’t say how it will work for sure.
Thanks for the recipe. I have made these and they turned out wonderfully after baking. The bread was very soft right out of the oven. However, after a few hours, the part that is exposed to air got slightly crusty. I wrapped the roll in plastic wrap to avoid crusting further but it didn’t seem to help that much. Do you have any tip on how to avoid the buns getting crusty the next day?
Sorry, but we’re not sure why your rolls are out turning crusty. They should continue to stay soft. You may have baked them a little too long.
I just wanted to stop by and let you know that I made this recipe for our Bread Bakers group. It turned out marvelous.
We’re happy you loved the recipe1
Where does the butter go? It’s not listed in the Instructions or I missed it
Step 3
Just wondering if these can be frozen and at which point would be best to freeze them. I know they last for days but would love to do them ahead for Thanksgiving.
It would be best to freeze them after they are baked
What pan do you use? Do you have a link of where you got your pan? Or if not, at least size dimensions you use/recommend?
8 x 8 inch. it’s stated in the instructions
Hello..i only have active yeast. Can I substitute the instant yeast? If yes. How can it be done? Thanks!!
Hi yes you can substitute. Please search online for tutorials on how to substitute active for instant.
I’m making these for a work party and there thirteen of us. I was wondering will it be a good thing to double the recipe?
It may be difficult for your stand mixer to handle kneading that much dough. You might want to try making smaller rolls or making the recipe twice so there’s enough for each person to have their own roll
This bread is pretty amazing. The first time I made this recipe, I got 9 huge mutant rolls! I’ve now remade these as 12 rolls in a 9″ x 13″ pan and still got giant rolls that are pretty much pull-apart. These are magical.
I’m glad you like the bread!
These look so fluffy and amazing! I can’t wait to try out this recipe :9
Hope you try it!