

3 Ingredient Blueberry Sourdough Rolls (No Starter, No Knead)
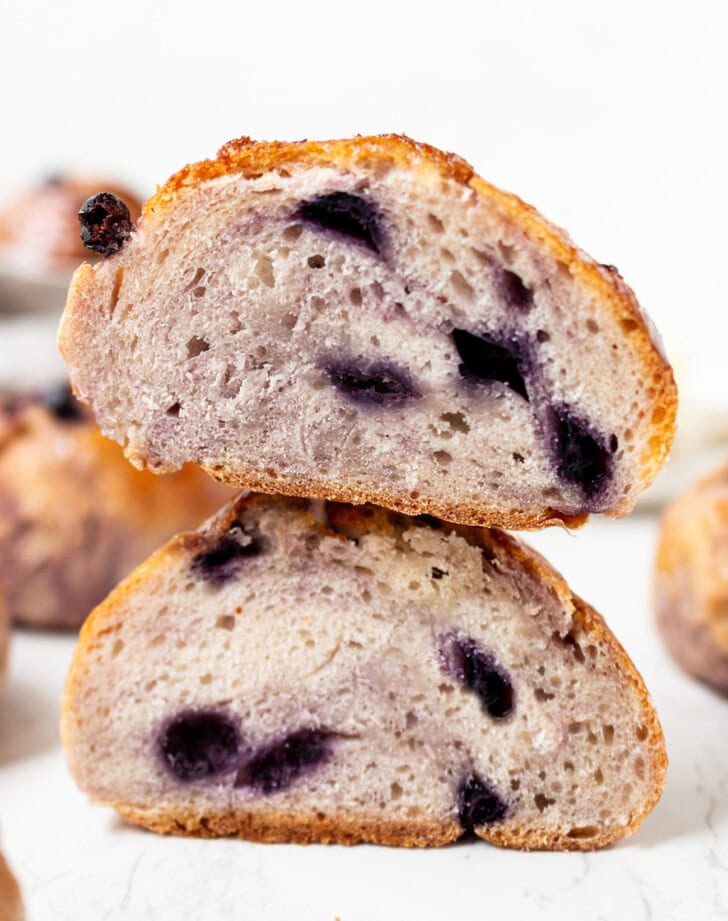
These shortcut blueberry sourdough rolls taste like sourdough bread, but don’t require a traditional sourdough starter. They also don’t require any kneading. The rolls need just 3 ingredients. They are soft, chewy and studded with blueberries.
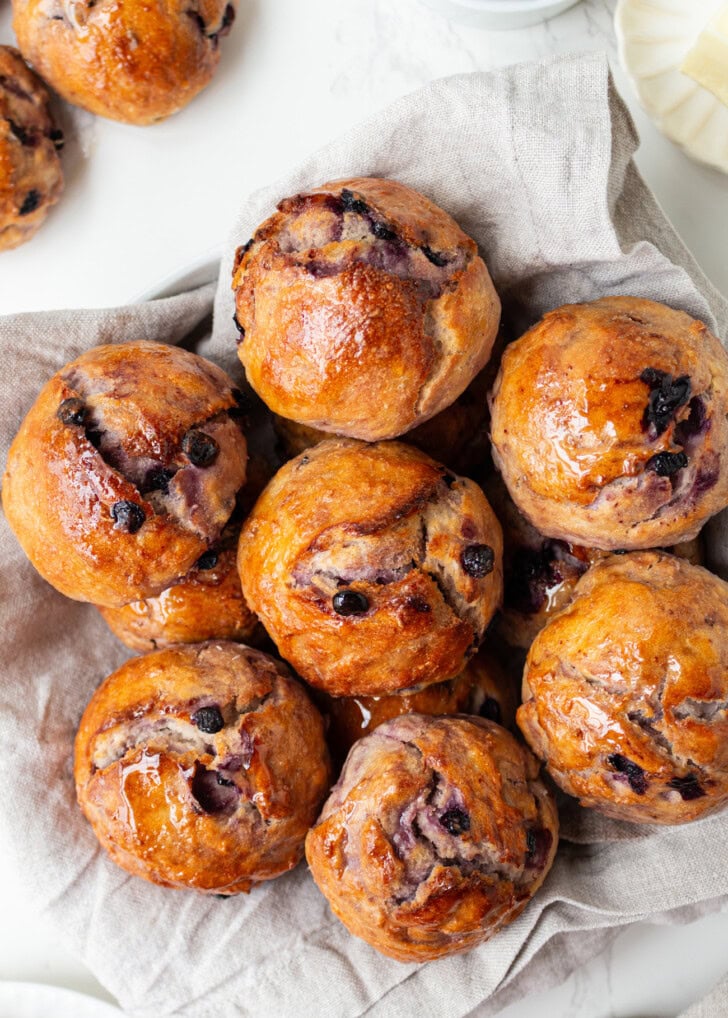
If you like the taste of sourdough bread but don’t like working with sourdough starter, these rolls taste like sourdough without all the work.
Ingredients
- Kefir
- Self-rising flour
- Blueberries
Kefir: Kefir is a fermented milk drink that has become quite popular over the last few years because of its many health benefits. It contains yeast and bacteria and yields a similar tangy flavor to sourdough. This recipe uses plain lowfat kefir.
Self-rising flour: Self-rising flour is a flour blend that already includes a leavening agent. The bread uses the leavening agent in self-rising flour to help it rise. If you don’t have self-rising flour on hand, you can also make a homemade blend using all purpose flour, baking powder and salt.
Blueberries: I recommend using frozen wild blueberries. Wild blueberries are smaller and sweeter than regular blueberries, which work well for these individual rolls. You can also use regular frozen blueberries if you don’t have frozen wild blueberries, but your blueberry pieces will be bigger. It’s best to work with frozen blueberries rather than fresh berries so that they don’t break as much when you incorporate them into the dough.
How to Make Blueberry Sourdough Bread Rolls
- Combine kefir with the flour in a large mixing bowl until a dough forms. Add in the blueberries until they are evenly distributed. Cover the bowl tightly or transfer to a proofing container. The dough can be proofed for a few hours at room temperature or longer in the fridge.
- Transfer the dough to a lightly floured working surface. Divide the dough into 12 equal pieces. If you own a kitchen scale, I recommend using it so that the rolls are all the same size.
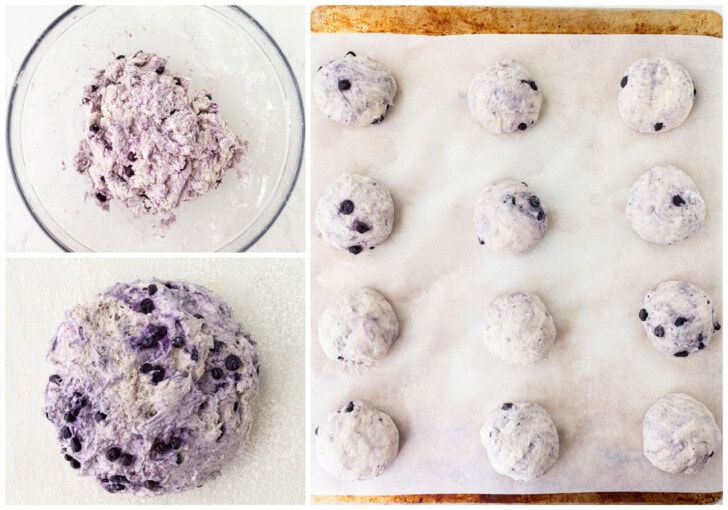
- Roll each dough into a round ball and place onto your prepared baking sheet. If desired, you can brush the tops of the rolls with egg wash. This will give them a darker, shinier and more even finish. The egg wash is optional. If you don’t use it, the bread will just have a more rustic finish.
- Preheat your oven and add a metal baking pan or cast iron skillet filled with about 2 inches of water to the lower half of the oven while it preheats.
- Bake the rolls for about 20-25 minutes or until they are dark golden brown on top and cooked through.
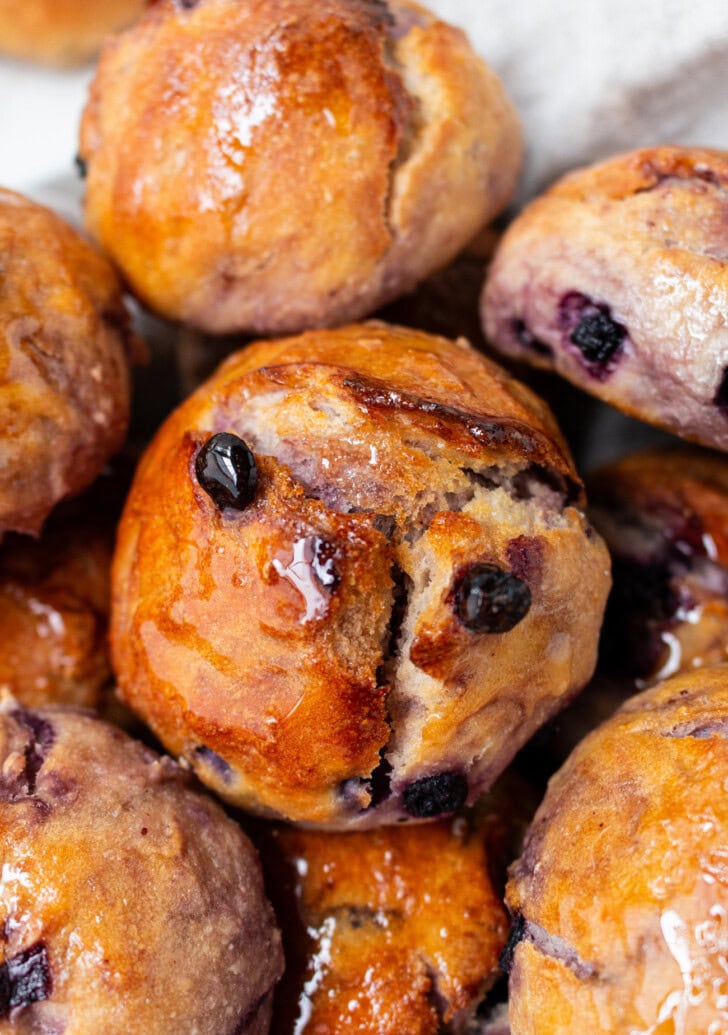
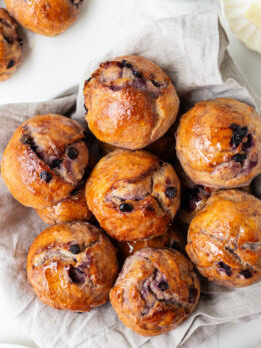
- If desired, you can also brush the rolls with honey before serving. The rolls in the photos are brushed with honey.
Expert Tips
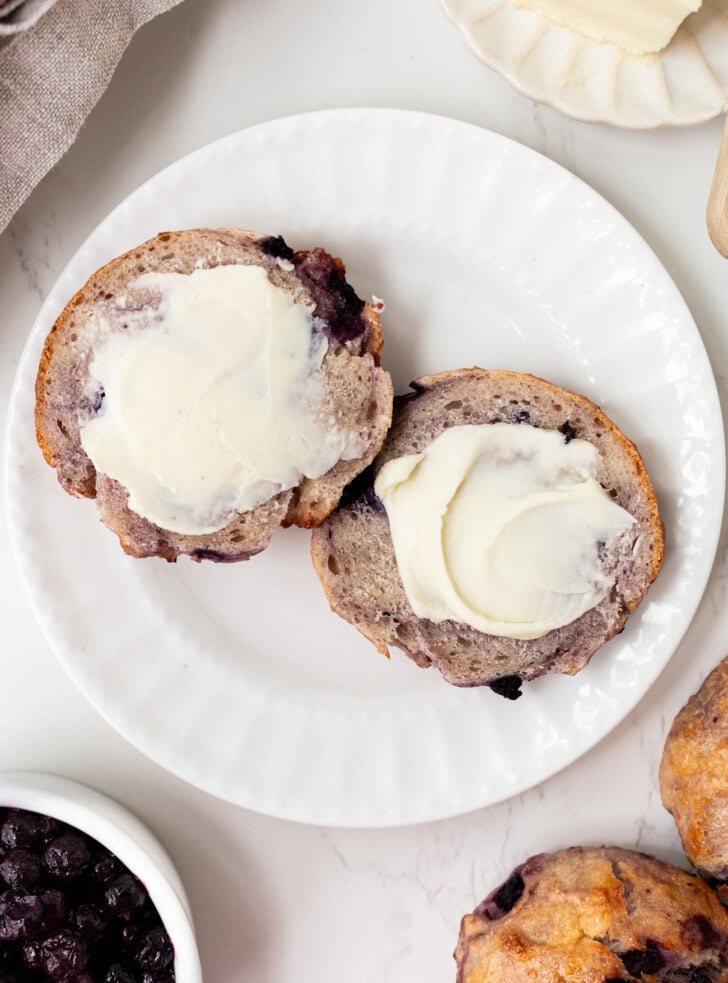
- The rolls taste best soon after they are baked. They do become more dense the next day. If eating leftovers, I recommend reheating the rolls before serving.
- If you don’t have kefir, you can use regular yogurt to give the bread rolls a slight tangy flavor, but the texture isn’t quite the same. If you want to make this recipe with yogurt, you’ll need about 2 cups of regular plain yogurt.
More Roll Recipes
3 Ingredient Blueberry Sourdough Rolls
Ingredients
- 4 cups (540g) self-rising flour, see note before starting
- 1 1/2 cups (12 fl oz/355 ml ) lowfat plain kefir, or more as needed
- 3/4 cup (92g) frozen wild blueberries, keep frozen
Instructions
- In a large mixing bowl, combine the flour and kefir. Mix well until all of the flour is incorporated. I recommend starting with a spatula and then switching to using your hand to work the flour into the dough. The dough should be slightly on the dry side because it will get stickier as it ferments, but all of the flour should be incorporated and you shouldn't have any dry flour spots on the dough or any unmixed flour. If your dough is too dry or some of the flour is not incorporated, you can add a little bit of kefir, 1 tbsp at a time, until the dough reaches the right consistency.
- Add in the frozen blueberries and gently mix them in until they are evenly distributed into the dough.
- Tightly cover the bowl with plastic wrap or transfer the dough to a proofing container with a lid. The dough can rest and proof in a warm room for about 2 hours or you can rest the dough in the fridge if you want to proof for longer. (If proofing in the fridge, it takes longer to proof, so you will need about 6-8 hours). If you do proof the dough in the fridge, I recommend letting it come to room temperature for about 1 hour before baking. When the dough is ready, it should be wetter than before and also be a little bigger in size (see photo in post for reference).
- About 20 minutes before baking, preheat your oven to 425°F (218°C). Fill a large cast iron skillet or a large metal baking dish that is oven-safe at 425°F with about 2 inches of water and add it to the bottom rack of the oven while it preheats. Adjust the rack that the bread will bake on to just above the bottom rack (You want the bread to bake as low in the oven as possible so the tops don’t get too dark).
- After the dough has rested, wet your hands with some water. Grab one side of the dough, stretch it upward, and then fold it over the center of the dough. Repeat this process from all eight sides of the dough.
- Lightly flour a work surface with self-rising flour. Carefully turn the dough out onto the floured surface, seam side down. Use a bench scraper or sharp knife to divide the dough into 12 equal portions. I recommend weighing the dough to make sure all the rolls are the same size.
- Shape each piece into a ball by pulling the edges to the center to and pinching to seal. Place seam side down on your work surface and roll under your hand to create tension and form a round, taut ball.
- Place the rolls on a parchment paper-lined large baking sheet, spacing them about 1½ to 2 inches apart. If desired, you can brush the tops of the bread with egg wash to give them a shinier and smoother finish, but this is optional. See notes for more details.
- When the oven is ready and the water inside is steaming, add the baking sheet of rolls to your oven and bake for about 20-25 minutes or the rolls are completely cooked. They should also be dark golden brown and crusty on the outside. To check if a roll is done, you can tap the bottom side and it should sound hollow. You can also break one open to check, but be careful since they are very hot. Let the rolls cool for about 20 minutes on the baking sheet before transferring them to a wire rack to finish cooling.
- Breads are best served soon after they are done cooling, while they are still very crusty on the outside and soft on the inside. Uneaten bread should be stored in an airtight container in the fridge or freezer. I also recommend reheating the breads before eating because the rolls become more dense when stored.
Notes
- Self-rising flour note: There are 2 main kinds of self-rising flour sold in the US. One that is a lower protein (2 grams per 1/4 cup serving) flour and one that has a regular amount of protein (3 grams per 1/4 cup (30g) serving). The amount of protein affects how much liquid is absorbed. For this recipe, I tested it with Gold Medal self-rising flour* (regular amount of protein). Please use a self-rising flour with a regular amount of protein (3 grams per 1/4 cup), or make your own self-rising flour with the recipe below.
- *These product links are affiliate links. This means I earn a commission from qualifying purchases.
- Homemade self-rising flour: Combine 4 cups of all purpose flour, 2 tbsp baking powder and 1 tsp salt. Whisk to evenly combine. Make sure your all purpose flour has a regular amount of protein (3 grams per 1/4 cup). Most brands in the US contain this amount but there are some brands with higher protein (4 grams per 1/4 cup) such as King Arthur Flour and Bob's Red Mill. You do not want a high protein flour for this bread. It will be dense and dry.
- Blueberry note: It is best to keep the berries frozen so they don't break when adding them to the dough. I like using frozen wild blueberries which are smaller and sweeter than regular blueberries. The smaller size means there is more even distribution of blueberry pieces in each roll.
- Egg wash note: Brushing egg wash on top of the bread before baking will give the surface a smoother, slightly shiny and darker appearance. The bread rolls still turn out well without egg wash but they will split more on the surface and will have a more rustic appearance. If you want the bread rolls to have an egg wash finish, add the egg white of a large egg and a splash of water into a small bowl and whisk it lightly. Then brush rolls with the egg white wash right before baking.
Made the rolls and love em. I would love to slice and toast some slices. Could I cook this as a whole loaf in a dutch oven with parchment paper? How long would it take?
We’re glad you enjoyed these! We haven’t tested this recipe in a dutch oven but we do have a similar recipe for a blueberry bread that uses a dutch oven.
Great recipe and very delicious! Kept me full as part of breakfast or snack.
Thank you! We’re so glad you loved this recipe!
These recipes sound great can’t wait to try
Thank you! We hope you enjoy the recipes!
How do I make this gluten free?
Sorry, we haven’t tested this recipe to be gluten free!