Chocolate Chip Cookie Shots
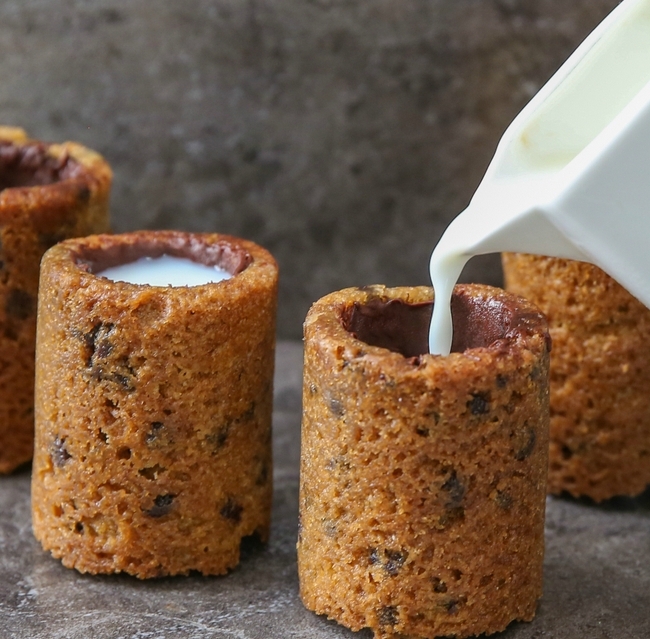
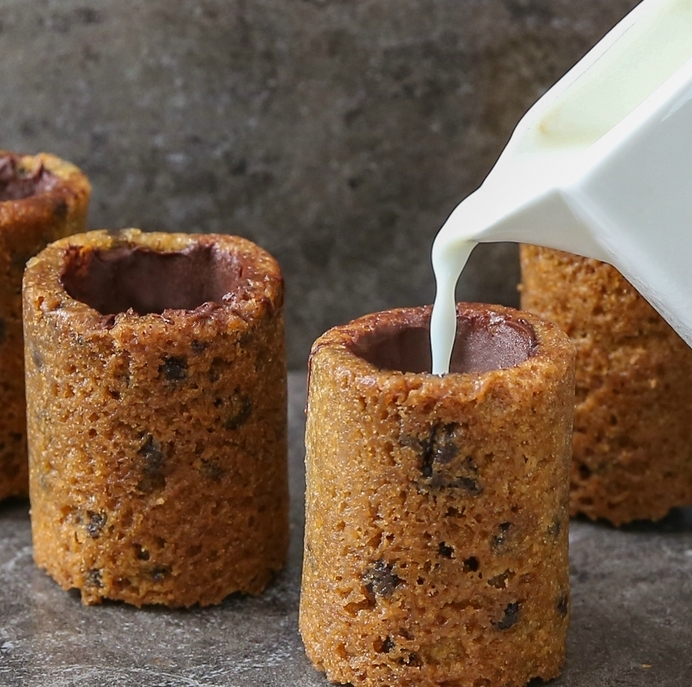
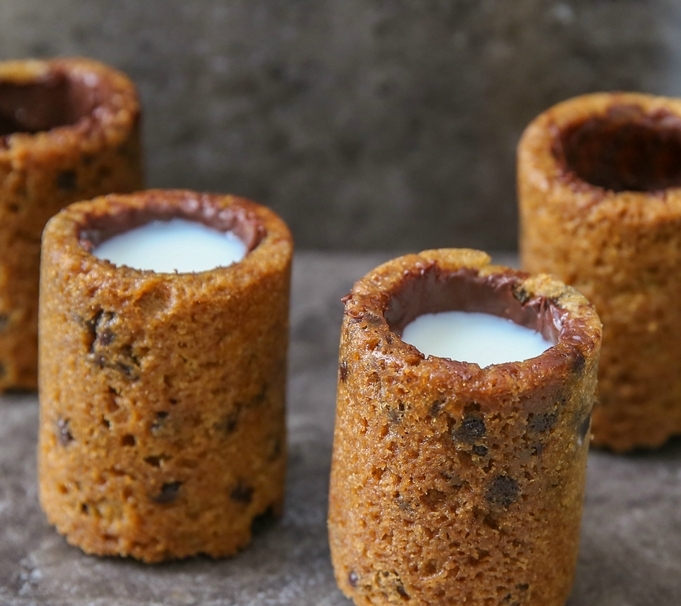
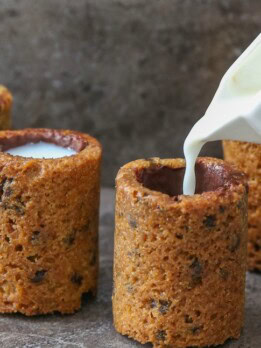
These chocolate chip cookie shot glasses make such a fun treat for both kids and adults. You can fill them with various milk flavors too.
I still haven’t had a chance to try the original Chocolate Chip Cookie Shots created by Dominique Ansel last year, but I hope to soon. I’m actually surprised someone didn’t come up with the idea sooner. Didn’t most kids imagine foods like these? A few months after they debuted, I did attempt to make my own. Mine came out pretty well, though without the proper shot glass molds, they were a bit rustic looking.
You may recall, over the summer I purchased a silicone shot glass mold It’s pretty cheap and I was able to create these adorable candy shot glasses with them. I knew that I would have to try to make cookie shots again soon, but it took me awhile to get around to it. And then it took me several research attempts to find the best chocolate chip cookie recipe to use and how to remove the glasses from the molds without breaking. Unlike hard candy, cookies are so much more delicate, making it harder to remove them from the molds.
These cookie shots aren’t too hard to make, but you will need to make them ahead of time. The cooking and prepping part isn’t hard, but they need several hours in the freezer, which is the key to keep them from breaking when you remove them. The end result is so much fun. Milk just tastes better when it’s coming out of a glass made of cookies.
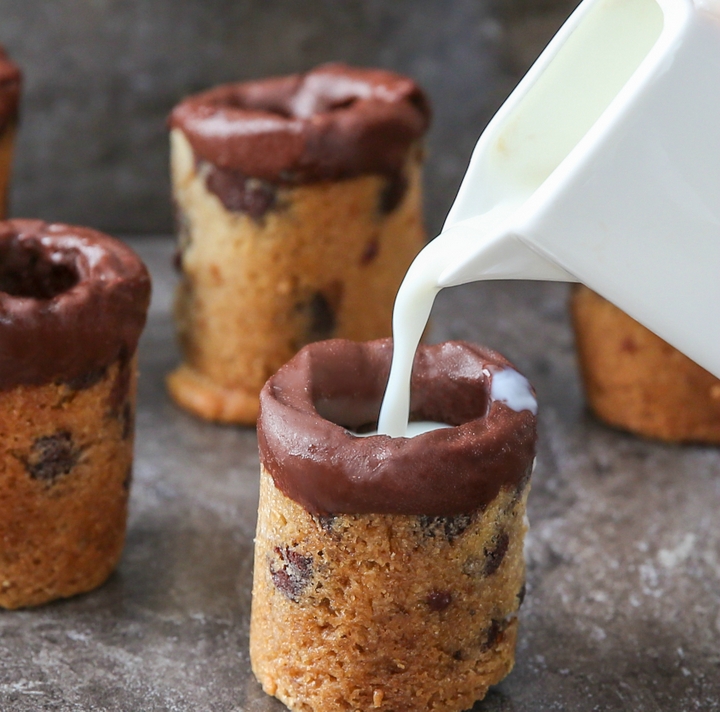
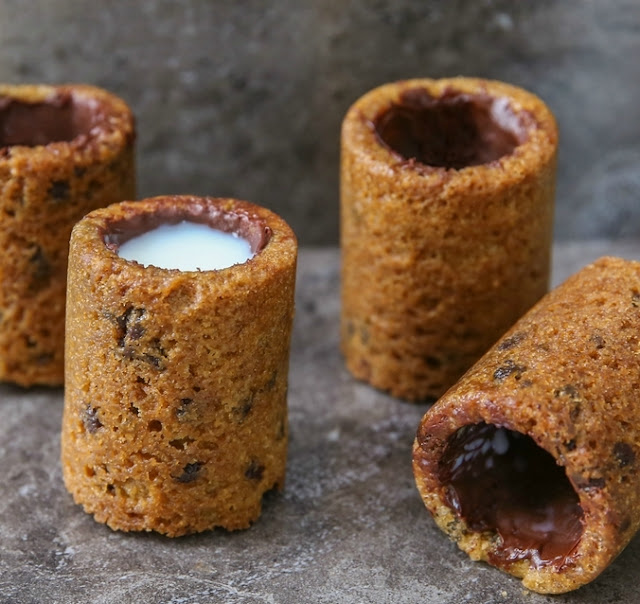
Not only can you fill them with different milk flavors, but you can decorate the edible shot glasses too. Dip the tops in chocolate, add sprinkles, etc. I dipped a few in chocolate, inspired by some photos I saw from The Dirty Cookie, a recently opened shop in Tustin that makes these (on my to-do list also!).
I have no idea if these taste like the original ones, but I really love how they came out. The cookies are sweet and chewy and hold up the milk pretty well.
Special Tools
*This product link is an affiliate link. This means I earn a commission from qualifying purchases.
Chocolate Chip Cookie Shots
Ingredients
- 2 cups all purpose flour
- 1 tsp baking soda
- 1 pinch of salt
- 1/2 cup unsalted butter, room temperature
- 2/3 cup granulated white sugar
- 1/2 cup packed light brown sugar
- 1 large egg
- 1 tsp vanilla extract
- 1 cup mini or regular semisweet chocolate chips
- 1 cup semisweet chocolate chips, for the chocolate coating
Instructions
- Preheat oven to 350°F.
- In a bowl of a stand mixer, cream butter and sugars until fluffy. Add in eggs and vanilla and mix until batter is smooth. Add in flour, baking soda and salt and mix on lowest speed until smooth dough forms. Stir in 1 cup mini chocolate chips.
- Using a 1.5 tbsp cookie dough scoop, scoop out dough and place into one of the shot glass molds. Using a very small spatula, spread the dough so that it is completely spread across the bottom of the shot glass mold. Make sure you don't leave any gaps, otherwise, your cookie glass will have holes. The silicone molds should be transparent enough for you to examine for any gaps. Your dough should cover about half of the cookie shot glass mold.
- Add a second 1.5 tbsp scoop of dough to the same mold. Again, spread it across evenly on the sides and also on the top. You should have a thin layer that fully covers the surface (this is the base of your glass, so you don't want to see the center divider at all), but it shouldn't rise all the way to the rim, since the cookie dough will puff up once baked. If you have any gaps on your surface, add a little more dough. Repeat with remaining dough and molds.
- Place silicon mold on a baking sheet. Bake for about 20-25 minutes or until tops turn dark golden brown, with a crispy surface, and a knife inserted comes out clean. Because of the molds, the cookies will take longer to cook. Make sure there is no raw batter remaining. You do not want to undercook these cookies. Some people like undercooked cookies because they are softer, but you want them to be more firm for cookie cups.
- While cookie shots are cooling, slice off any muffin tops from the shot glasses that have puffed up past the rim. You don't want to leave these on as the cookies won't be able to stand evenly. Once the cookies have cooled to room temperature, freeze for several hours until cookies are hard. This will allow you to remove the cookies without breaking them. Once cookies are frozen, gently remove them from silicone molds.
- In a glass microwave safe bowl, add the 1 cup of chocolate chips for coating. Microwave at 30 second intervals, stirring after each stop until chocolate is fully melted and smooth. (It should only take around 1-2 minutes.) Alternatively, you can melt the chocolate on the stove.
- Use a small brush or spatula and coat the interior of the cookie shots with melted chocolate, making sure to coat every crevice otherwise the milk will leak through. Briefly freeze the cookie shot glasses again until chocolate hardens (about 20-30 minutes).
- Let cookies soften to room temperature (it should only take about 10-15 minutes) before adding milk. Store remaining unused cookie shot glasses in freezer. Try not to remove cookies from freezer too far ahead of time before eating. While they'll remain standing, they do soften gradually after several hours and it will make them harder to eat.
Notes
- I'd recommend making a couple more than the number you need in case a few break.
Can you use store bought refrigerated cookie dough?
Sorry, but we haven’t tried it.
Where can I buy these molds?
If you look at the special tools section of my post (just before the recipe card), I link to them.
Will there be any change in the cookies if we use glasses instead of silicone moulds
I’m not quite sure how you are using the glasses. If you put the dough inside the glass, it will be very difficult, if not impossible to get them out in one piece. If you shape the dough around the glasses, you would need a bigger baking cup-shaped mold around the outside so that the cookies hold their cup shape.
Can these be made the night before a party and would they have to be kept frozen or just in the fridge?
Yes they can be made ahead of time and should be kept in the freezer. Please check out instruction 7 for more details.
hello did you ever try it with coconut oil instead of butter? thank you
I have not tried with coconut oil
I’m sorry, I hadn’t real the top of the page. 12 shots it is
I have the Wilton silicone mold, very similar to yours if not the same. I was wondering how many shots does this recipe yields? 8?
Hi!
I’m making these for a school project and was wondering if i could use something other than silicone molds? If so what can i use?
Also, your recipe looks DELICIOUS and i can’t wait to try it!
https://kirbiecravings.com/2014/03/milk-and-cookie-shots.html
Genius! The important question is, how many shots are you allowed each?! 😉
ooh, that is a very important question!
Is it necessary to oil/grease the molds first? I didn’t see that as a step, but that doesn’t mean it’s not necessary and was just overlooked or assumed a given.
no it isn’t necessary. i tried it both ways and didn’t think the cookies came out any easier with the oil.
Awesome! Your recipe is on the list for things I want to make during the holidays for our family parties. 🙂 The mold definitely helps make them look even more delicious. 5 is my prediction for how many I will mess up on the first batch.
Your family is lucky to have you making these for them! I think it does take a little bit of practice to get the hang of it, but now after doing several attempts, I feel like I can whip these up in my sleep.
That looks so awesome! It’s neat that you were able to use molds for the shot glass forms and that they came out cleanly. I can see this being popular with kids too.
it took several trials and messed up broken ones, but I’m glad I got it right finally! I’m pretty happy with how they turned out. Now I need to find a new project for my shot glass molds.
These are awesome. I remember seeing the Dominique Ansel ones and thinking I hope someone makes a copycat recipe. I knew you’d eventually master it 😉
haha thanks! I def want to try the original though. I actually have his cookbook and now I’m wondering if the recipe is in there.