I am excited to announce that I am guest posting on The Ravenous Couple today. If you don’t read their blog, you should definitely check them out. They are a very cute couple with a wonderful motto: Cooking Life Together.
I’ve followed their blog from their long distance relationship days through their sweet engagement story. They always have the most beautiful photos on their blog. They will be getting married at the end of this month and have a series of guest posts lined up. I feel so lucky to be guest posting on their blog this week.
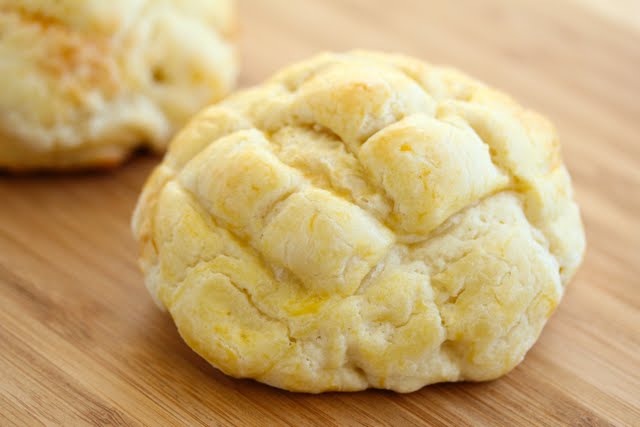
For my guest post, I tackled the classic and popular pineapple bun (bolo bao). Out of all the different chinese bread variations, this is my personal favorite.
Pineapple buns can be found at any chinese bakery and at dim sum. They have an addicting butter sugar crust, similar to streusel on Western desserts. They can be hard to make, so I’m relieved that my first attempt came out well.
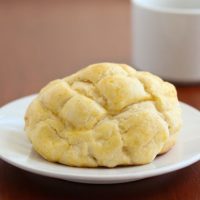
Pineapple Buns
Ingredients
tangzhong
- 50 g bread flour
- 250 ml water
bread
- 210 g Bread flour
- 56 g Cake flour
- 20 g Milk powder
- 42 g Granulated Sugar
- 1/2 tsp Salt
- 6 g Instant Yeast
- 30 g Egg a little less than 1 whole egg, depending on your egg size
- 85 g Water
- 84 g Tangzhong
- 22 g Unsalted butter
topping
- 55 g Unsalted butter
- 55 g Icing sugar
- 25 g Egg about 1/2 of a large egg
- 2 tbsp Milk powder
- 130 g Bread flour
- Egg yolk for brushing I used the remaining amount leftover from recipe
Instructions
- Tangzhong must be made ahead of time and allowed to cool for several hours in the fridge. To make tangzhong, mix the flour and water in a small sauce pan until flour is completely dissolved. Place sauce pan on stove on medium heat. Stir continuously and also measure temperature with a thermometer. As it approached 65C, the mixture will thicken and lines will begin to form when you stir. Once it hits 65C, turn off stove, remove pan from heat and place in a container and cool in the refrigerator for several hours. The recipe makes more tangzhong than needed for this recipe. However, this is the easiest ratio of water to flour needed for tangzhong. You can use the rest to make another more bread, or store it in the fridge for a few days.
- For the bread: Using a stand mixer with the dough hook attachment, combine all ingredients listed under the bread section except the butter. Mix until dough begins to form, then add in butter a little at a time until it is fully incorporated. Continue to let the dough mix on medium speed until dough is no longer sticky and becomes elastic, about 10 minutes.
- Grease a bowl with some oil. Place dough in the greased bowl and cover with plastic wrap. Let rise for about 1 hr until doubled in size.
- For the topping: While dough is proofing, make the topping. Whip the butter until soft and sift in the icing sugar and mix well. Add in the egg and stir until combined. Fold in the milk powder and half of bread flour. Mix with a plastic spatula. Gradually add in the rest of bread flour. The topping will be very sticky. I suggest rolling it out between two sheets of plastic wrap or parchment paper and sticking it in the fridge for an hour to firm up.
- Take chunks of dough and divide into 8 balls. Make sure your dough balls are smooth and that the bottom ends are securely tucked under so that they do not open up during the second round of proofing. Let the dough rest for about 15 minutes.
- Divide the topping into 8 portions. Place one portion on each bread. Mold it to fit the top of the bread with the palm of your hand, pressing down gently to spread the topping. The end result should be a thin layer covering most of the surface of the bread. Use a sharp knife to make criss crosses, like a checkerboard across the top of the topping (careful not to cut into the dough). Let dough rest for an additional 40 minutes.
- Brush on egg yolk on tops of each bread and bake in a preheated 180C/350F oven for about 15 minutes until bread is done and tops are golden brown.
The nutrition information provided are only estimates based on an online nutritional calculator. I am not a certified nutritionist. Please consult a professional nutritionist or doctor for accurate information and any dietary restrictions and concerns you may have.



congratulation for being one of a guest to post, It means you are a great food blogger. I love your bun looks great and hope I could try this too.