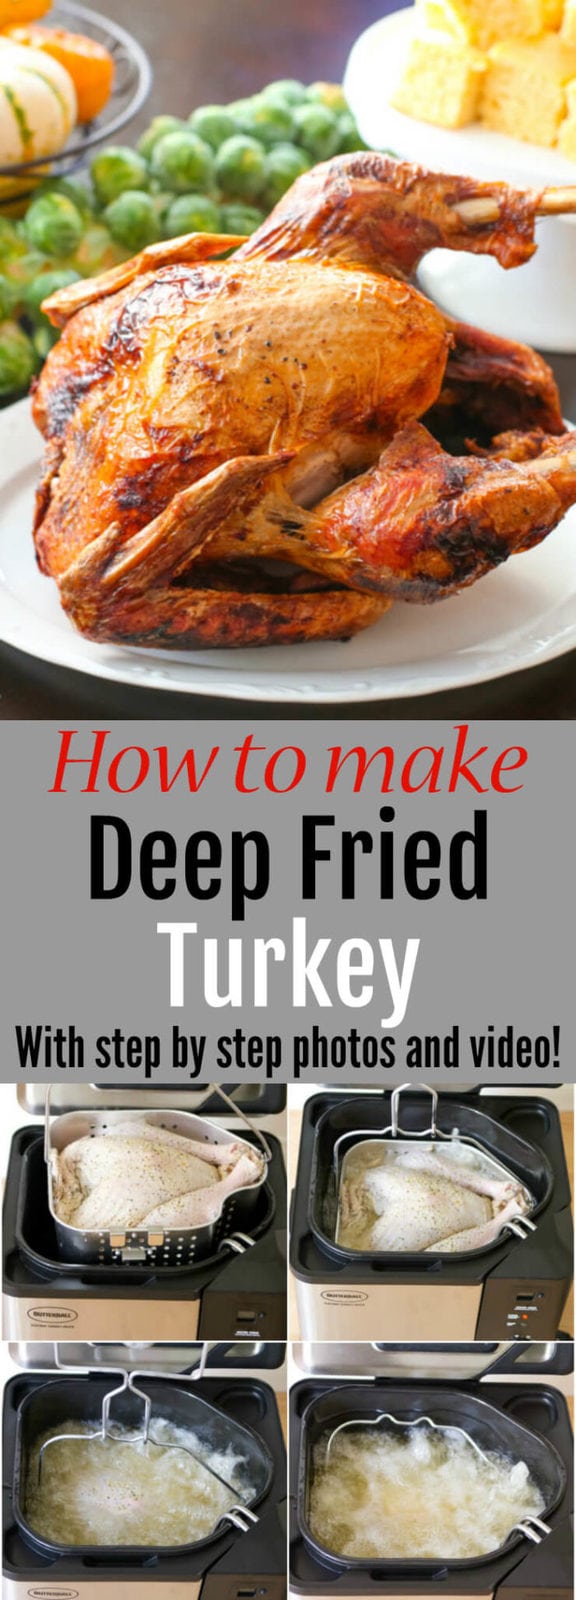
How to make deep fried turkey safely and easily indoors! The turkey comes out incredibly juicy and requires much less cooking time.
This is the first Thanksgiving that Mr. K and I will be celebrating together. Not just the first one as a married couple, but the first one ever. Despite being together for 12 years before tying the knot, we actually never did the “split the holidays” thing until now. For Thanksgiving, we’re actually going to visit both families.
So this weekend was filled with a lot of recipe testing, including trying to make out first ever deep fried turkey! Our first deep fried turkey ended up being quite easy, painless and a big success. The cooking time is greatly reduced when deep frying a turkey, so the turkey is incredibly moist and juicy.
Usually, when you hear deep-fried turkey, people are filled with images of those viral videos of deep-fried turkey disasters with exploding turkeys and oil fires. However, we used an indoor electric fryer and our experience was super easy.
For years now, I’ve been wanting to know what a deep-fried turkey tastes like. I didn’t actually want to try to make one myself because it seemed awfully messy and complicated. I was just hoping to be invited to a Thanksgiving dinner where someone would serve deep fried turkey. No such luck. One year, I even contemplated ordering one from KFC, but thought it was kind of expensive and didn’t know how it would turn out.
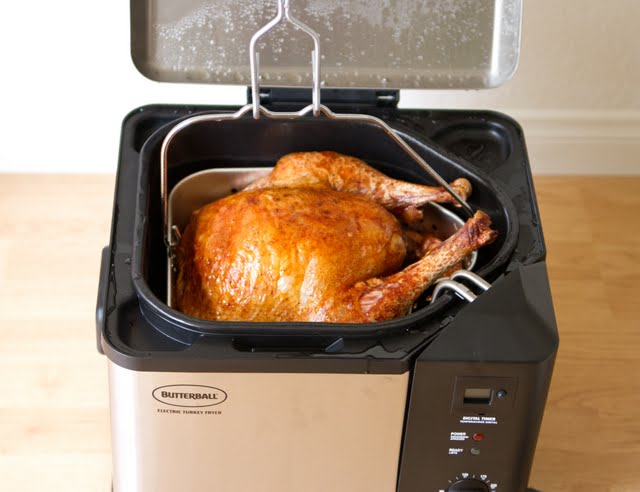
Then I was introduced to the Masterbuilt Butterball indoor turkey fryer* when I was provided a complimentary unit for review.
Step #1: Defrost your turkey.
If you’re buying a frozen turkey, make sure you by it ahead of time because the turkey must fully completely defrost before frying. You don’t want water touching hot oil because it will cause the oil to splatter uncontrollably which is what can lead to potential oil fires.
We bought our turkey the day before. There are instructions for safely and completely defrosting a turkey using the fridge, but since we were pressed for time, we let ours thaw out in the sink for 24 hours. The Masterbuilt Turkey Fryer we had can fry a turkey up to 14 lbs. We bought one that was a little more than 10 lbs and it needed roughly the full 24 hours to defrost.
Step #2: Give the turkey a warm water bath.
I never thought I would utter such words in conversation, but last Sunday morning, after Mr. K woke up, I greeted him with “Good morning. You need to give the turkey a bath.”
The turkey bath ensures that the turkey is completely defrosted, including the inside body cavity which often can still have patches of ice. The bath should not be more than 30 minutes otherwise the turkey may soak up too much water.
Once the bath is over, dry your turkey completely with some paper towels.
Step #3: Season your turkey with your favorite dry rub and inject with marinade.
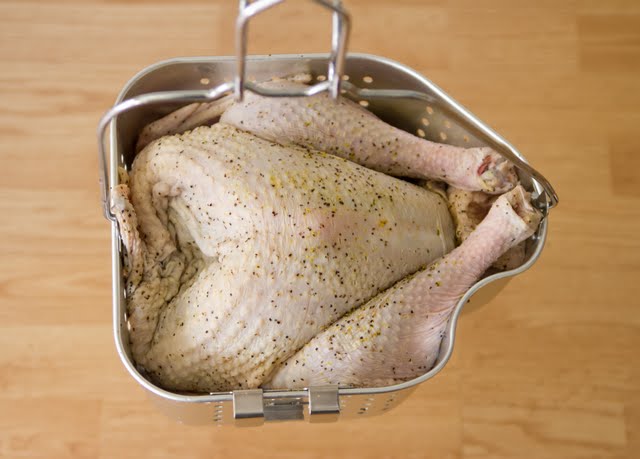
We bought a bottle of herb and garlic marinade and also bought some herb and garlic dry rub. We thoroughly rubbed the outside of the turkey with the dry rub and then injected the turkey with the marinade, mostly in the breast sections which tend to have the least amount of flavor.
Step #4: Heat up the oil.
The fryer has a max level line that you fill the oil up to for frying a turkey. It is equivalent to about 1 and 1/2 gallons of oil. You can use peanut oil, canola, vegetable. According to my research, peanut oil works best but since the fryer needs so much oil, I chose to use vegetable oil since that’s what I use for cooking and baking. You set the frying temperature and when the oil is ready, the green light will go on.
While you’re waiting, you can set your turkey in the fry basket.
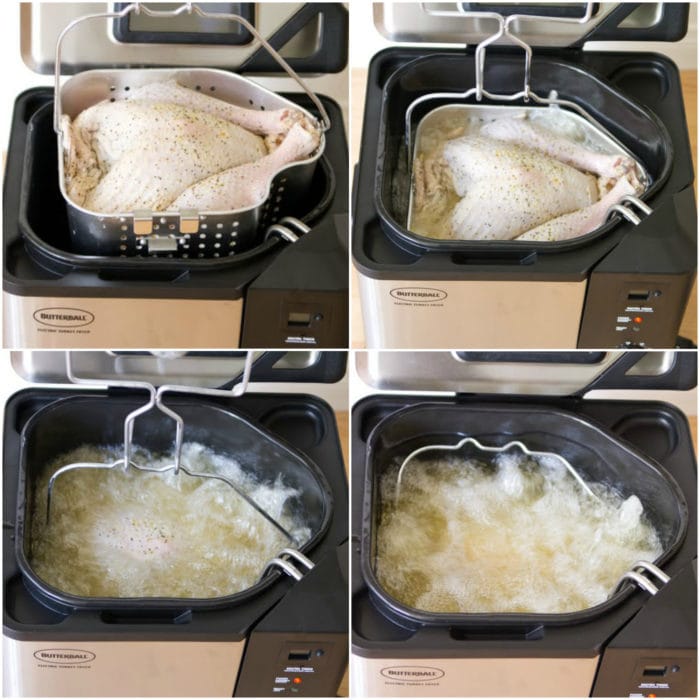
Step #5: Open the lid and slowly slide your turkey into the fryer.
While no oil sprayed out when we did this, I still recommend you stand as far from the fryer as you can and cover up with clothes and oven mitts.
Step #6: Shut the lid and set your timer.
According to the instruction manual, you need 3-4 minutes for every pound. We put our turkey on our bathroom scale before putting him in and he weighed exactly 10.4 lbs, so we set the timer for 42 minutes.
There weren’t too many fumes coming out during the frying, but we cracked open one window to let out some of the oil smell. For the most part, it just smelled wonderful.
Even though this is a self-contained, like with any cooking, you should be around to monitor it. We did other stuff around the house nearby while it was frying.
Step #7: Turn of the fryer and remove your turkey from the hot oil when the timer goes off.
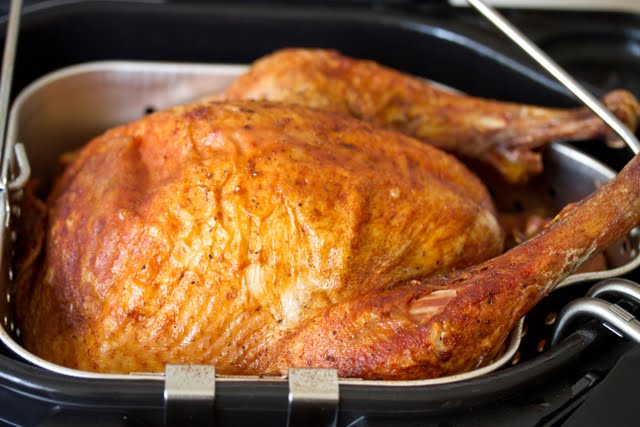
When you lift the turkey basket up, there is a spot for the basket to hang right above the oil. You’ll want to keep the turkey there so that the excess oil can drip off. We let our turkey rest for 30 minutes.
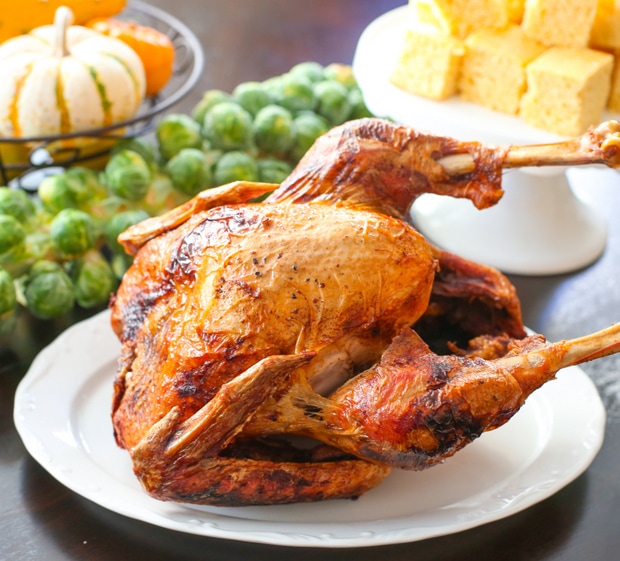
Step #8: Marvel at your accomplishment.
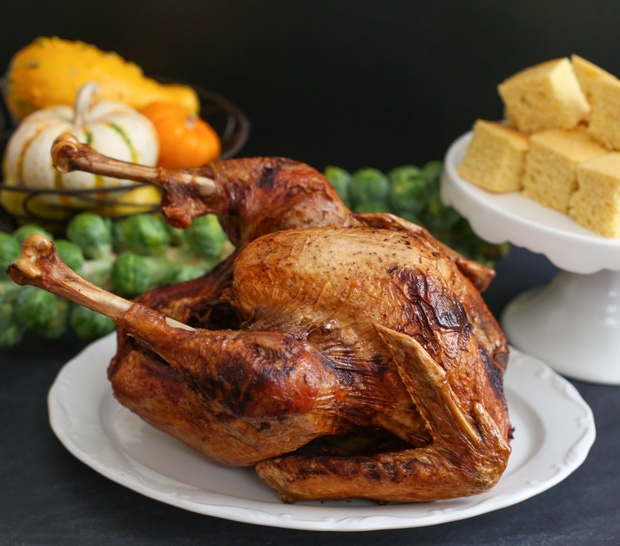
Snap photos of your turkey if you wish. Then let the turkey carving master get to work.
Step #9: Devour your turkey.
Save leftovers for sandwiches, other dishes. Save the carcass for making turkey broth.
We loved our first deep fried turkey. We couldn’t believe how moist the turkey was. I worried that deep frying the turkey would cause it to be dry, but this is not the case at all. Our turkey was cooked completely through but not the least bit dry. It was also quite flavorful.
I did expect the skin to be more crispy, like other deep-fried foods, but actually the skin doesn’t crisp up. Actually, if you cook the turkey until the skin is crispy, you’ve overcooked the turkey. Basically, a deep-fried turkey tastes like a baked turkey but with less cooking time and less dry meat.
We had so much fun making our first turkey and I can’t wait to share this with friends and family.
For those interested in purchasing this fryer, it’s available at Walmart, Home Depot and Amazon*. In addition to making deep-fried turkey, the fryer is also useful for all your other fried foods. We’ve since used it for chicken wings, french fries and more.
Update: Here is a second post I did on deep fried turkey after having a few more fried turkey experiences.
And here is a video of how we make our deep fried turkey! You can find all my recipe videos on youtube as well.
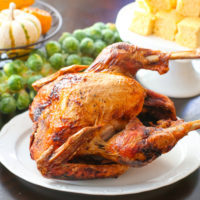
Garlic and Herb Deep-Fried Turkey
Ingredients
- 1 (10 to 14-lb) fresh or frozen whole turkey
- 2 gallons cooking oil we used vegetable but peanut is preferred
- 1 (16-oz) bottle Butterball Garlic and Herb Turkey Marinade
- herb dry rub seasoning for meat
Instructions
- If using frozen turkey, you must completely thaw it. To properly thaw a frozen turkey in the refrigerator allow approximately 24 hours for every 4 pounds. (You can also let it thaw outside of the fridge for at least 24 hours.) Fill deep fryer with oil, somewhere between the min and max line. If you have a turkey closer to 10 lbs you can fill closer to the min level. If your turkey is closer to 14 lbs, fill to max level. Heat oil to 350°F.
- Remove giblets and neck from turkey. If present, remove and discard plastic leg holder and pop-up timer. Rinse turkey thoroughly with warm water or completely cover with warm water and soak for no more than 30 minutes to ensure cavity is free of ice.
- Pat turkey completely dry (both inside and out) with paper towels. Using a marinade injection syringe, inject ½ cup (4 ounces) marinade in each breast. Inject ¼ cup (2 ounces) marinade into each leg and thigh. Rub the turkey generously with garlic and herb seasoning, completely coating the outside of the turkey and inside of the cavity.
- Place turkey, breast side up, in fryer basket. Slowly lower the basket into hot oil, being careful not to splatter hot oil. Fry turkey for 3 to 4 minutes per pound. Lift the basket from the hot oil slowly. Insert a meat thermometer in the meaty part of the breast; turkey is done when it reads 165°F. If the turkey is not done, lower it carefully back into the oil for an additional 5 minutes. Once the turkey reaches the desired temperature (minimum 165°F), remove from oil.
- Allow the turkey to rest and drain in the fryer basket for 10-30 minutes before removing for carving. The turkey can remain in the basket to cool until ready to serve.
Notes
- This recipe uses the Butterball Large Electric Fryer*.
- Please check out my updated post for additional deep frying turkey insight.
The nutrition information provided are only estimates based on an online nutritional calculator. I am not a certified nutritionist. Please consult a professional nutritionist or doctor for accurate information and any dietary restrictions and concerns you may have.
Disclosure: I was provided with a complimentary Masterbuilt Turkey Fryer and a copy of “Dadgum That’s Good, Too.” I was not paid for this review and my opinions are my own.
Related Posts








Your turkey looks wonderful and moist! I tried yesterday a method prefrying at a really low temperature but it all came out dry 🙁 https://burningkitchen.co.uk/deep-fried-turkey/
that’s too bad =( I’ve never tried doing a low temp first but turkeys are so fickle, so probably the extra cooking time wasn’t good for it
Your turkey looks delicious! That recipe reminds us of our recipes on Howtodeepfryturkey.com.
Kirbie, if you have any more recipes we would love to hear them. We also invite you to check out our recipes, turkey tips and more at Howtodeepfryturkey.com!
Happy Thanksgiving!
This turkey looks soooo delicious! I wish I had one of those turkey fryers. Or ppl to eat a whole turkey. I wonder if deep frying my turkey breast will work.
You can deep fry quite a few things, so I think turkey breast should work
I like that you gave your turkey a gender, “he”! 🙂
My husband is also “Cooking phobic”!
Great how-to post! Knowing me, I would probably make a big mess or burn the house down. It’s cool how the metal basket for the turkey is shaped; it even accounts for the “legs” in the shape.
I’m sure you’d be fine. I think the only way people could have a problem with this is if the turkey is still frozen, or if they leave it frying too long and forget about it. Haha, he seemed like a “he” to me. DH was having a lot of fun posing with the turkey so I thought of them as buddies.