

3 Ingredient Fluffy Yogurt Cheesecake (No Flour, Butter or Oil)
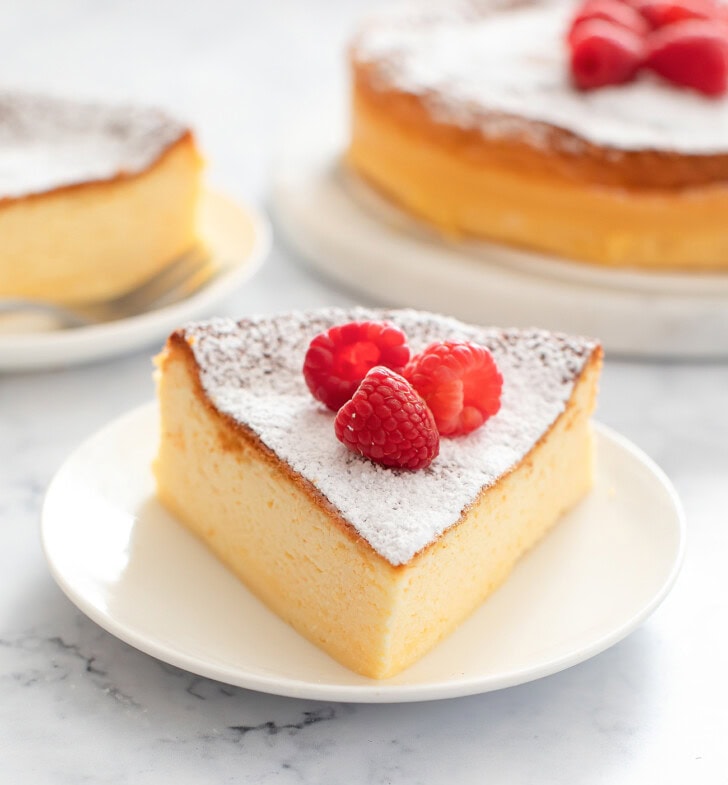
This yogurt cheesecake is soft, light and fluffy. It needs just 3 ingredients and doesn’t require any flour, butter or oil. The cake can be made ahead of time.
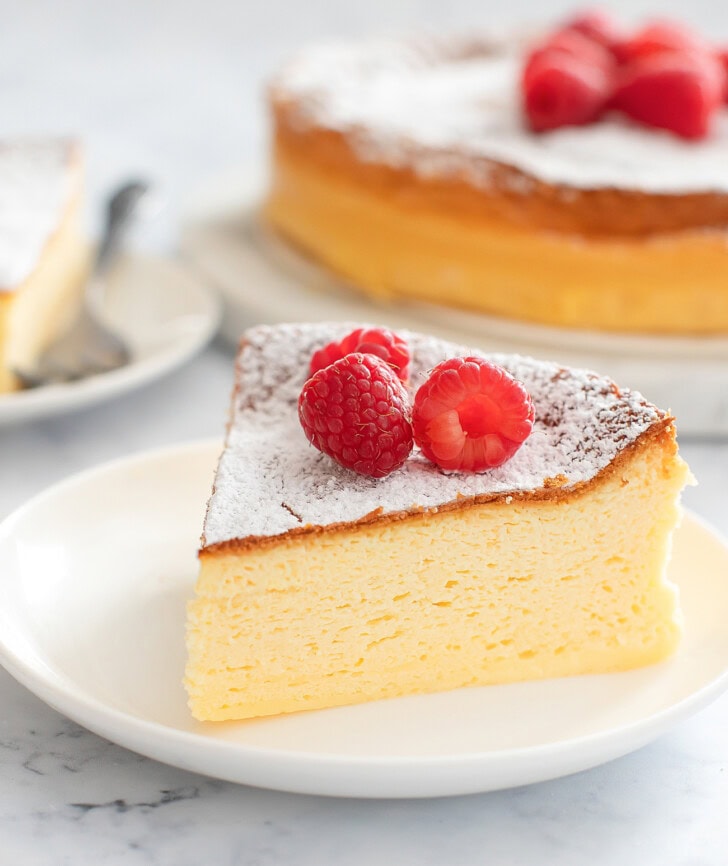
This cake is a lighter version of Japanese souffle cheesecake that is made with yogurt instead of cream cheese. It is still tangy, sweet, and incredibly light and soft.
Ingredients
- Icelandic or Greek yogurt
- Condensed milk
- Eggs
Icelandic yogurt: This recipe works best with Icelandic skyr yogurt which is a very thick and high protein yogurt. You can use Greek yogurt as well, but Greek yogurt is not as thick as Icelandic so the cheesecake will be a little more moist. You can use plain if you prefer the cheesecake to be less sweet or you can use vanilla for a sweeter cheesecake.
Condensed milk: Sweetened full fat condensed milk is used to provide sweetness.
Eggs: Eggs are used to give the cake its light and fluffy structure.
How to Make Fluffy Yogurt Cheesecake
- The egg yolks, yogurt and condensed milk are whisked together until uniform.
- The egg whites are beaten until stiff peaks form.
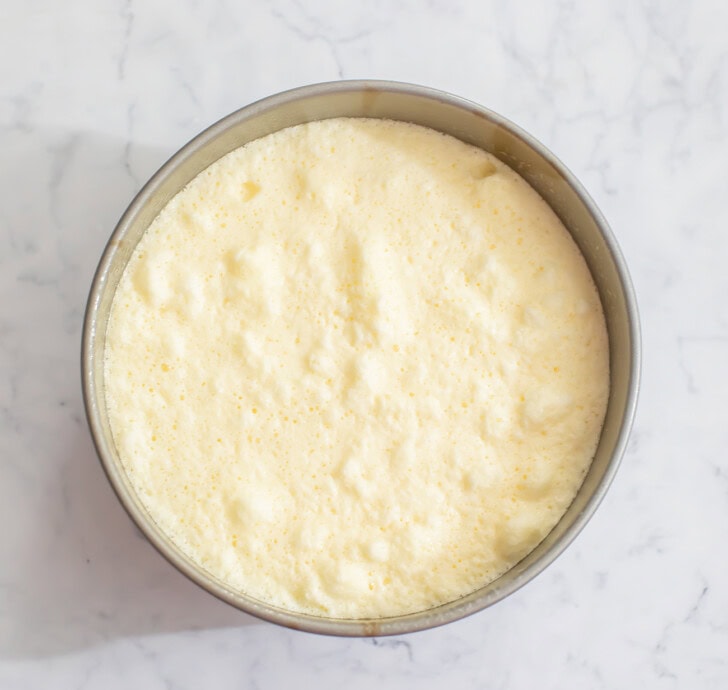
- The egg whites are gently folded into the yogurt batter in three batches. Your batter should look light and airy.

- Transfer the batter to your prepared cake pan. Bake the cheesecake in a water bath for about 45 minutes until the cheesecake is puffed and browned on the surface. Turn off the oven and let the cheesecake continue to cook for about 1 hour with the oven off.
- Allow the cheesecake to fully cool before eating. I also recommend placing it in the fridge for several hours before serving because this helps the flavors develop better.
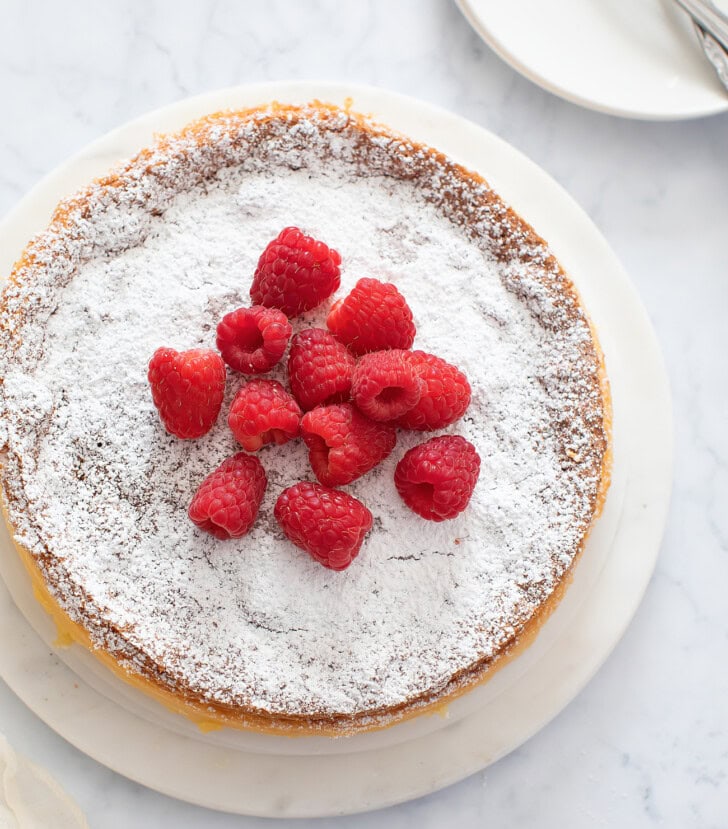
- You can dust the cake with powdered sugar or fresh fruit for decorating if desired.
Texture
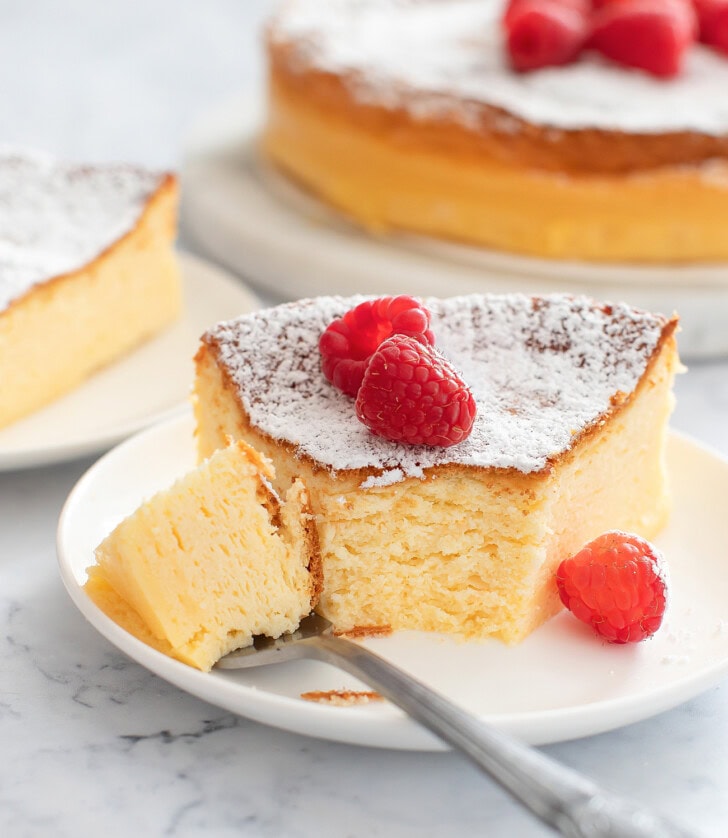
This cake has a texture similar to Japanese style souffle cheesecake. It is very light, airy and soft. It is a little more moist because of the yogurt and because it doesn’t contain any flour.
Expert Tips
- If you prefer a sweeter cheesecake, use vanilla Icelandic skyr yogurt instead of plain.
- Make sure to use full fat sweetened condensed milk. I have also made this with melted white chocolate chips as a substitute for the condensed milk.
- The cheesecake tastes best after letting it chill in the fridge for a few hours. This allows the flavors to develop more fully so that the cake is sweeter and tangier.
More Yogurt Cake Recipes
- 4 Ingredient No Bake Tiramisu Yogurt Cheesecake
- 3 Ingredient Yogurt Cheesecake
- 2 Ingredient No Bake Yogurt Cheesecake
3 Ingredient Fluffy Yogurt Cheesecake
Ingredients
- 4 large eggs, yolks and whites separated, brought to room temperature
- 1 cup (226g) nonfat plain or vanilla Icelandic skyr yogurt, brought to room temperature
- 3/4 cup (177ml/225g) full fat sweetened condensed milk, brought to room temperature
Instructions
- Preheat oven to 325°F (163°C). Spray the inside of an 7 inch round cake pan with a cooking oil spray. Line the bottom with a parchment round. You don’t need to line the sides but make sure they are well greased.
- Add egg yolks, yogurt and condensed milk to a large mixing bowl. When measuring out the yogurt, remove any excess liquid (yogurt often has some liquid/water in the container, you don't want any of that in your mixture). Whisk until ingredients are fully incorporated and you have a smooth batter that is uniform in color.
- Place egg whites into a separate large mixing bowl. Beat at highest speed until stiff peaks form. I prefer to use a stand mixer but you can also use a hand mixer.
- Add one third of the egg white mixture to your egg yolk batter. Fold it in gently with a spatula until no egg white lumps remain. Because this batter is very liquidy, make sure you scoop up batter from the very bottom of the bowl each time you fold to make sure all of the batter gets incorporated with the egg whites. Repeat with the next 1/3 and then remaining 1/3. For the last batch of egg whites, it is okay to leave some egg white lumps. You just want to mix until most of the egg whites have been incorporated. Your batter should look very light and airy.
- Pour batter into prepared baking pan. The cake will be baked in a water bath. To do this, place your cake pan into a slightly larger baking pan that is at least 2 inches deep. I used a 9 x 9 inch baking pan. Place your cake pan into the bigger pan. Pour just enough water (cold tap water) into the outer pan so that the water level reaches 1/2 inch. You do not want more than 1/2 inch of water because otherwise the bottom of the cake will cook too fast, creating a dense bottom layer. Make sure to add the water to the outer pan after you've put the cake in. If you add 1/2 inch of water before, the added weight of the cake pan and cake batter will push up your water level more than 1/2 inch. I recommend using a ruler to measure the water level.
- Place cake with water bath into your oven. Bake for about 50 minutes or until the cake is puffed and browned on the surface. Turn off the oven but do not open the oven door and leave the cake in the oven for 45 minutes to one hour. It is important to leave the cake in the oven (unopened) because this allows the cake to finish cooking and the gradual drop in temperature prevents the cake from suddenly collapsing. The cake will deflate as it cools, but it shouldn't completely collapse. After 45 minutes to one hour, you can remove the cake from the oven. Let the cake cool completely to room temperature. To remove cake from the pan, gently loosen the sides with a thin spatula. Then carefully flip the cake pan upside down onto a plate and the cake should slide out. Then flip the cake onto another plate to make it right side up again. Then place cake in the fridge (uncovered) for several hours. This helps the flavors develop better.
- If desired, you can dust the cake with powdered sugar or garnish with fresh fruit. Cut the cake with a large sharp knife. Store any uneaten cake in the fridge in an airtight container.
Notes
- This cake is meant to be a lighter and version of cheesecake and is also not as sweet as traditional cheesecake. If you prefer sweeter desserts, I recommend using vanilla Icelandic yogurt instead of plain. You can also add a sweet whipped cream frosting for more sweetness.
- Yogurt note: I used Siggi Icelandic yogurt. I tested with both plain and vanilla. I tested with nonfat version but I think the cake should also work with whole milk version. The cake should also work with a thick high protein Greek yogurt but your cheesecake will be wetter.
- *These product links are affiliate links. This means I earn a commission from qualifying purchases.
- This cake should be baked in regular one-piece 7 inch round cake pan. You do not want to bake in a round cake pan with removeable bottom like a springform pan because it will leak.
- Make sure your water bath level is not too high. If it is too high, it causes the bottom of the cheesecake to cook to quickly, developing a dense bottom layer.
absolutely delicious.I
I used Skyr vanilla yogurt 15g protein
I will make this again
yummy
We’re so glad you loved this recipe!
I made this today. It’s absolutely delicious.I used vanilla Skyr yogurt 15g protein
I will definitely make this again. Thank you.
I don’t like emails but this recipe is worth it
Hi Denise! We’re so glad you loved this recipe!
Recipe looks great and intriguing! Definitely want to give this a try.
Why is it called a “cheesecake” though?
Wouldn’t it just be a cake, since no cheese is involved?
Or even souffle cake. ?
The texture and flavor are meant to mimic cheesecake like similar to Japanese style souffle cheesecake, even though it doesn’t use cheese, which is why it is called yogurt cheesecake.
Very nice recipe chef. Thank you for your effort.
Thank you! We’re so glad you enjoyed it!
What is the substitute of egg to mske this cake
Sorry, we don’t have a substitute for the eggs in this recipe!
how many eggs
This recipe uses 4 large eggs with the yolks and whites separated.
Is there sugar free option for diabetics
You can try using sugar-free white chocolate, melted, in place of the condensed milk.
Great simple tasty recipe
Thank you! We’re glad you enjoyed this recipe!