
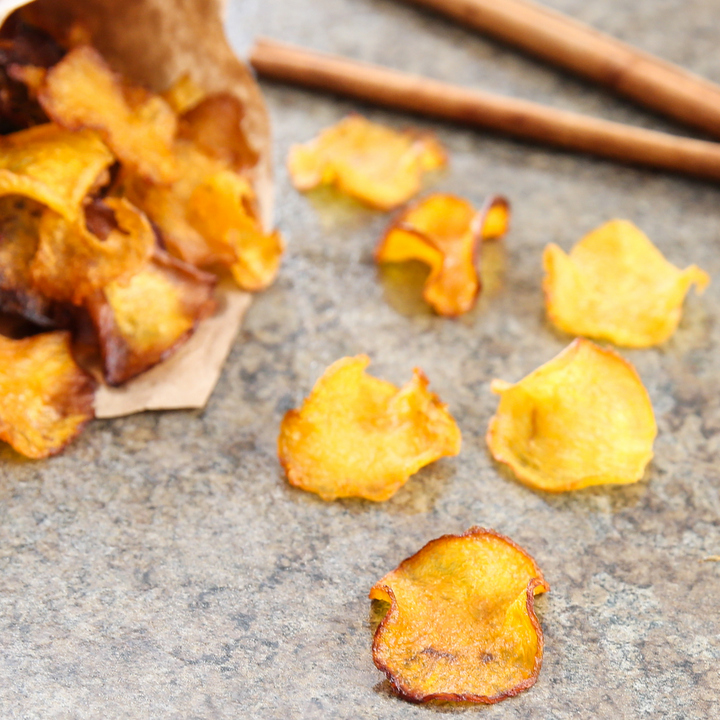
These baked pumpkin chips are a crunchy, healthy and easy snack. If you enjoy the flavor of pumpkin, this is a great alternative to regular potato chips.
This time of year, it seems like pumpkin flavored everything is everywhere. However, almost everything is pumpkin spice flavored, which actually is quite different from the natural flavor of pumpkin. While I enjoy most of the pumpkin spice offerings, I really like true pumpkin flavor as well. I love the subtle sweet and nuttiness. Since it’s so hard to find actual just pumpkin flavored foods, I usually buy a few sugar pumpkins to cook with.
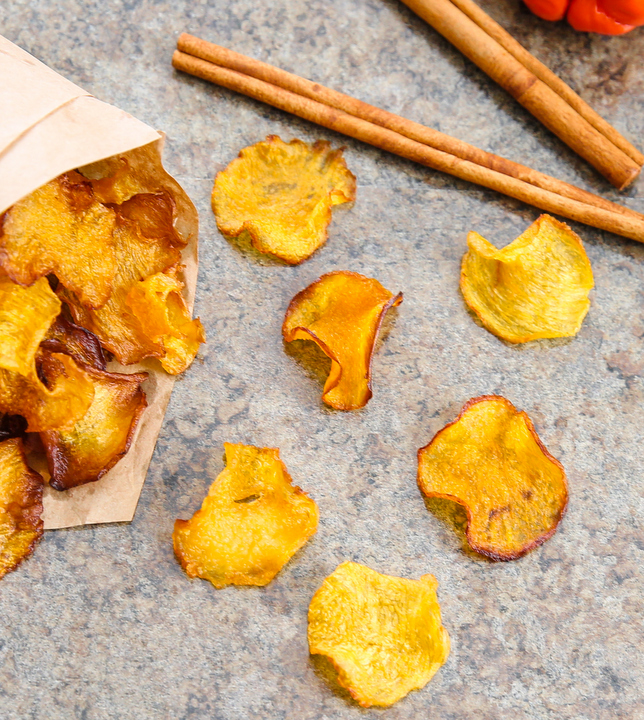
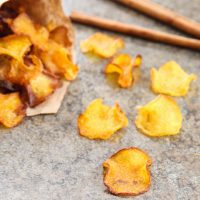
One of my favorite things to make are pumpkin chips. Pumpkin and a little bit of salt are all you need.
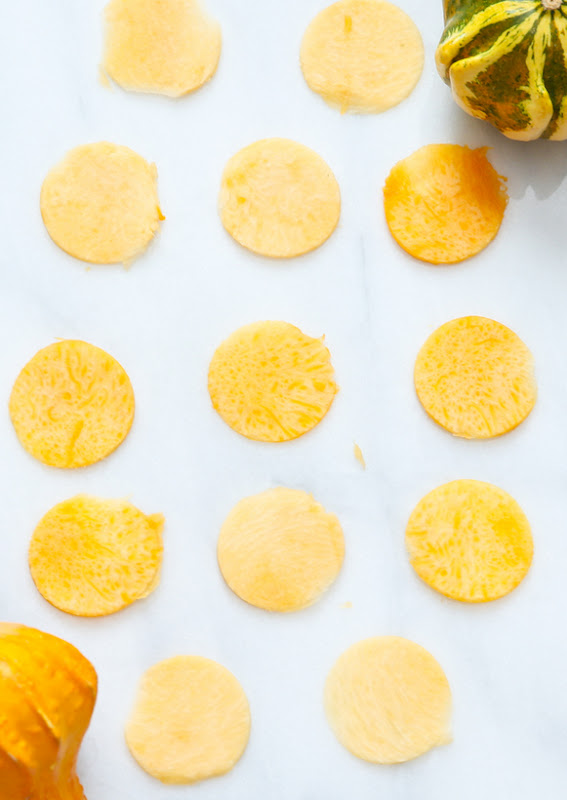
First, you want to very thinly slice your pumpkin. I used my mandoline slicer. You can then cut to whatever shape you wish. I made circles with my cookie and biscuit cutters. Keep in mind that the baked chips will shrink quite a bit, so don’t make your raw chips too small.
Then you pop them in the oven, bake, let them cool, sprinkle some salt. And you’re done! Crunchy, easy, and healthier than potato chips.
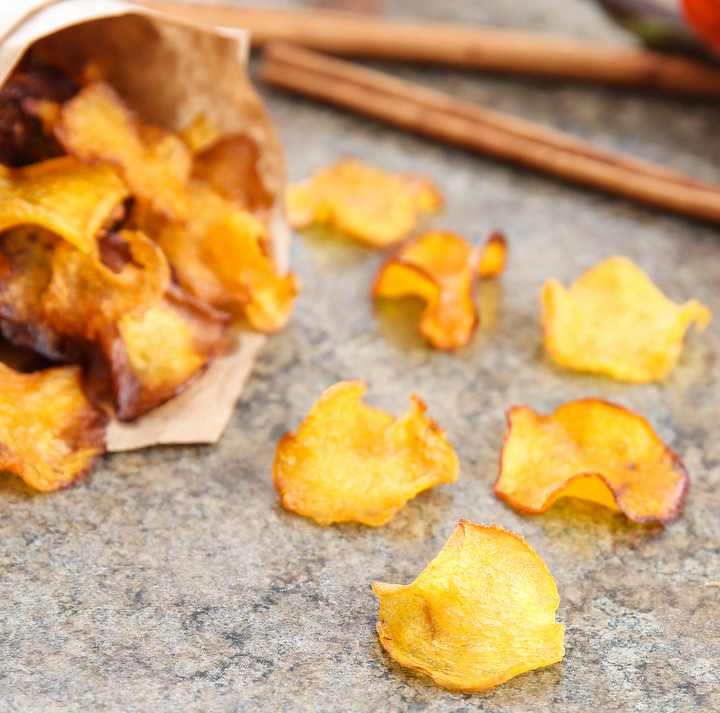
The only thing I haven’t yet figured out is how to keep them crunchy past one day. I’ve tried looking up recipes online, I’ve tried frying them– nothing seems to work. They are crunchy the first day and then they later soften and become more chewy than crunchy. Still good though, especially if you like eating dried fruit. If you’re looking for other pure pumpkin recipes, check out my pumpkin hummus, pumpkin fruit leather or pumpkin fries.
More Snack Recipes
Baked Pumpkin Chips
Ingredients
- 1/2 sugar pumpkin the type used for making pumpkin pies
- table salt
- ground cinnamon optional
Instructions
- Preheat oven to 220°F. Line 2 baking sheets with parchment paper. Cut pumpkin into large slices that will fit your mandoline slicer, skin removed. Using the thinnest setting, make pumpkin slices with your mandoline slicer.
- If desired, cut circle shapes with a biscuit cutter or cookie cutter. Make sure your raw chips are about 2 times bigger than you want your final ones to be because they will shrink. Place onto baking sheet.
- Bake for about 25-30 minutes (time will vary depending on your chip sizes) or until pumpkin chips begin to curl, edges feel crisp to the touch and are starting to brown. Turn off oven and let pumpkin chips remain in the oven until oven completely cools. This will further remove the remaining moisture from the chips. After 20-30 minutes (and when oven is no longer warm), pumpkin chips should be completely crunchy. Sprinkle chips with salt and cinnamon if desired. The chips will lose some of their crunch and become more soft and chewy after the first day. You can crisp them up again in the oven. Store in an airtight container.
Nutrition
The nutrition information provided are only estimates based on an online nutritional calculator. I am not a certified nutritionist. Please consult a professional nutritionist or doctor for accurate information and any dietary restrictions and concerns you may have.


Dehydrate instead of bake then all the moisture is removed
We don’t have a dehydrator, which is why we use the oven. But thanks for the tip!
You can throw them in ziplock bag in the freezer soon after and they’ll stay crisp
Thanks for sharing that!
I wonder if putting the little packs that come in beef jerky to eliminate wetness would work? It sounds amazing going to try soon.
We’re not sure about the packets, but we hope you give the recipe a try!
I left out the sugar. I made two batches, one sprayed with oil and one without. The oiled ones were tough and leathery. Yuch. Inedible. The others were crisp, but took much longer to bake than the 30 min cited…took at least an hour. I sprinkled them with salt, pepper, and Braggs Herbal “Sprinkles” before baking and they smelled SO good while baking! And they tasted super too. I am making squash chips right now using the same recipe. No sugar. But I forgot to microwave the squash first for 3 min. on high. The squash was very hard to slice super thin. I think the microwave helps not only in making the peeling easier (you still need to use a veg. peeler or knife) but also helps in slicing and in the final texture.
thank you for sharing!
I haven’t tried pumpkin yet, but I will. I use my food dehydrator to make all kinds of healthy snacks like this. I was trying to think of a dip that these would go good with.
Maybe a pumpkin spice dip? https://kirbiecravings.com/pumpkin-spice-dip/
To renew crispy texture, just pop them in a warm oven next time you have baked something, to recrisp. I did it with my dried green beans and it worked.
thanks for the tip! I recently started doing this with some other things like zucchini chips and I’d forgotten about my pumpkin chips!
I recently tried pumpkin chips in a package of mixed fruit and veggie chips. So delicious. I’ll have to try making my own someday.
Brilliant idea! I’ve made butternut squash crisps before, but never pumpkin. Bet this is a great way to use up all those pumpkins we have left after Halloween.
ooh butternut squash crisps sound delicious