It’s been a while since I’ve played around with making something cute on my blog. After my successful donut making attempt, I knew what I wanted to tackle next.
I squealed when I saw pictures from Baby Bro’s gf’s trip to Mister Donuts in Taiwan, a popular donut chain in Asia which makes adorable bear shaped donuts. Mister Donuts is on my to-do list when I visit Taiwan, but until then, I thought I would try making them myself.
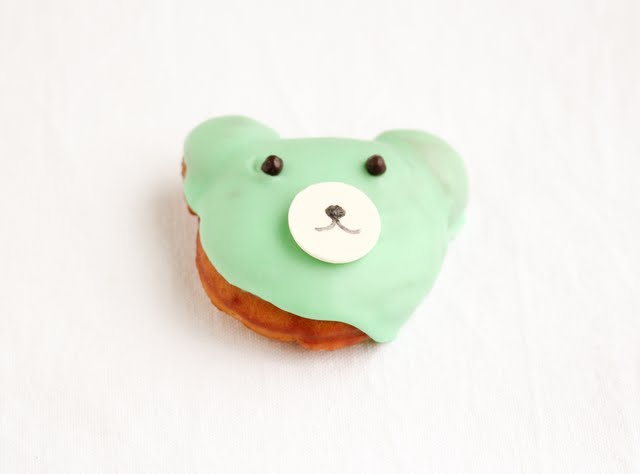
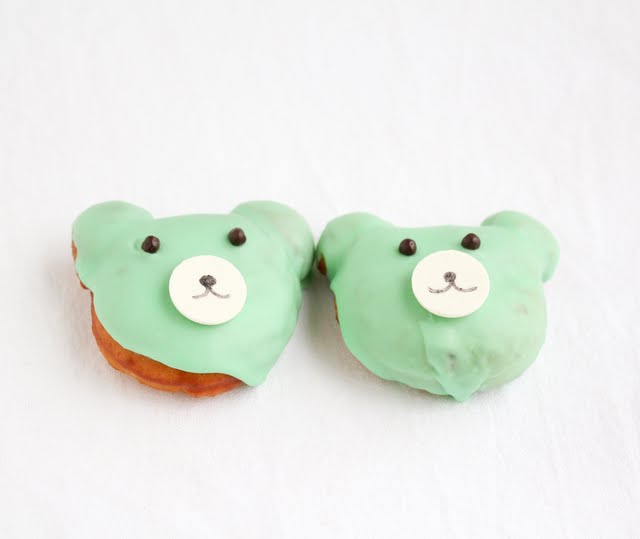
I used the same donut recipe I used for the glazed donuts. For the eyes, I used crunchy chocolate pearls. For the mouth I used white chocolate disks, like the kind you use for melting chocolate to make cake pops.I originally wanted to pipe dark chocolate on the disks to draw the nose and mouth, but my piping skills need some work. Instead, I used an edible black pen to draw in the nose and mouth.
These might not be as cute as the ones at Mister Donuts, but I was pretty pleased with how they turned out.
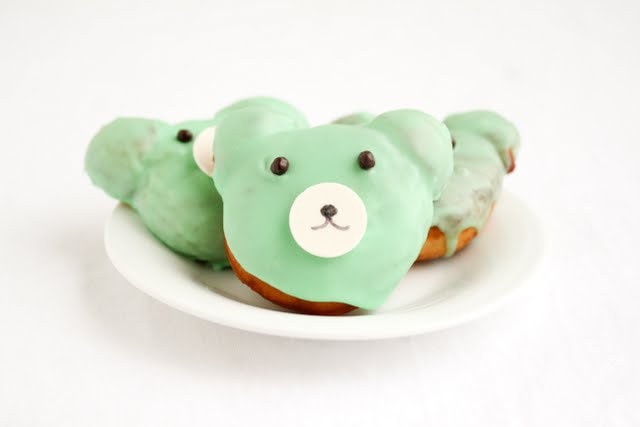
Bear-Shaped Donuts
Ingredients
- 1 batch glazed donuts (see note)
Instructions
- After the dough is done proofing for the first round and you have rolled it out to 1/2 inch thickness, use a round biscuit cutter to cut round circles of dough for the face. Cut smaller circles (I used a small round cookie cutter) for the ears. For each small circle, I cut it in half for each ear. I then molded them onto the bigger circles.
- Let the dough proof for the second round. When frying, be careful turning the donuts and placing them in the oil so that the ears don't fall off.
- Mix glaze following recipe. I added a few drops of green food coloring. Dip donuts in glaze. Add two chocolate pearls for the eyes (I used Valrhona chocolate crunchy pearls). For the mouth and nose, draw or pipe onto a white chocolate disk and then place onto the face of the donut. Make sure you place the nose, eyes and mouth onto the donut before the glaze cools. Let donuts cool completely before serving. Donuts are best served the same day.
Notes
The nutrition information provided are only estimates based on an online nutritional calculator. I am not a certified nutritionist. Please consult a professional nutritionist or doctor for accurate information and any dietary restrictions and concerns you may have.




I am going to make these for one of my clients when she has her baby next month!! Think I might make blue ones since she is having a boy 🙂 Thanks for the idea!
You know after I made them I was thinking these would make cute baby shower treats. I hope yours turn out well!
My boys love these donuts! We just had some vanilla and green tea bear donuts for breakfast yesterday. We’re military in Japan and now, even after we move away, we can still have a semblance of these cuties wherever we go next. Thanks for this!!
Aw, vanilla and green tea ones sound delicious!
Cute! Cute! Cute!!! 🙂
Aw thanks. I was really happy with them =) Though I couldn’t eat any because they were too cute! haha
Those are so freaking cute!!!!! I would save this post since I know that one day my 13-mo daughter would love these 🙂 Thanks for sharing!!
I wish I had remembered to take step by step photos. Next time I make them, I’ll add those in. I’m sure your daughter will love these one day!
those are so cute! i love how they look – the color possibilities are endless! lavender? blue? ooh pink! 🙂 they would be great for a kids party as well.
I was thinking pink for the next go around. Maybe do a few colors for variety. Yes, I was thinking this would be great for kids parties. Next time I have to go to one of FH’s family’s kid parties, I plan on making these.
This is the cutest (and most delicious) picture I’ve seen all day! I love it!
Thank you! I was pretty pleased with how they turned out. =)
You should open a bakery so your loyal fans can eat this awesome stuff!
Aw thanks. I don’t know if I could handle the pressure though! I seem to always screw up when I have to bake for other people.
I think they’re pretty darn cute! How fun! Maybe you can even make ones with pointy ears for Hello Kitty ones next time 🙂
Oh what a good idea. Though I always find HK so hard to do. I feel like if the spacing is just a little off, she doesn’t look right.
Oh man. Those are so CUTE! I also love the green icing.
I like the green icing too. I don’t know why. They are bears so I don’t know why I wanted them to be green. haha.
Too cute to eat! Where do you purchase the chocolate pearls?
When I go to LA, I will stop by Surfas to get them. Recently I made a purchase from chocosphere online, https://www.chocosphere.com/. I was a little wary, but their prices are great and the chocolate didn’t melt (and I didn’t pay for the extra packing for heat) and the shipping price was cheaper than all the other places I viewed. They sell the pearls on chocosphere. I also tried the Callebaut version (also purchased through chocosphere). They are cheaper than Valrhona and taste just as good, though they aren’t shaped as perfectly. There are a lot more irregular shaped ones. So I would probably save the Callebaut ones for munching and use the Valrhona ones when I’m putting it on desserts I’m giving to others.