
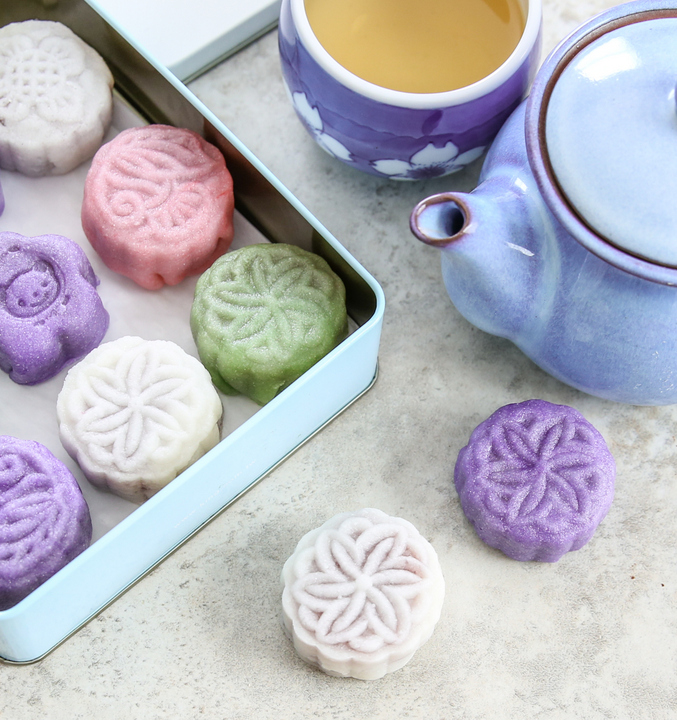
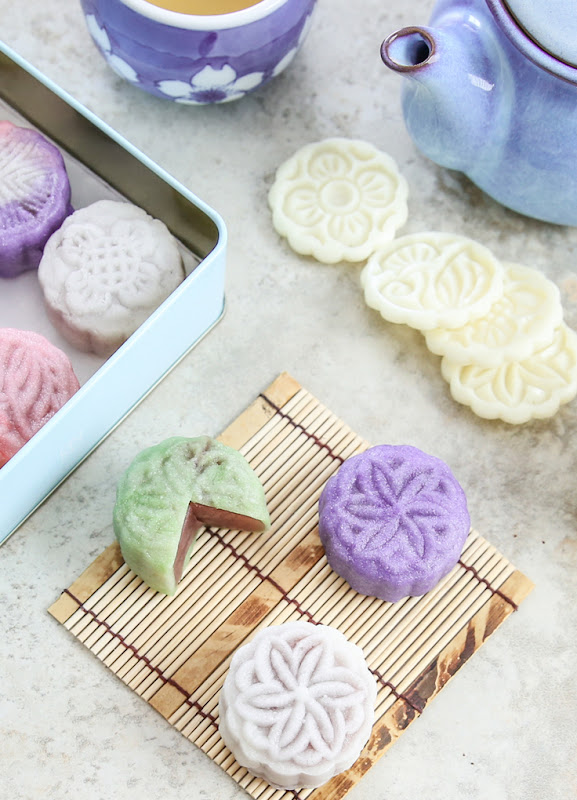
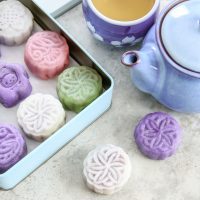
Snow skin mooncakes, also known as ice skin mooncakes or crystal mooncakes, make a beautiful no-bake dessert for Mid-Autumn Festival.
Mid-Autumn Festival is just around the corner and mooncakes are the customary food eaten to celebrate the occasion. A traditional mooncake is more like a pastry rather than cake, with a thin outer shell and a dense, sweet filling (red bean paste, lotus paste, taro paste, etc). While I’ve made the baked version before, I actually prefer to make snow skin mooncakes.
What is Snow Skin Mooncake?
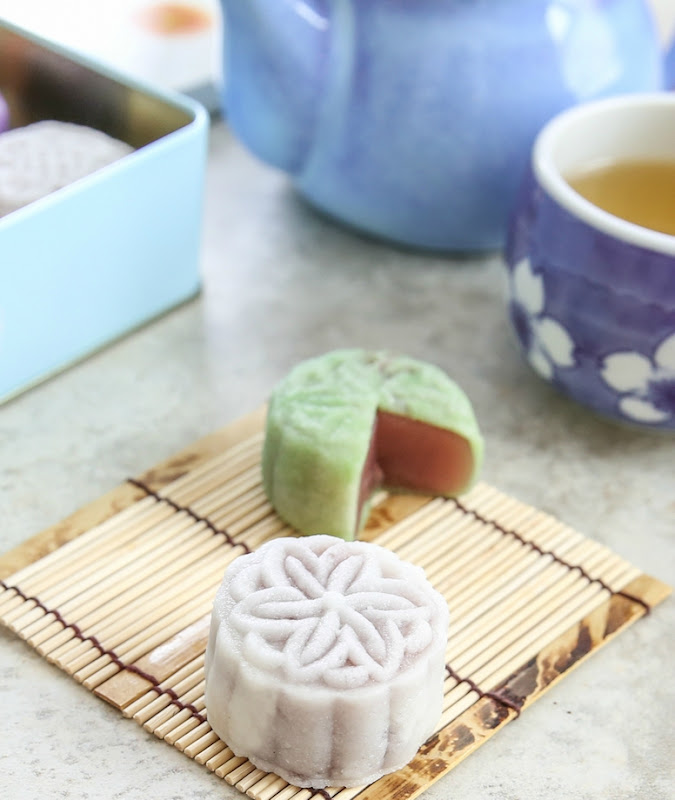
Originally from Hong Kong, snow skin mooncakes are made with roasted glutinous rice flour, giving them a soft outer coating, similar to a super soft mochi. (For a slightly chewier texture, you can steam them before serving.) The delicate white shell gives them a snowy appearance, hence the name. With a little bit of food coloring, you can also make other colors.
They are really easy and fun to make and make great gifts. You can find the mooncake molds on Amazon* in various sizes and designs.
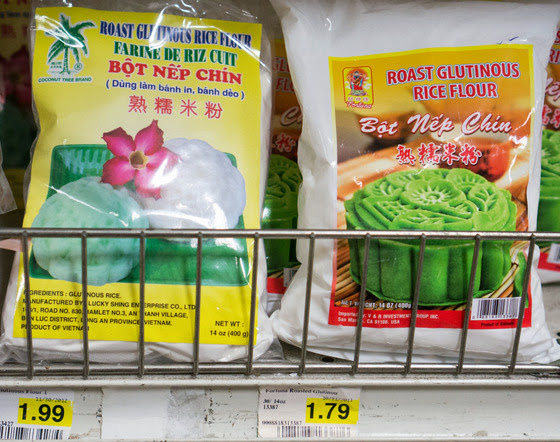
You’ll also need to make or buy the filling and roasted glutinous rice flour. I purchased my roasted glutinous rice flour from a local Vietnamese supermarket. If you can’t find any in your area, I do have a recipe where you make your own roasted rice flour.
Snow Skin Mooncake Ingredients
- Roasted glutinous rice flour
- Icing sugar
- Shortening
- Cold water
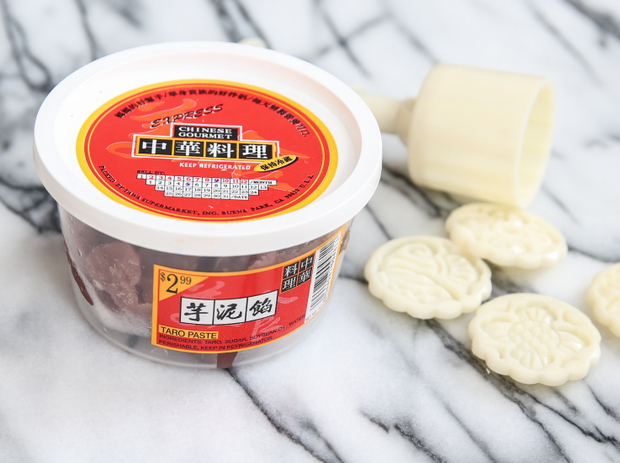
- Fillings of your choice – I like to use taro and lotus paste for mine.
- Food coloring
How to Make Snow Skin Mooncakes
Sift the flour and icing sugar in a bowl. Using your hands, gently rub the shortening into the flour mixture until the mixture resembles coarse breadcrumbs.
Add the food coloring to the water if you are using it – you only need a few drops.
Add the tinted water to the flour mixture one tablespoon at a time and knead the dough until it turns soft and malleable. Don’t add the water all at once – add it in small amounts.
Divide the dough to make the cakes. How you divide it will depend on the size of mooncake molds you are using. The ratio should be 1 part dough, 2 parts filling. So, for a 75-gram mooncake mold, you would weigh out 25 grams of dough and 50 grams of filling.

Take one of your dough pieces and roll into a ball. Flatten the ball with palm of your hand and then roll it out on a pastry board until you get a thin circle.
The filling into a ball and place it in the center of the dough and seal the dough. If there are any holes in your dough, make sure to smooth them out.
Place your dough ball into the mooncake mold and flip it over onto a flat surface. Press down hard on the lever so that the mooncake shape is formed and the face plate makes an imprint.
Squeeze to release the mooncake. Repeat this process with the rest of the dough and filling. Chill the mooncakes for 6 hours before serving and store the extras in the fridge.
More Recipes to Try
*Some of the links contained in this post are affiliate links. Much like referral codes, this means I earn a small commission if you purchase a product I referred (at no extra charge to you).
Snow Skin Mooncakes
Ingredients
- 100 g roasted glutinous rice flour (see note)
- 90 g icing sugar
- 30 g shortening
- approx 50g cold water
- fillings of your choice (see note)
- food coloring
Instructions
- Sift the flour and icing sugar in a mixing bowl. Gently rub the shortening into the flour mixture, combining until the mixture resembles coarse breadcrumbs.
- If using food coloring, add just a few drops into the cold water. Mix in the cold water, 1 tbsp at a time, and knead dough until soft dough forms. Do not add all the water at once. You may need slightly less water or slightly more. It's best to knead the dough with your hands until it comes together. The dough should be soft and malleable.
- Divide dough, depending on the size of mooncake molds. The ratio should be 1 part dough, 2 parts filling. So for a 75-gram mooncake mold, you would weigh out 25 grams of dough and 50 grams of filling.
- Take one of your divided dough sections and roll into a ball. Flatten ball with palm of your hand. Roll out dough on a pastry board until you get a thin circle. Roll divided filling into a ball. Place the ball of filling in the center of the dough and seal the filling with the dough. If there are any holes in your dough, make sure to smooth them out.
- Place your dough ball into the mooncake mold. Flip it over onto a flat surface. Press down on the lever hard so that the mooncake shape is formed and the face plate makes an imprint. Then squeeze to release and mooncake. Repeat with remaining dough. Chill the mooncakes for 6 hours before serving. Keep uneaten ones in the fridge. Tip: if you want a slightly chewier skin, you can steam them first and let cool before serving.
Notes
- If you can't find roasted glutinous flour at the store, you can make your own using my Roasted Rice Flour recipe.
- I used two types of filling: a pre-made taro and a pre-made lotus paste from Ranch 99, which you can find in the refrigerated section.
The nutrition information provided are only estimates based on an online nutritional calculator. I am not a certified nutritionist. Please consult a professional nutritionist or doctor for accurate information and any dietary restrictions and concerns you may have.


Have you tried ice cream for the filling?
ice cream filling won’t work very well because of how melty it gets, which will cause the mooncake skin to not be sticky enough to seal
Hi,
Do I need to let the dough rest in the fridge for 30 minutes before wrapping the filling and shaping?
no
Hi can I ask if anyone has tried freezing these? How long do they keep?
I haven’t tried freezing but I think that should work out.
Hi, I tried the snowskin dough recipe and the dough came out very tough. I also was not able to get the dough to really stick together or smooth out the folds. I kneaded it for about 3-5 minutes with my hands, did I overwork it? Or is the problem not enough water?
Hi, the dough doesn’t need to be kneaded very long, only 1-2 minutes. So I recommend adding more water until your dough is soft.
These are so beautiful! I don’t love the traditional egg and lotus filling but the taro one sounds like it would be lovely especially with the ‘snow skin’ 🙂
I think green tea would be a good one too, but I couldn’t find any green tea filling and didn’t want to make my own
These are beautiful! I need to make some too – have just been too lazy. I actually have some moon cake molds so I really have no excuse!
it’s much easier than kouign amann 😉 You should have a mooncake making party!